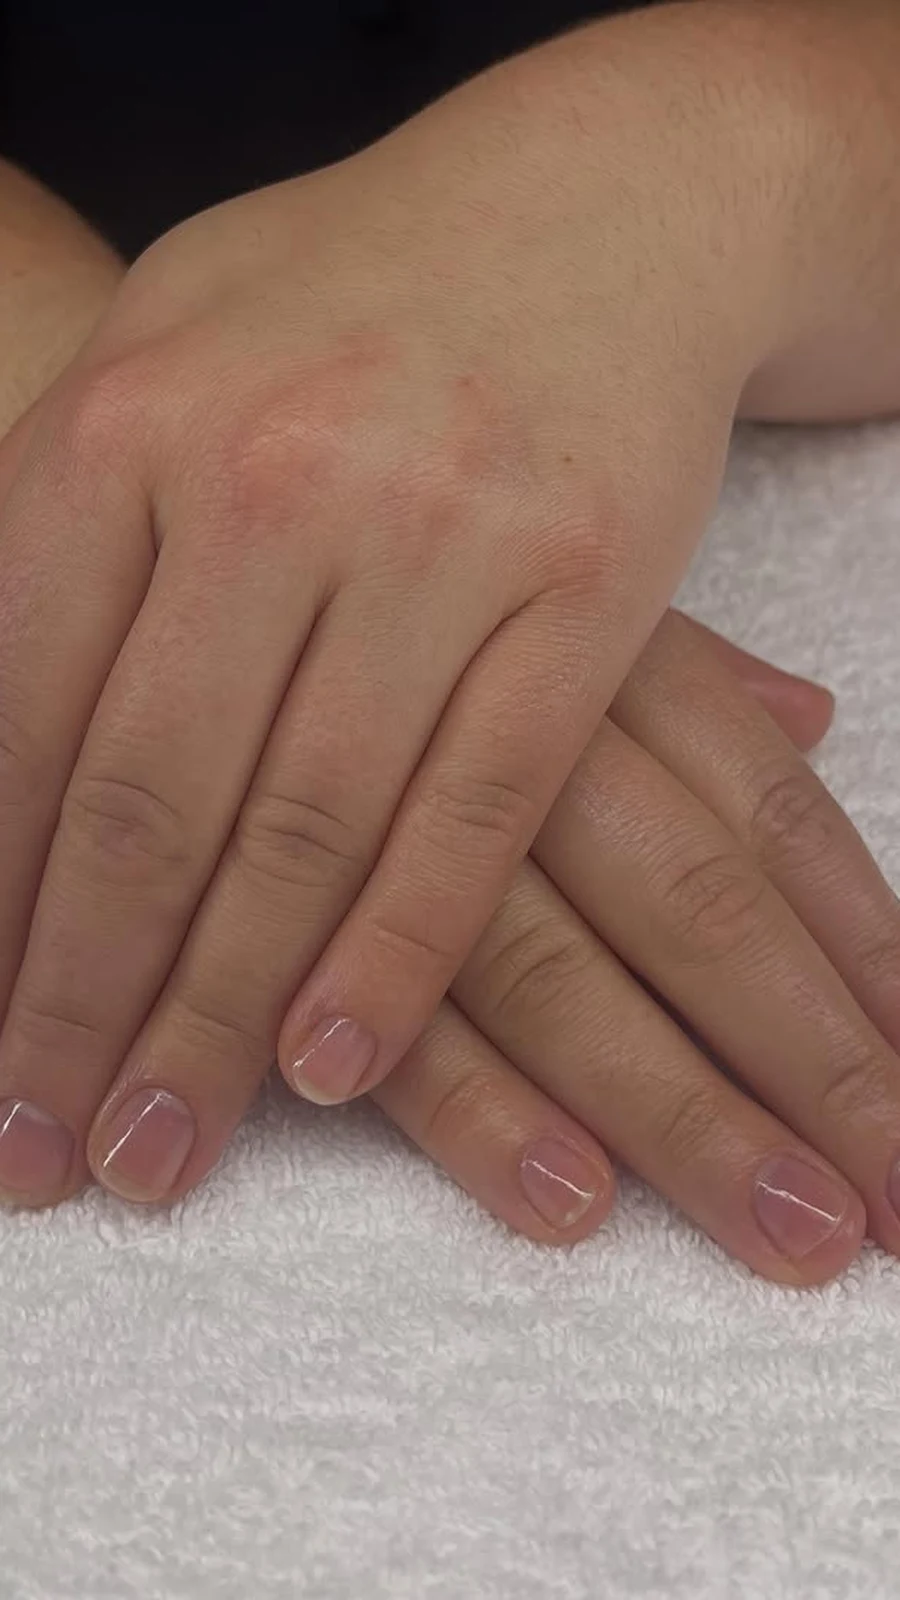
The Salon Knows Things It Never Tells You
There is a moment, about halfway through a salon appointment, when the technician does something small and you think: wait, why has nobody ever told me that? She files in one direction only. She pushes the cuticle back instead of cutting it. She puts oil on before the polish, not after. None of it is dramatic. None of it costs anything. And yet it is the difference between nails that split by Thursday and nails that just quietly get on with being strong.
Here is the part the salon will not say out loud: most of what makes nails healthy does not happen in the salon at all. It happens at home, in the thirty seconds before bed, in the five minutes after a shower, in the twenty minutes on a Sunday when nobody needs you for anything. The salon can paint your nails beautifully. It cannot oil them every night. It cannot stop you opening a tin with your thumbnail. It cannot drink your water for you. That part is yours — and honestly, it is the part that matters most.
So this guide is not a ten-step programme and it is not a shopping list. It is sixteen secrets, sorted by how long they take, from the ones that cost you thirty seconds to the ones you do once a month. Start with one. The oil drop tonight, maybe, or the gloves tomorrow morning. Small, consistent care beats occasional grand gestures every single time — and your nails will prove it to you within a few weeks.
Why Nails Break in the First Place
Before the secrets, it helps to know what you are actually fighting. A nail is mostly keratin, the same protein as hair, and it is far more delicate than it looks. Water is its quiet enemy: soak a nail and it swells; let it dry and it shrinks back. Do that ten times a day — dishes, handwashing, cleaning, laundry — and the nail plate weakens, lifts at the edges and starts to peel. Add detergent or bleach, and you are stripping the nail’s natural oils at the same time.
Dryness is the other half of the story. A nail with no moisture in it is a brittle nail, and brittle nails split, crack and flake. The cuticle is the seal that keeps moisture in and germs out — damage the cuticle and the whole system starts to fail. That is why almost every secret in this guide comes back to the same two ideas: keep the moisture in, and stop doing the small violent things (peeling, picking, using nails as tools) that undo all the good work. Once you see it that way, the secrets stop feeling like chores and start feeling like common sense.
Part One — The 30-Second Secrets
These are the secrets that cost you less time than brushing your teeth. They are also, unfairly, the ones that make the biggest difference. Do them every day and your nails will change faster than any cream or supplement can manage.
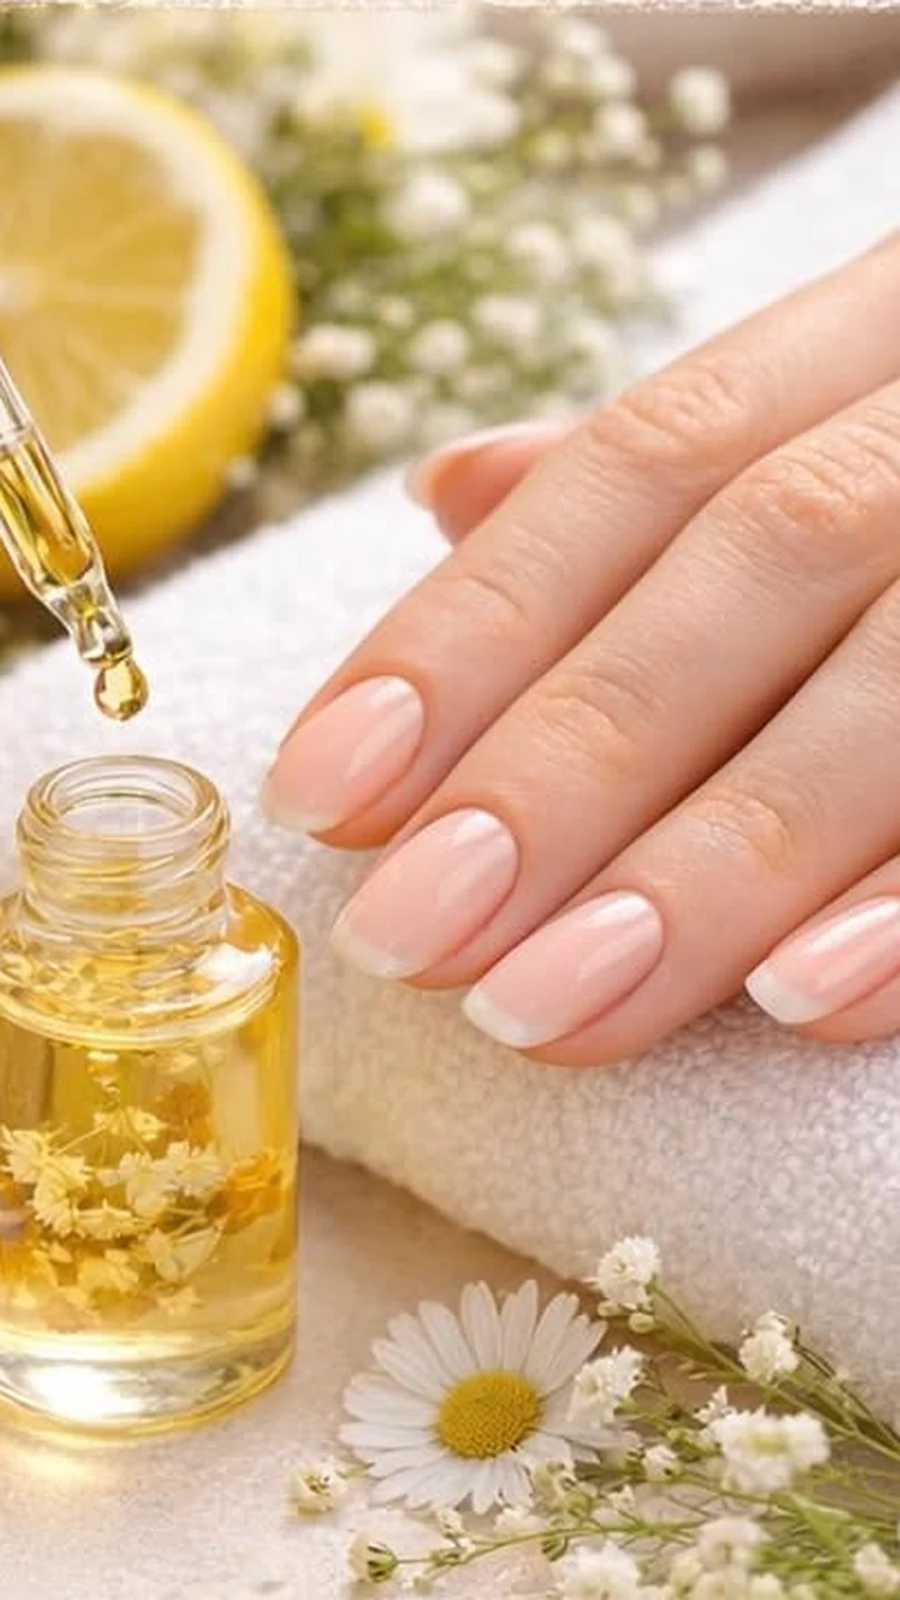
1. The Bedtime Oil Drop
Every nail technician has a bottle of cuticle oil within arm’s reach, and there is a reason it is the first thing they reach for and the last thing they put away. One drop of oil, massaged into each nail bed before bed, is the single most effective thing you can do for your nails at home. Jojoba oil is the classic because it is almost identical to the skin’s own sebum, so it sinks in instead of sitting on top. Vitamin E oil works beautifully too, and plain sweet almond oil is a fine, cheap alternative.
The timing matters as much as the oil. At night, your hands are still for hours, so the oil has time to soak in instead of being washed off at the next sink. Massage it in properly — not a quick dab, but ten seconds per hand, working it into the cuticle and the skin around the nail. That massage does its own work: it boosts circulation to the nail matrix, which is where the nail is actually made, and better circulation means a healthier nail growing out of it. Within two weeks of nightly oiling, most people notice their cuticles stop looking ragged and their nails stop peeling at the corners.
Additional Information: Keep one bottle on your bedside table and one in your bag, because the habit only sticks when the oil is where you already are. If your cuticles are very dry or cracked, a thicker balm or pure shea butter at night works better than a light oil. A little goes a long way — one drop per nail, not a puddle. And if you wear polish, oil still helps: put it on the cuticle and the skin around the nail rather than on the polish itself, and it will keep the nail underneath flexible instead of brittle.
2. Gloves On Before the Water Starts
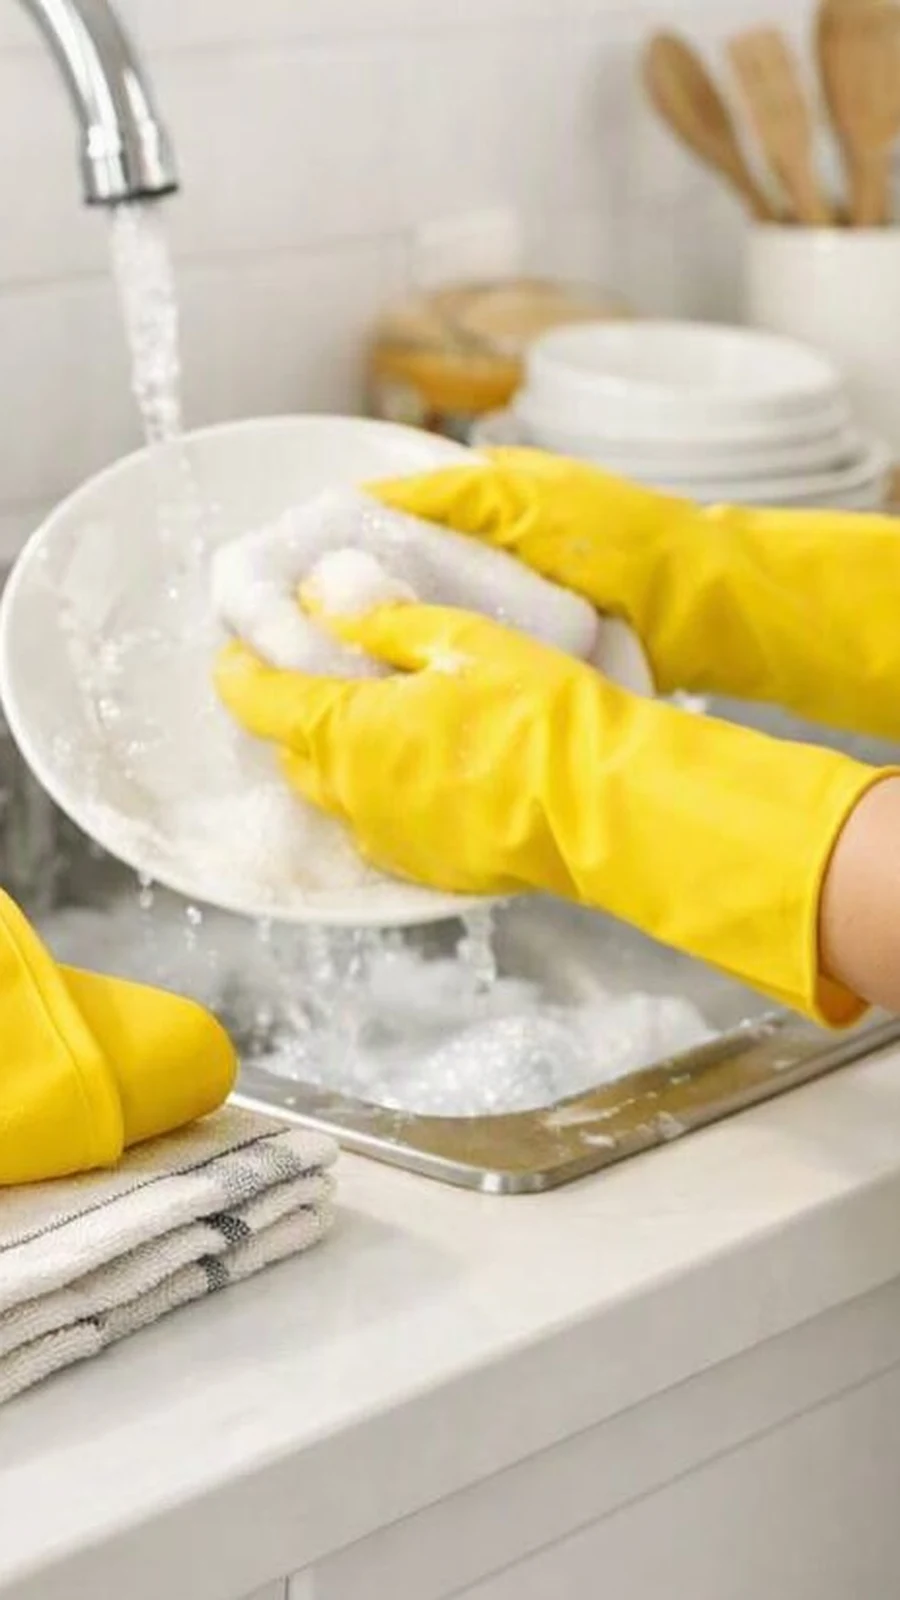
If the bedtime oil drop is the best thing you can do for your nails, this is the second best — and the one most people resist. Wear gloves for wet work. Every time. Dishes, mopping, wiping counters, cleaning the bathroom, hand-washing laundry: if your hands are going to be wet for more than a minute, the gloves go on first. It sounds fussy until you understand what water does to a nail, and then it sounds like the most obvious thing in the world.
Here is the science, minus the lecture: a nail soaks up water like a sponge, swells, and then shrinks as it dries. That swelling and shrinking, repeated all day, is what makes nails peel in layers and split at the free edge. Hot water makes it worse, and detergent makes it worse again, because it strips the oils that keep the nail flexible. Rubber gloves break the whole cycle in one move. Cotton gloves underneath stop the sweating that makes rubber gloves uncomfortable, and they double as protection for gardening, where soil packed under the nails is one of the fastest ways to stain and irritate the nail bed.
Additional Information: Keep one pair of rubber gloves under the kitchen sink and another where you keep the cleaning supplies, so reaching for them is easier than skipping them. If they feel awkward at first, give it a week — most people stop noticing them by day three. Buy them in a colour you like, because you are far more likely to wear the cheerful yellow pair than the grim grey one. And replace them when they split: a glove with a hole in it is just a wet hand with extra steps.
3. Your Nails Are Not Tools
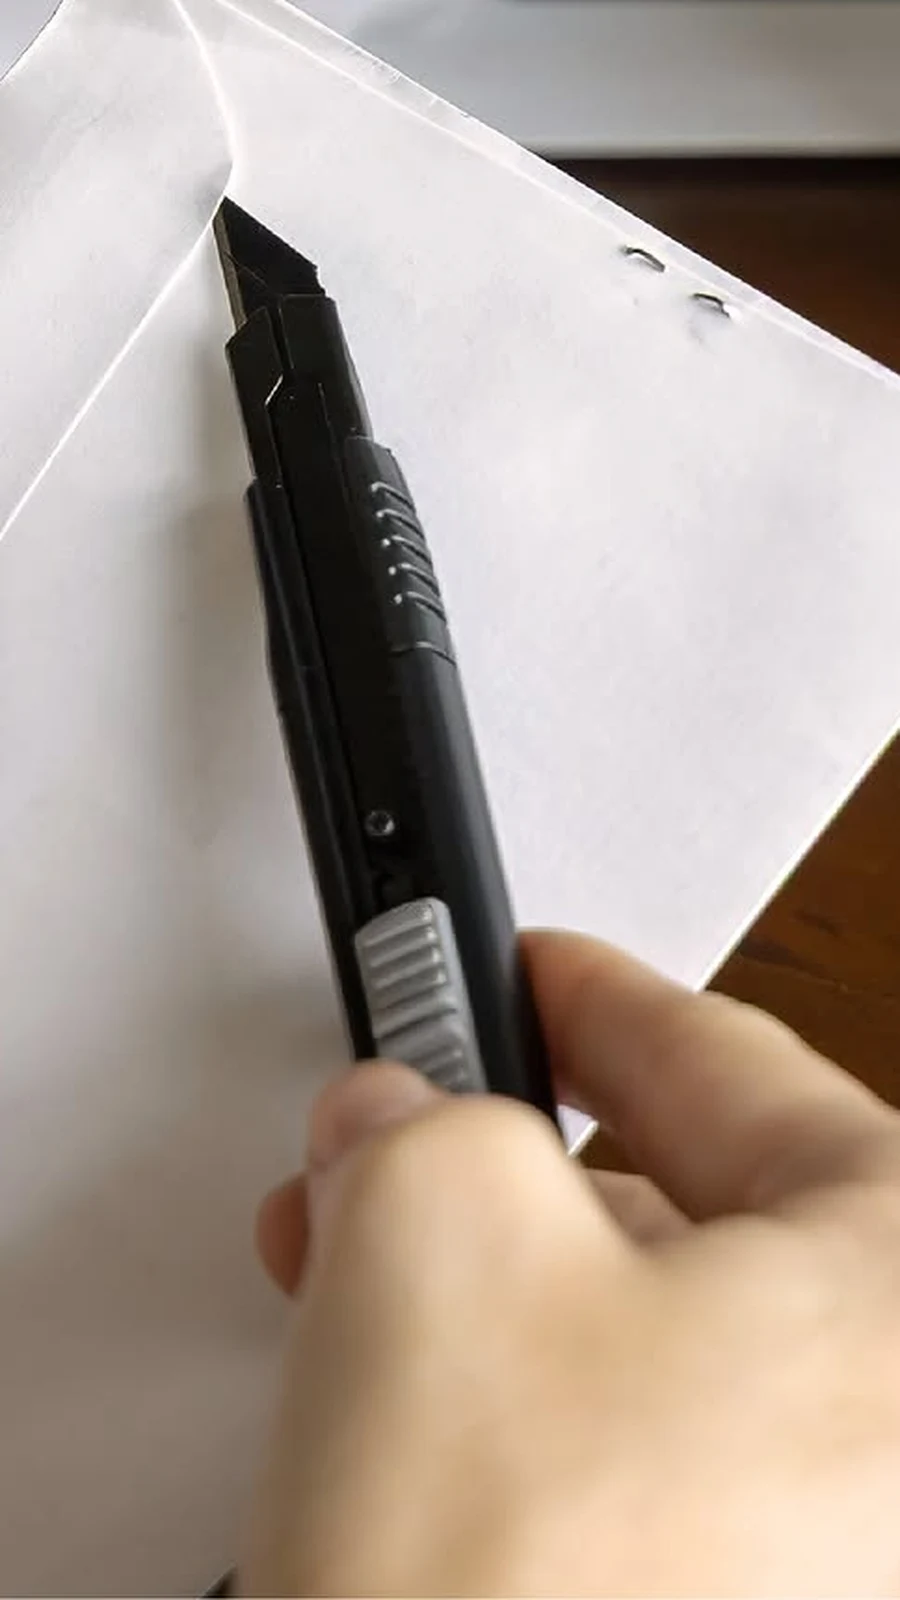
Be honest: how many times today have you used a nail to open something? A tin, a sticker, a price label, a stuck lid, a phone case, the little tab on a parcel. It feels harmless because it works — until the day it doesn’t, and the nail splits halfway down and takes a week to grow out. Every time you use a nail as a lever, a scraper or a screwdriver, you are putting all the force on the weakest point of the nail, right where it is thinnest and least supported.
The fix is embarrassingly simple: give your hands a different tool. A coin opens a tin. A key opens a parcel. A butter knife lifts a sticker. The edge of a spoon pries a lid. It is not about being precious with your nails; it is about noticing the moment your hand reaches for a nail and handing it something else instead. Keep a small multi-tool or even a coin in the kitchen drawer, and the habit changes within a week. Your nails will last longer, your manicures will chip less, and you will stop having that one nail that is always shorter than the others because it keeps breaking on the same task.
Additional Information: This is the secret that saves the most nails for the least effort, because it costs nothing and requires no product at all. If you type all day, watch your nails on the keyboard too — long nails that click and catch on keys chip at the corners, so keep them filed to a length that types flat. And if you catch yourself peeling at a rough edge while you think, stop and file it instead; picking peels away layers of the natural nail underneath and leaves it thin and sore for weeks.
4. File the Snag the Second You Feel It
A snag is a tiny thing — a rough edge, a microscopic tear at the corner of one nail — and it is also the beginning of almost every break. The moment you feel it, your fingers will find it again and again, catching on fabric, on your hair, on everything you touch. Each catch pulls the tear a little further, until the nail splits and you are filing off half the length to fix it. The whole disaster starts with something you could have solved in thirty seconds.
So keep a nail file where you actually live: one in your bag, one on your desk, one by the bed. The second you feel a snag, file it smooth — gently, in one direction, just enough to take the rough edge off. Do not saw back and forth (that is a whole separate secret, coming up in Part Two). A snag filed smooth is a nail saved; a snag left alone is a nail you will be trimming short by the weekend. This is the least glamorous secret in the guide and possibly the most useful one.
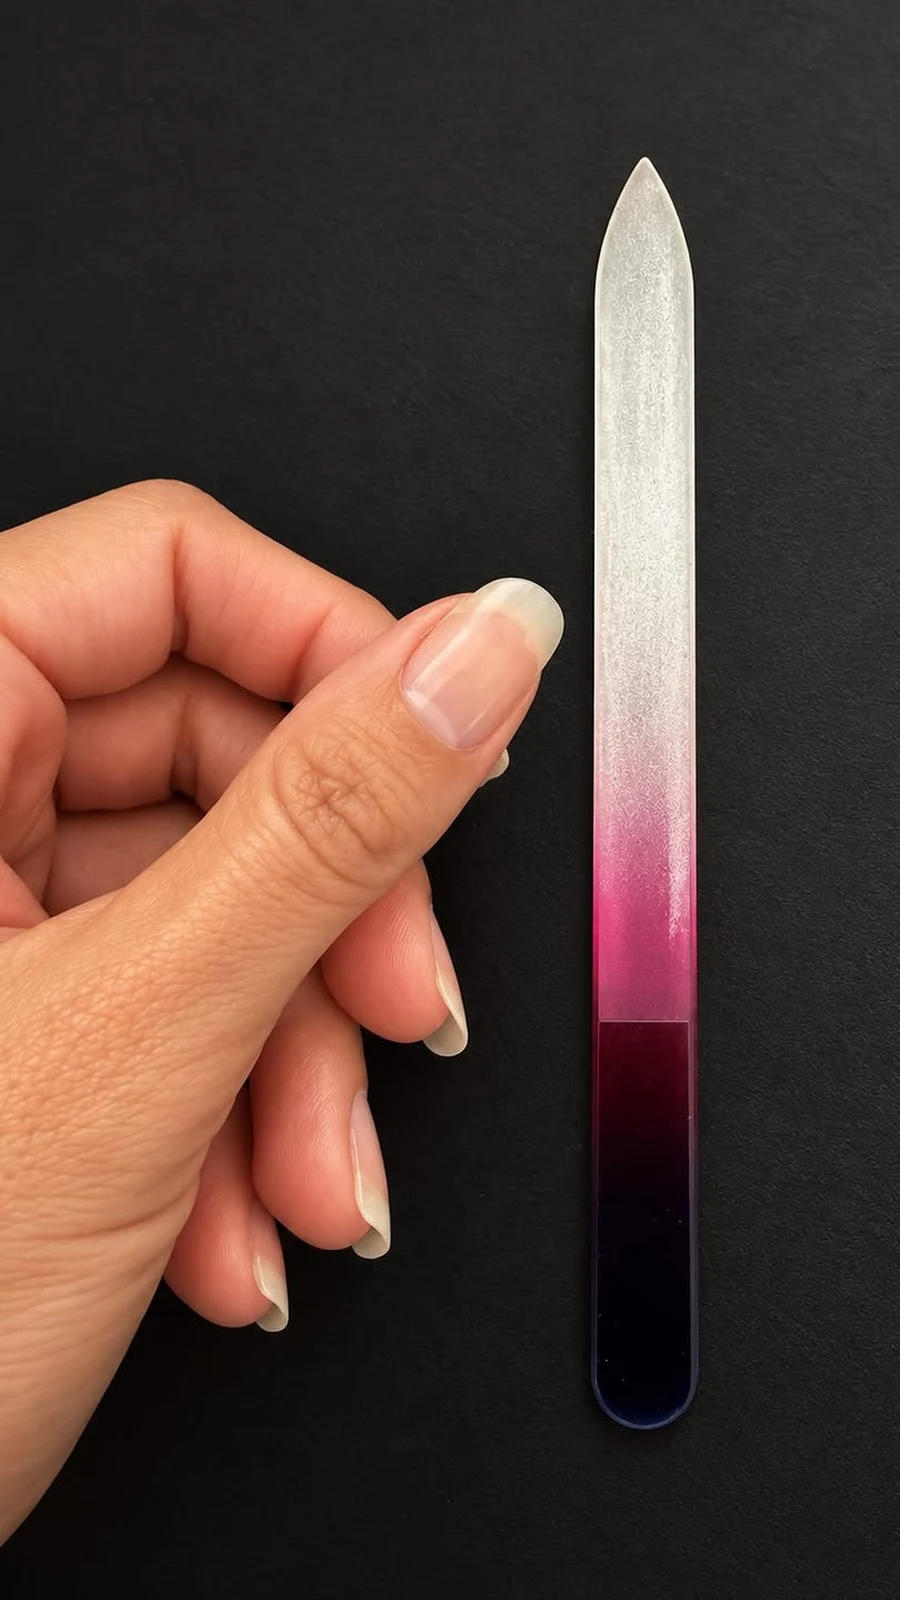
Additional Information: A glass or crystal file is the kindest tool for this job, because it seals the edge of the nail as it files instead of leaving it rough. Keep the file in its case or sleeve so it does not get chipped in your bag — a chipped glass file is useless. If a nail has already split, file it down just past the split and round the corner slightly; a squared corner catches on things, a rounded one glides past them. And if the split is deep, a tiny piece of a tea bag and a drop of nail glue will hold it until it grows out.
Part Two — The 5-Minute Secrets
Five minutes is the length of a song, a kettle boiling, a scroll through your phone. These are the secrets that fit into the gaps of a normal day, and they are where the pantry starts earning its keep.
5. The Warm Lemon-and-Oil Soak
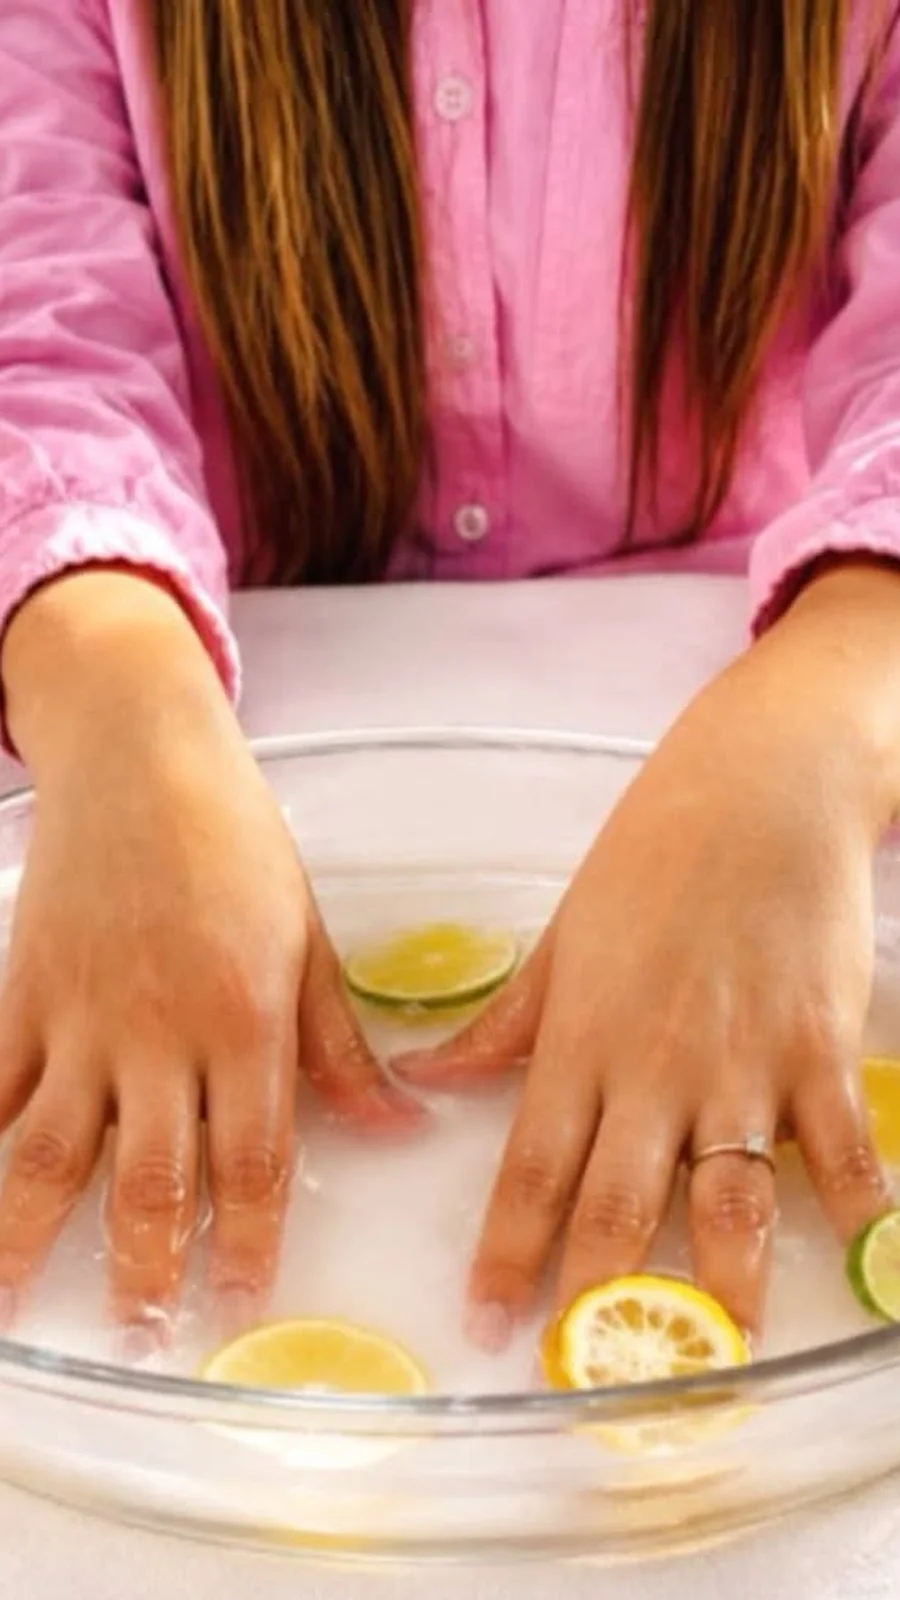
If you only try one recipe from this guide, make it this one. Fill a small bowl with warm water — not hot, just comfortably warm — add a squeeze of fresh lemon juice and a few drops of olive oil, and soak your fingertips for ten minutes. It sounds too simple to work, and that is exactly why people skip it. The warm water softens the cuticles, the lemon gently brightens and cleanses, and the olive oil replaces the moisture the water takes away. Your nails come out clean, soft, and visibly brighter, and your cuticles are ready to be pushed back with a wooden stick, which is far gentler than cutting them.
Make it a ritual rather than a chore: a candle, a cup of tea, ten minutes where nobody needs you. The soak is doing real work while you sit there — softening, cleansing, hydrating — and the ten minutes of stillness is doing its own work too. Do it once or twice a week and you will notice the difference before the month is out: fewer hangnails, cleaner-looking nails, and a cuticle that behaves instead of fighting you.
Additional Information: Add a drop of lavender or eucalyptus oil if you like the scent — it turns a practical soak into a small spa moment. Pat your hands dry afterwards instead of rubbing them, and follow immediately with cuticle oil or hand cream while the skin is still slightly damp, so the moisture gets sealed in. Skip the soak if you have any cuts or broken skin around the nails, because lemon juice on an open cut stings and slows healing. And never soak in water that is actually hot: hot water swells the nail and dries it out, which is the opposite of what you want.
6. The Sugar Scrub You Already Own
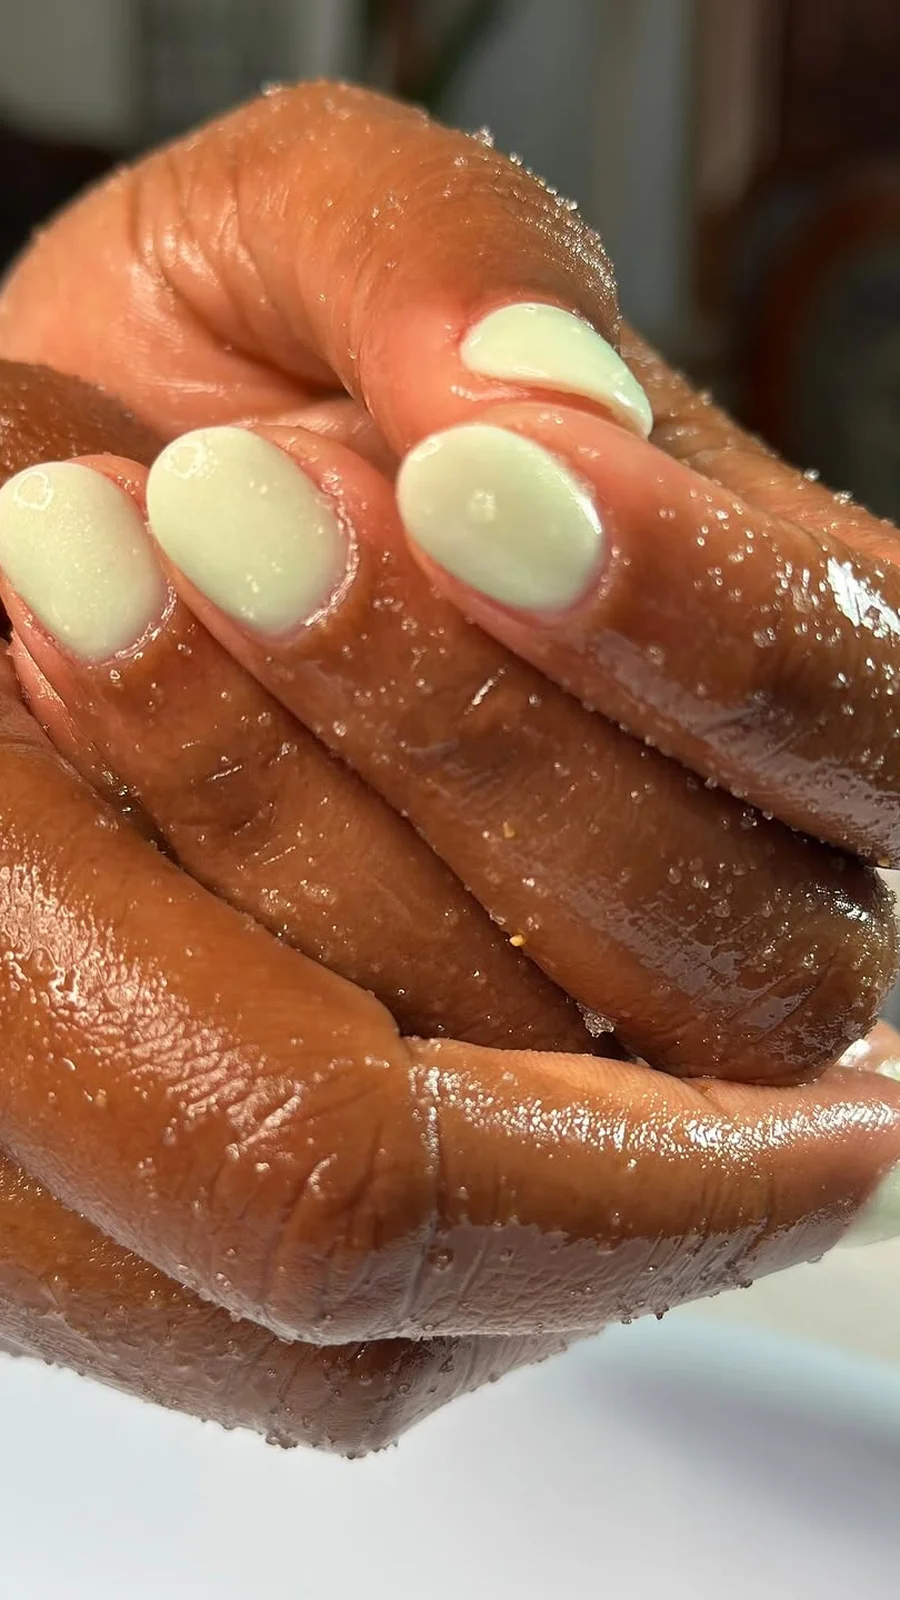
Your hands do everything, and they show it: dry patches, rough cuticles, dull skin that makes even healthy nails look tired. The fix is sitting in your kitchen cupboard. Mix equal parts sugar and olive oil — a tablespoon of each is plenty — and massage it gently over your hands and nails for a minute or two. The sugar sloughs off dead skin, the oil moisturises at the same time, and the massaging boosts circulation to the nail beds. Rinse, pat dry, and put on hand cream. Your hands will feel like somebody else’s: soft, smooth, and noticeably brighter.
Use brown sugar if your skin is sensitive, because its grains are finer and gentler than white sugar. Do it once a week, not every day — over-exfoliating strips the skin and leaves it raw, which is the opposite of the point. And pay attention to the cuticle area while you scrub: a gentle circle around each nail clears away the dry, ragged skin that makes cuticles look untidy, without ever needing to cut anything.
Additional Information: You can make a small jar of this scrub and keep it by the sink — it keeps for weeks, and having it ready is the difference between doing it and meaning to do it. A teaspoon of honey mixed in makes it extra moisturising, and a drop of lemon juice adds brightness. If your hands are very dry, follow the scrub with a thick hand cream and cotton gloves for twenty minutes, and you have turned a two-minute scrub into a proper treatment. Never scrub broken or irritated skin, and wash your hands well afterwards so no sugar residue is left under the nails.
7. Lemon Brightening for Stained Nails
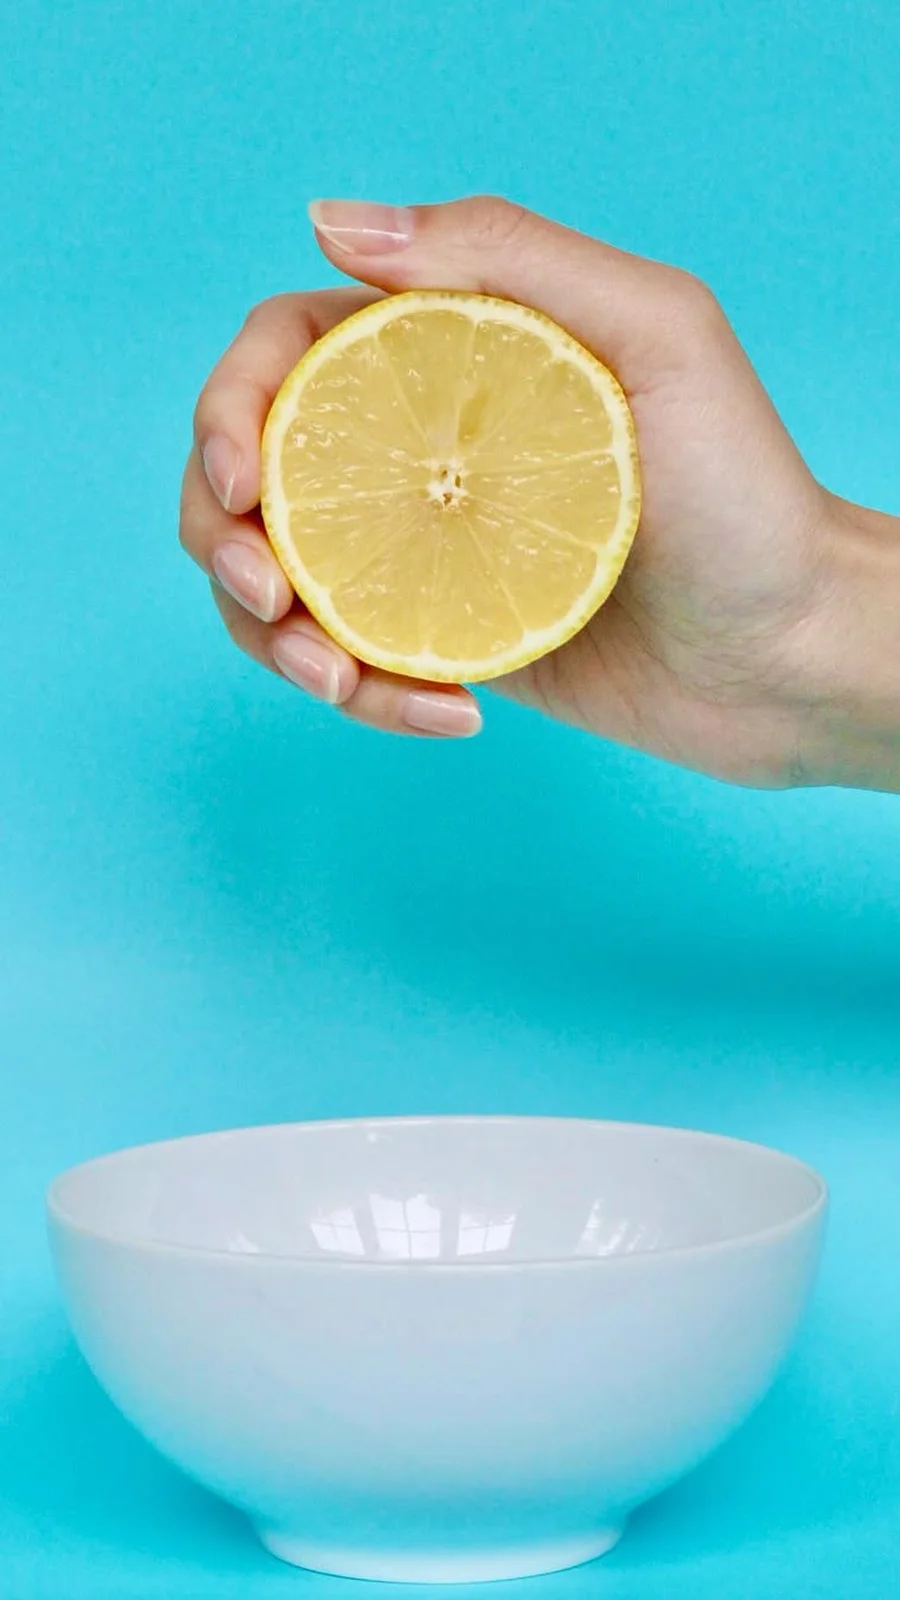
Dark polish is beautiful and it leaves a bill: yellowed, stained nails that look tired even when they are perfectly healthy. The old-fashioned fix still works better than most products sold for the job. Mix fresh lemon juice with a pinch of baking soda to make a gentle paste, smooth it over the stained nails, and leave it for five to ten minutes before rinsing. The lemon lifts the stain, the baking soda gives it the mildest possible scrubbing power, and the nails come out visibly brighter. Follow with cuticle oil, because lemon is brightening but also drying, and you need to put the moisture straight back.
This is a sometimes treatment, not an everyday one — once a week at most, and only on healthy, unbroken skin. Lemon juice on a cut is miserable, and overusing it will dry the nail out faster than the stain ever could. Used gently, though, it is the fastest way to get a bare nail looking clean and bright again, and it costs less than the cotton pads you would use to apply it.
Additional Information: A base coat under dark polish prevents most staining in the first place, so think of lemon brightening as the rescue, not the routine. If your nails are stained and also dry, mix a few drops of olive oil into the paste — it softens the lemon’s drying effect without stopping the brightening. Never use neat lemon juice and then go out in strong sun: lemon on skin plus sunlight can cause irritation and dark marks. Rinse well, moisturise, and save it for an evening at home.
8. File in One Direction Only
Here is the secret the salon technician never explains while she is doing it: she files in one direction. Always. Never back and forth. Sawing a file back and forth across the free edge frays the nail like the end of a rope — microscopically, invisibly, and then very visibly when the nail starts peeling in layers and splitting at the corners. One direction, smooth strokes, lifting the file off the nail between strokes: that is the whole technique, and it is the difference between a nail edge that stays sealed and one that slowly unravels.
Use a glass or crystal file if you can. It is gentler than a metal or coarse emery board, it seals the edge as it files, and it lasts for years. File after a shower, when the nails are slightly softer and more forgiving, and file the shape you actually want: round or oval shapes resist breakage far better than sharp squares, because a corner is a stress point and a curve is not. If you love a square shape, round the corners just a fraction — nobody will see the difference, but your nails will feel it.
Additional Information: Replace emery boards when they go smooth or ragged — a worn file tears more than it files. Clean a glass file under warm soapy water and let it dry, and keep it in its sleeve so it does not chip. Never file the top surface of the nail to smooth ridges: buffing the surface thins the nail plate, and a thin nail is a weak nail. If ridges bother you, a ridge-filling base coat under polish does the job without removing anything. And file dry nails only when you must — slightly damp nails file more cleanly and are less likely to split.
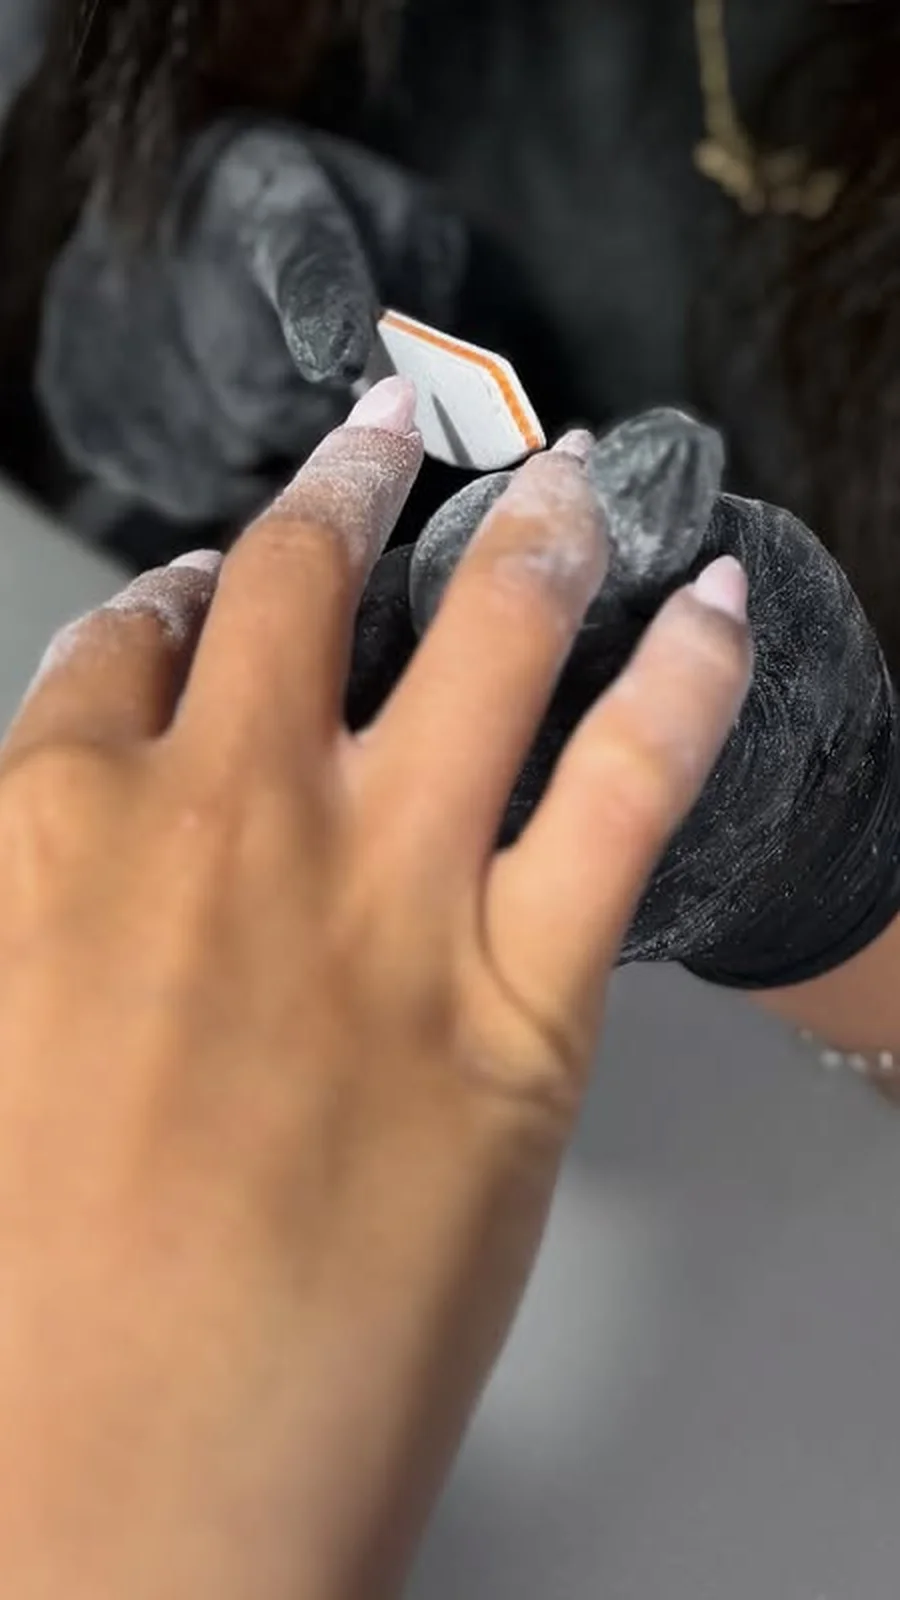
9. Push Cuticles Back After a Shower — Never Cut Them
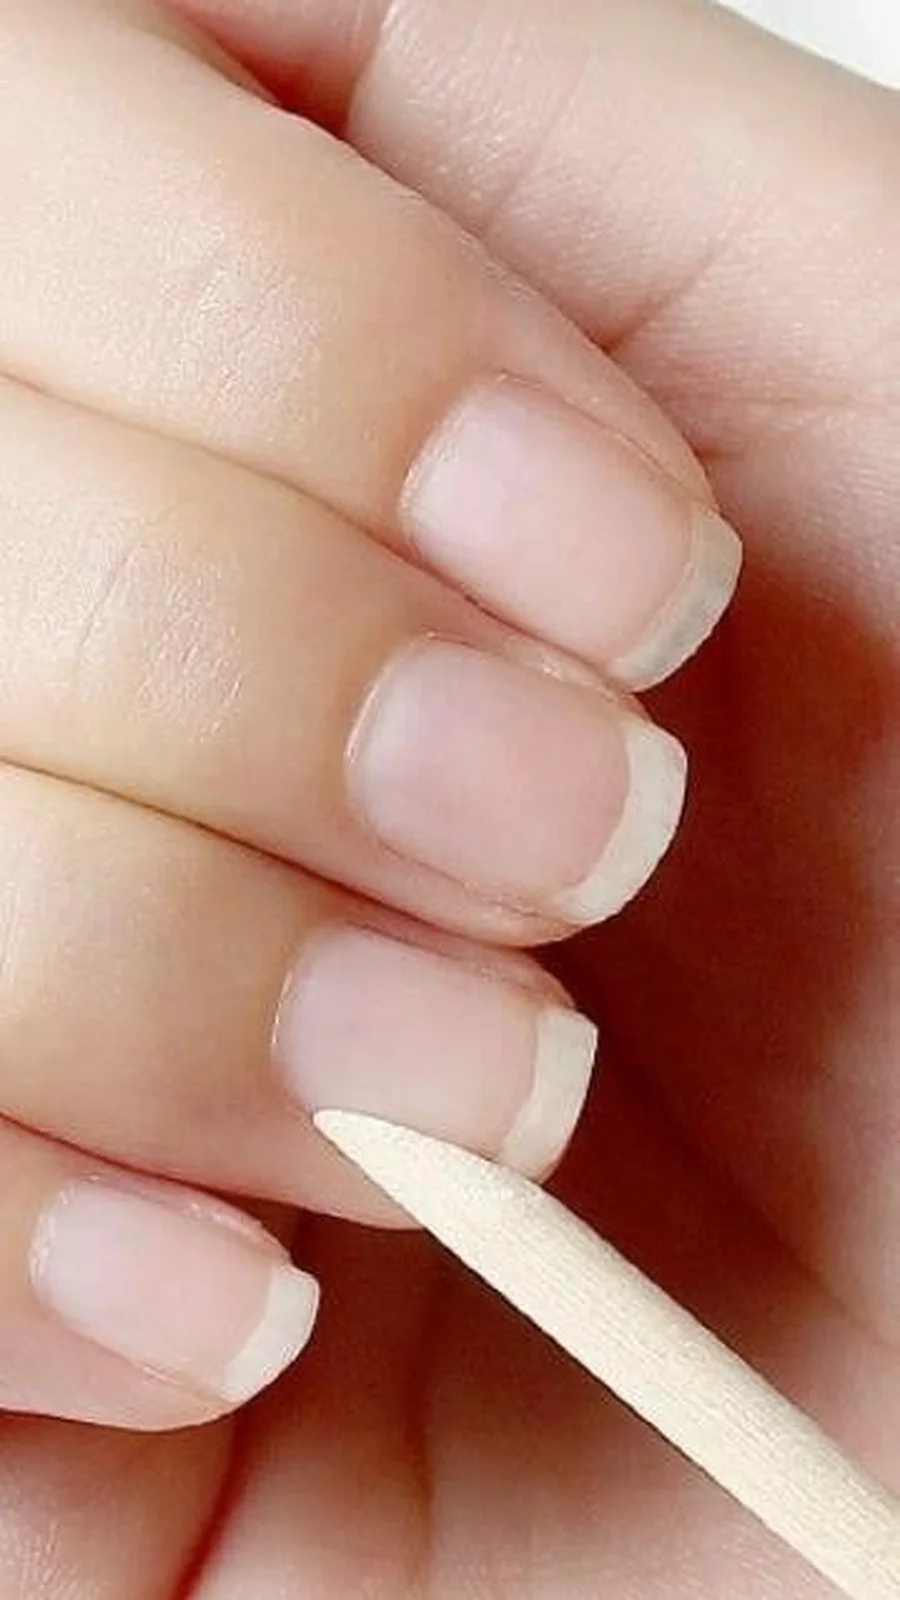
Cuticles have a bad reputation, and they do not deserve it. The cuticle is the seal that protects the nail matrix — the factory where your nail is made — from bacteria and moisture. Cut it, and you have opened the door to infection, redness, and the ragged regrowth that makes cuticles look worse than before. Push it back gently, and you get the same neat look without any of the damage. Every good technician knows this. The ones who cut are the ones you should quietly stop visiting.
The best moment to do it is right after a hot shower, when the skin is soft and warm. Take a wooden orange stick — never a metal pusher, which is too sharp and too easy to press too hard with — and gently nudge the cuticle back toward the finger. No force, no scraping, no digging at the corners. Follow with a drop of oil, and you are done. Two minutes, once a week, and your cuticles will stop being the thing you notice in photos.
Additional Information: If you have hangnails, do not pull them — pulling tears the skin and invites infection. Trim a hangnail carefully with clean, sharp nippers, cutting only the loose piece of skin and nothing else. Keep the nippers clean and dry between uses, and never share them. If a cuticle is red, swollen or sore, leave it alone entirely, keep it clean, and oil it daily until it calms down; if it does not calm down within a few days, that is a conversation for a doctor, not a nail file.
Part Three — The 20-Minute Weekly Rituals
This is the part that feels like a treat, and that is the point. Twenty minutes once a week, on a Sunday evening or whenever your week actually slows down, is enough to do the deep work that the thirty-second secrets cannot reach. Light a candle. Put your phone in another room. Your nails will notice, and so will you.
10. The Deep-Nourishment Mask (The One Worth Waiting For)
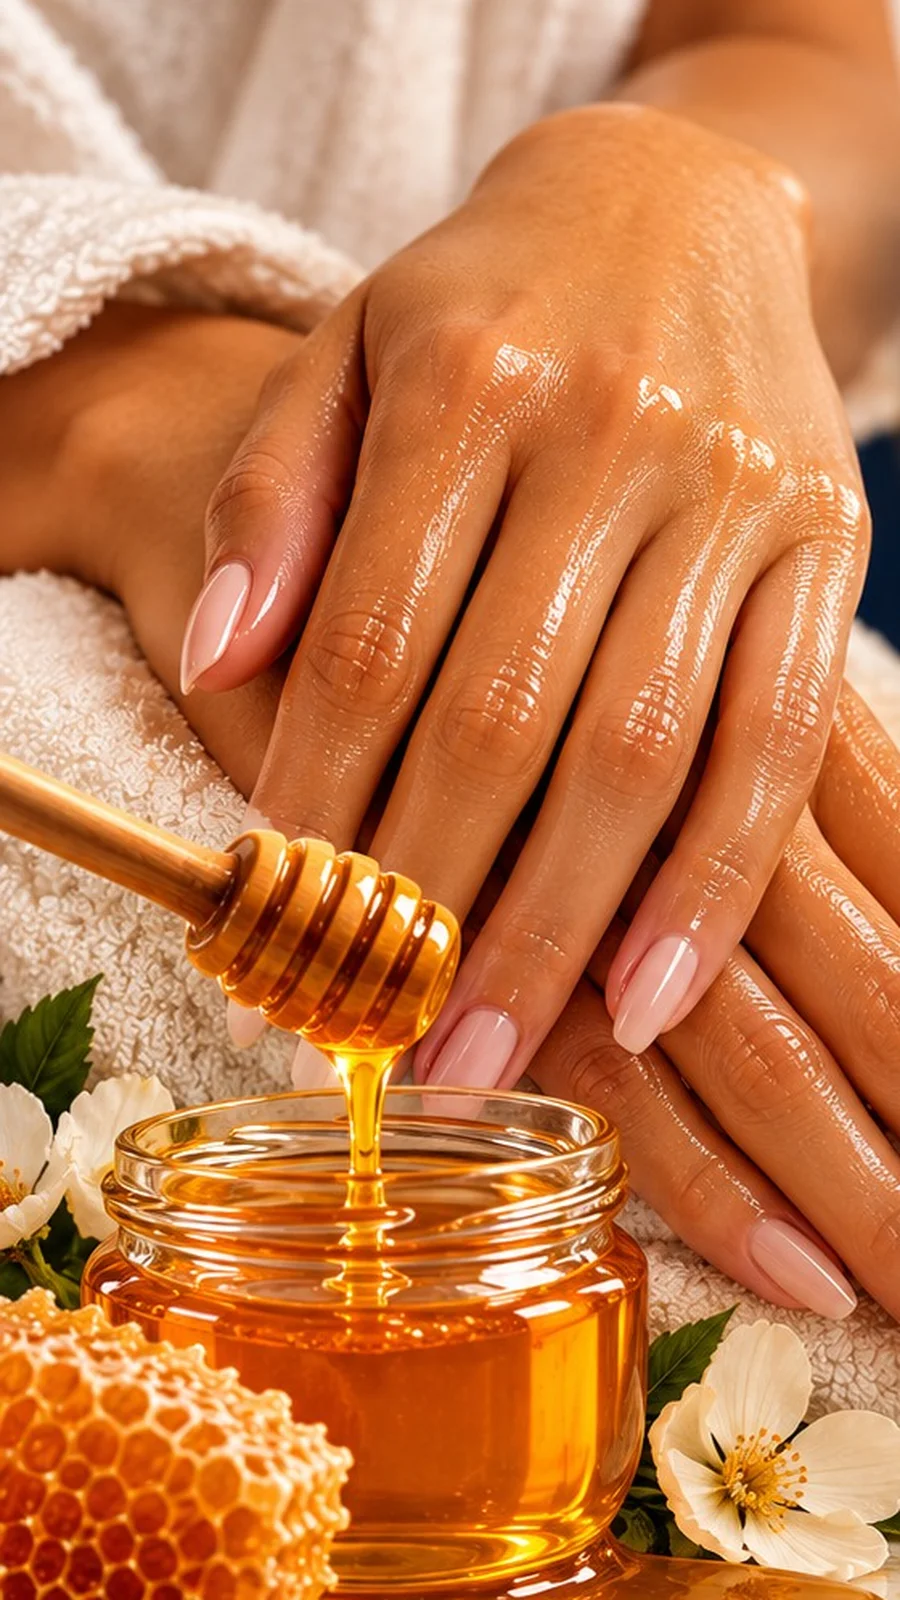
If there is a star of this guide, it is this mask. Mix one tablespoon of olive oil, one teaspoon of raw honey, half a teaspoon of lemon juice, and — if you like — two drops of tea tree oil. Smooth it generously over your nails and cuticles, then wrap your hands in warm towels or slip on a pair of cotton gloves and leave it for twenty to thirty minutes. The olive oil strengthens, the honey draws moisture in and holds it there, the lemon brightens, and the tea tree adds a gentle antibacterial touch. Rinse, seal with cuticle oil, and look at your nails: stronger, smoother, and visibly more luminous.
Do it once a week, on the same evening if you can, because the ritual is part of the effect. A weekly mask is the closest thing to a reset button your nails have — it undoes a week of water, detergent, typing and weather in one sitting. People who do this regularly stop buying strengthening treatments, because they have already found the one that works, and it lives in their kitchen.
Additional Information: Warm the olive oil very slightly before mixing — a few seconds in warm water, not the microwave — because warm oil sinks into the nail and skin far better than cold oil. If your nails are very weak or peeling, skip the lemon juice and double the honey instead; the brightening can wait until the strength is back. Cotton gloves are worth owning for this: they keep the mask on the nails instead of on your sofa, and they turn the whole thing into a proper treatment. Wash and reuse them; a pair costs almost nothing and lasts for months.
11. The Hand Mask Under Cotton Gloves
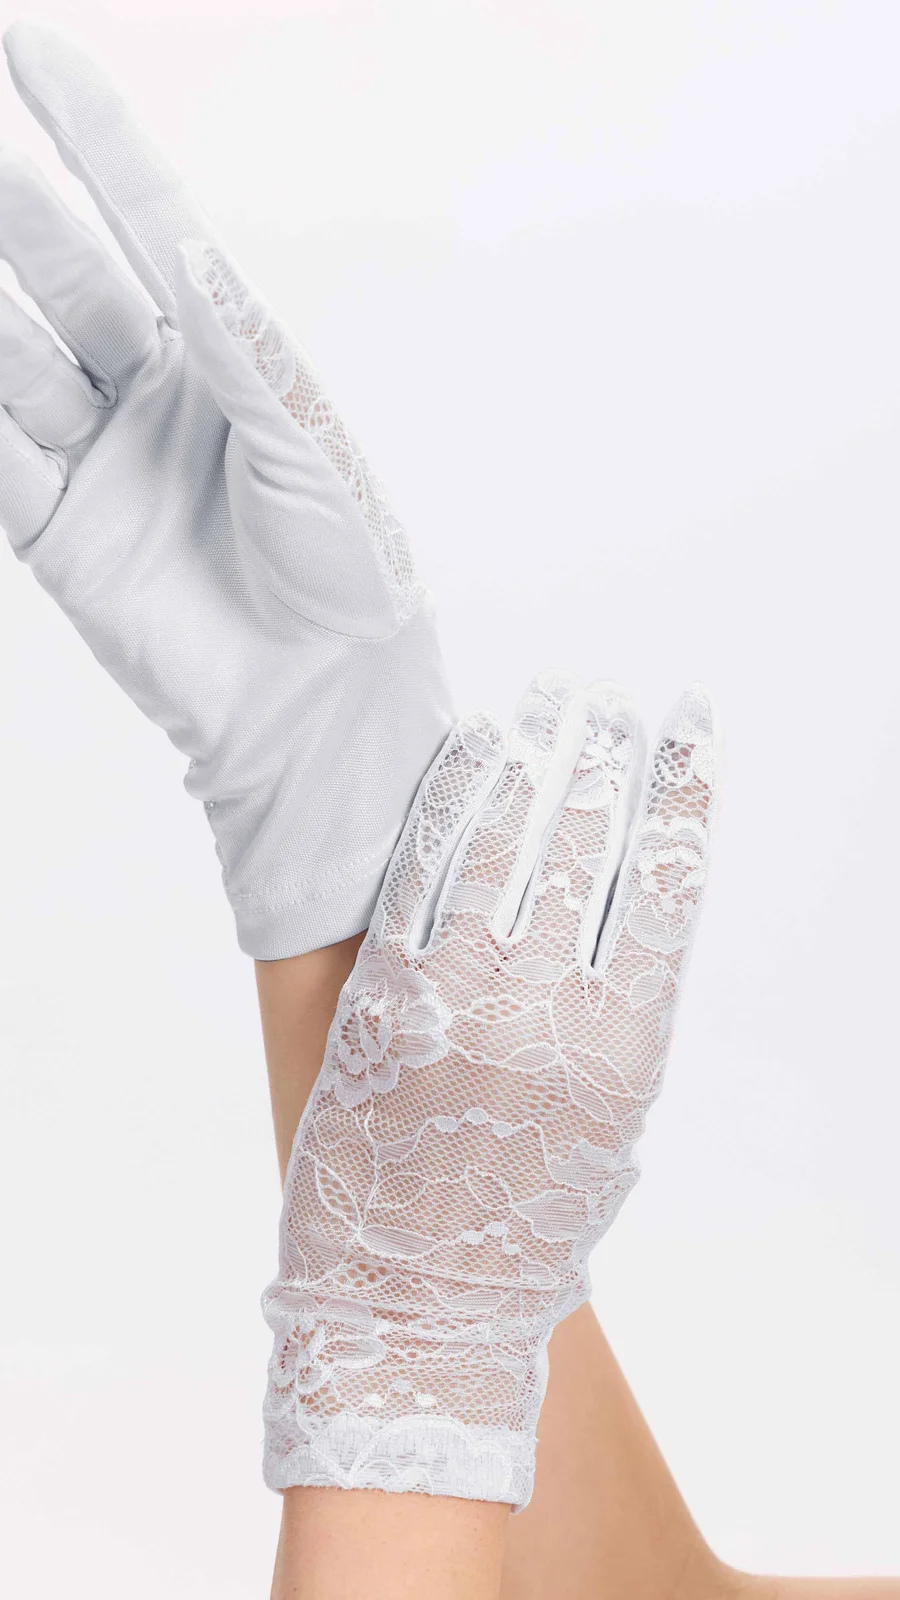
Your hands age faster than almost any other part of you, because they are washed, scrubbed, sunlit and ignored in equal measure — and tired hands make even healthy nails look less healthy. Once a week, give them the same attention you give your face. Mix a tablespoon of honey, a teaspoon of olive oil and a teaspoon of plain yogurt, smooth it over your hands and nails, and slip on cotton gloves for twenty to thirty minutes. The honey draws moisture in, the olive oil seals it, and the yogurt gently exfoliates the dull surface away. Take the gloves off and your hands will feel like they belong to someone who gets regular spa treatments.
The gloves are the secret inside the secret. Without them, the mask rubs off on everything you touch within minutes. With them, it stays where it belongs, your hands stay warm, and the warmth helps everything sink in deeper. It is a small, cheap piece of kit that turns a smear of kitchen ingredients into a treatment a salon would charge you for.
Additional Information: Do this in the evening, when you are done with dishes and handwashing for the day, so the moisture stays in overnight. If your hands are very dry or cracked, use a thicker cream instead of the yogurt mix, and leave the gloves on overnight — you will wake up to hands that feel completely different. Keep a dedicated pair of cotton gloves for this and wash them after each use. And if you wear rings, take them off first: honey under a ring is a sticky situation nobody needs.
12. The Polish Break: Let Your Nails Breathe
Constant colour is hard on nails, especially dark shades, which can yellow the nail plate and leave it looking stained and tired. The fix is simple and costs nothing: go polish-free for three or four days every month. No colour, no gel, no top coat — just bare nails, cuticle oil, and the occasional strengthening mask. It feels strange for the first day if you are used to always wearing polish, and then it feels surprisingly good, like taking your shoes off at the end of a long day.
Use the break properly. This is the week to do the deep mask, the lemon brightening, the careful filing — all the things that are harder to do under polish. Look at your bare nails honestly: are they smooth or ridged, strong or peeling, evenly coloured or stained? A polish break is the only time you can actually see what your nails are doing, and what you see tells you what they need. If they look yellow, they need a break and some lemon. If they peel, they need oil and gloves. If they look fine, then your routine is already working.
Additional Information: Time the break for a quiet week, not the week of a wedding or a big event — nobody needs to feel self-conscious about bare nails at a party. A sheer strengthening base coat during the break is a fair compromise if completely bare feels too exposed: it protects the nail while still letting you see what is happening underneath. And when you do go back to polish, start with a proper base coat — it is the single best defence against the staining that made the break necessary in the first place.
13. Do Not Forget Your Feet
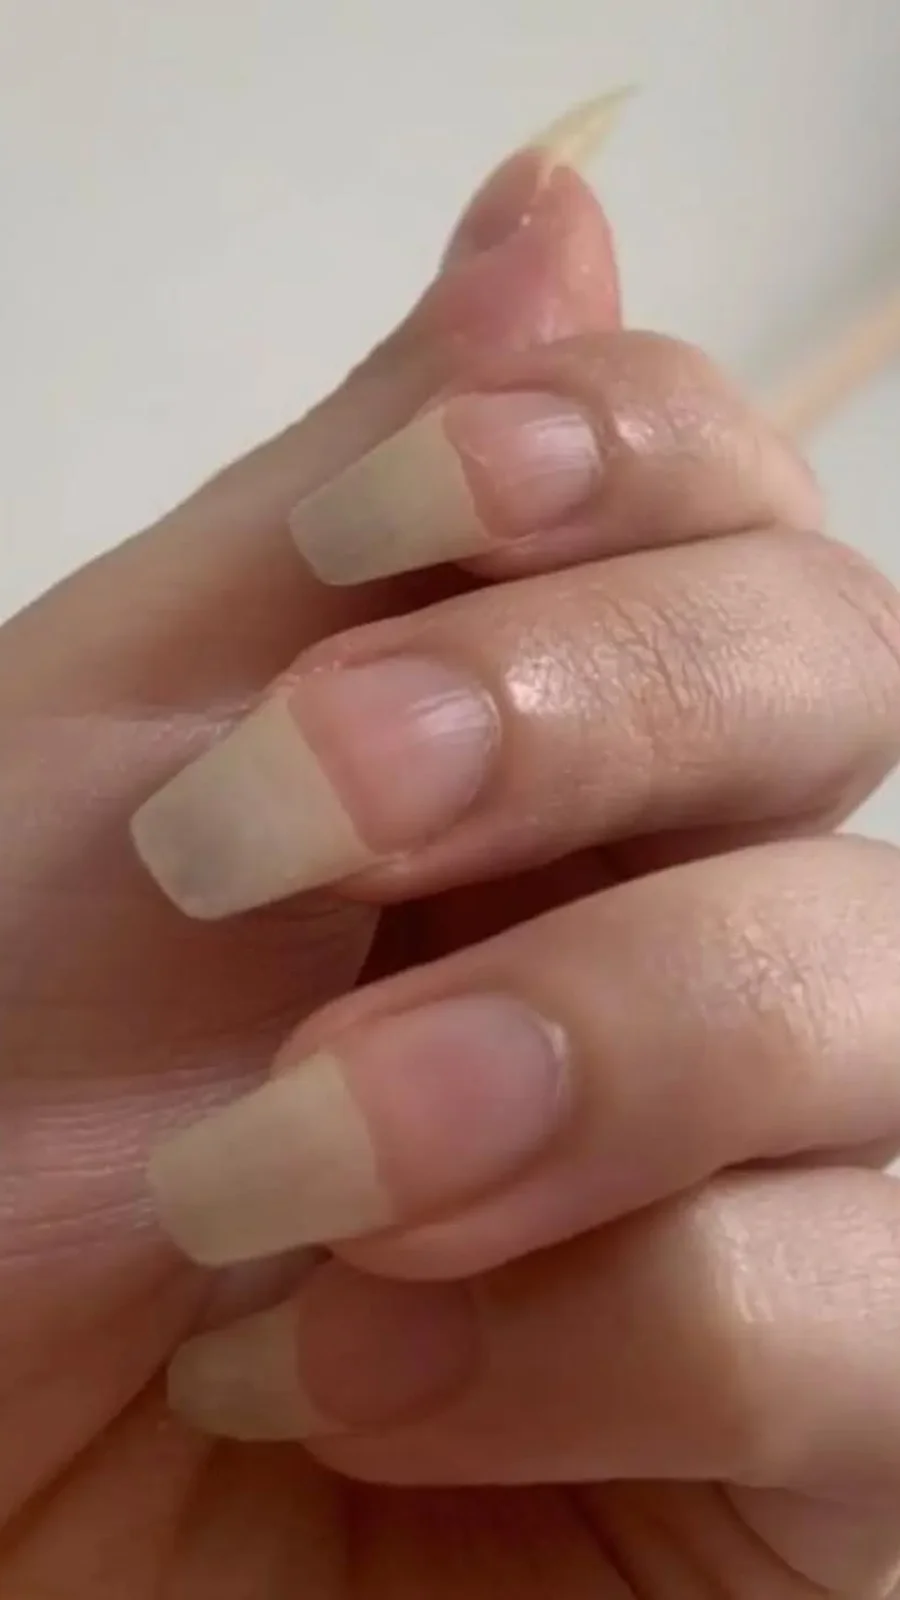
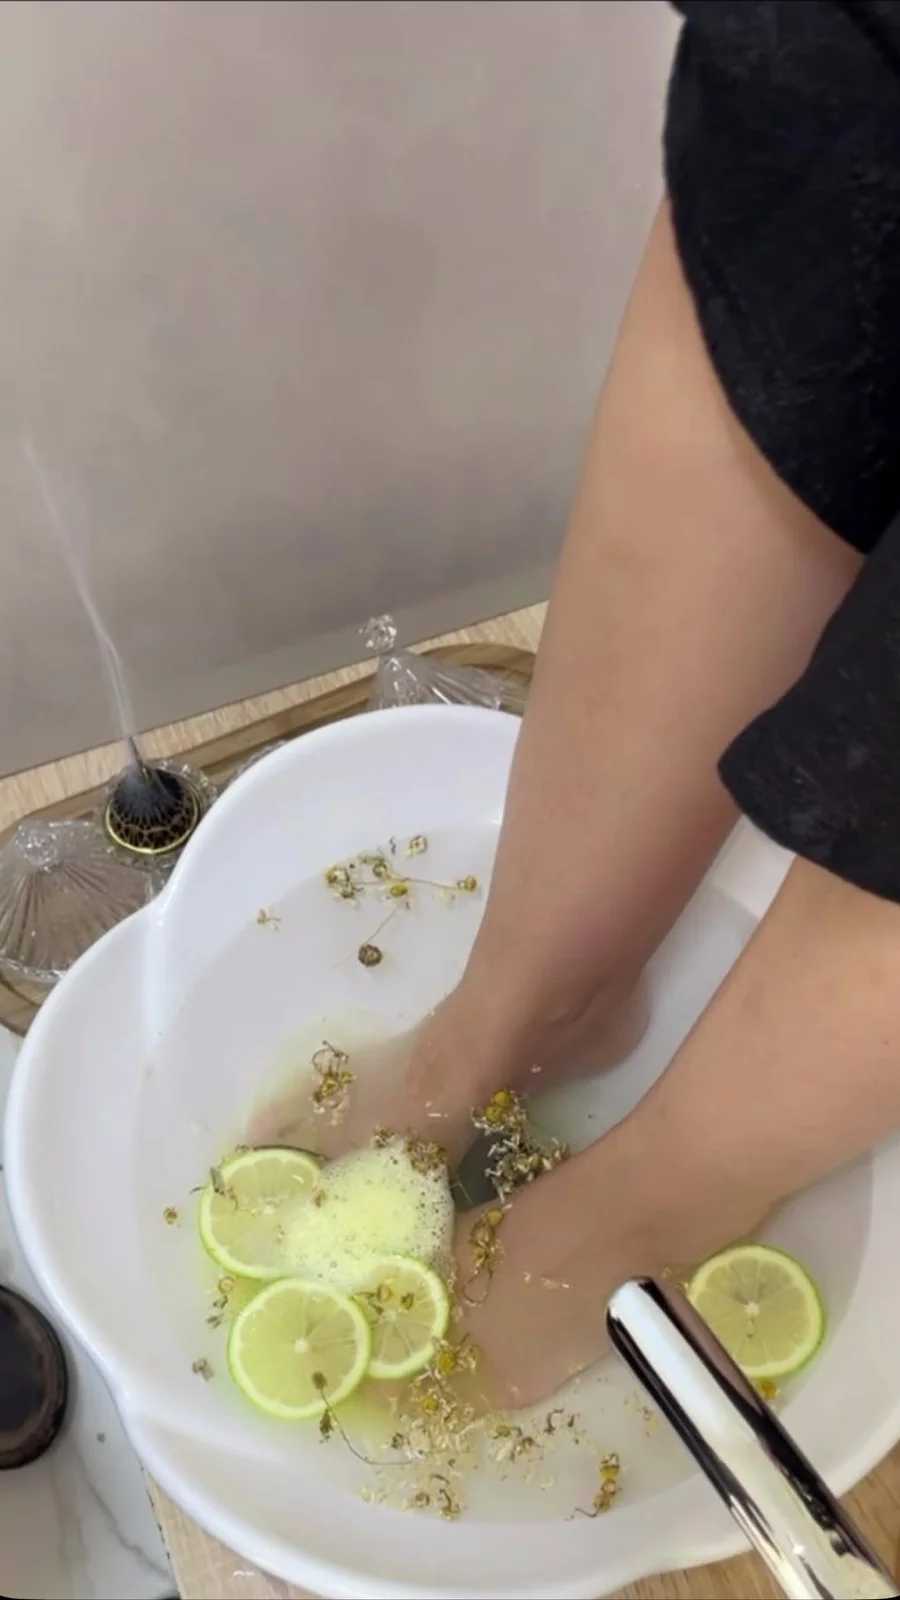
Toenails are nails too, and they get the worst deal of any nails on your body: squeezed into shoes all day, ignored for months, and then suddenly expected to look presentable in sandals. Once a week, give them ten minutes. Soak your feet in warm water with Epsom salt, which softens the skin and the nails and feels wonderful after a long day. Trim the toenails straight across — never curved, and never too short — then file the edges smooth and moisturise with foot cream and a drop of cuticle oil on each toe.
Straight across is the rule that matters most, because curved toenails grow into the skin at the corners and become ingrown, which is painful, slow to heal, and entirely avoidable. Keep them short enough that they do not press against the front of your shoes, and never share the tools you use on your feet with the ones you use on your hands. A full at-home pedicure is self-care for your whole body, and it takes less time than an episode of your favourite show.
Additional Information: If your toenails are thick or hard to cut, soak them first — ten minutes in warm water softens them enough to trim cleanly. Use a separate pair of clippers for your feet and clean them after every use. Moisturise the feet properly, including between the toes, but dry well between the toes afterwards: trapped moisture there is what fungal problems love. And if a toenail is persistently painful, discoloured, or lifting, that is a job for a doctor or a podiatrist, not a home treatment.
Part Four — The Once-a-Month Resets
These are the secrets you do rarely, which is exactly why they are easy to forget — and why they matter. Once a month, give your nails the same kind of reset you give your wardrobe at the change of a season: check everything, clean everything, throw out what is past its best.
14. Clean Your Tools Like You Mean It
Your nail tools touch your nails, your cuticles, and occasionally a tiny nick of skin — and then they go back in a drawer, unwashed, until next time. A dirty clipper or file is a very efficient way to move bacteria from one nail to another, and it is one of the most common causes of the small, annoying infections around the cuticle that nobody can explain. Cleaning your tools is not fussy. It is basic hygiene, and it takes five minutes a month.
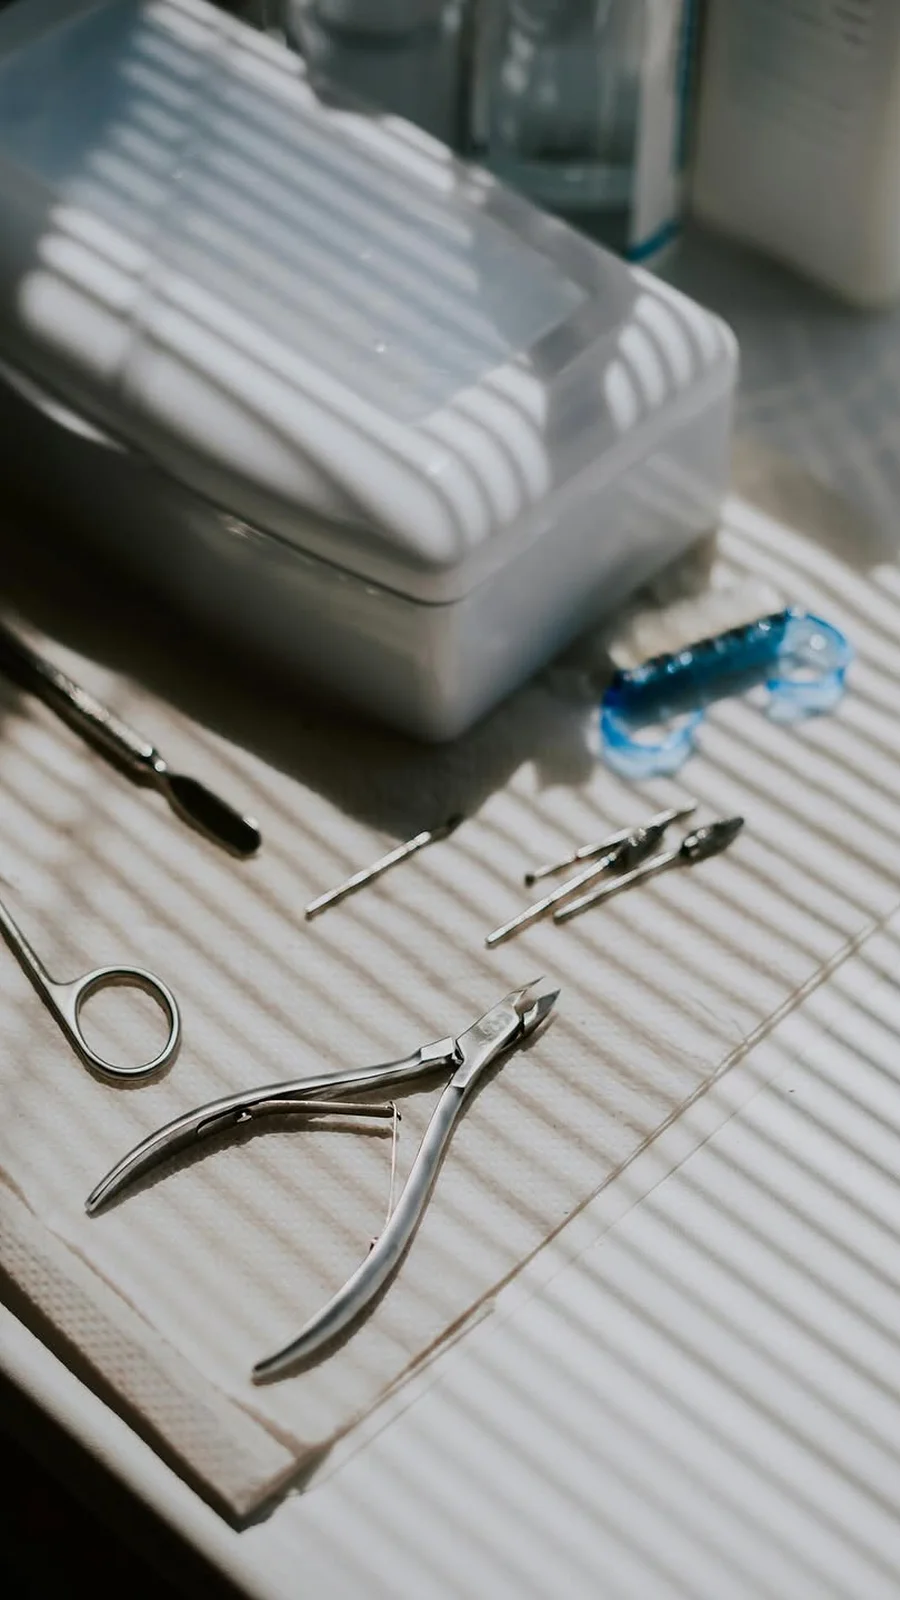
Wash clippers, nippers and metal tools in warm soapy water, dry them completely, and wipe them with rubbing alcohol or a proper tool disinfectant. Let them air-dry before they go back in the drawer, because damp tools rust and rust is the end of a good clipper. Wash glass files under warm soapy water. Throw away emery boards when they go smooth or ragged, and never share tools with anyone else — not even family. Your tools are personal, like your toothbrush, and they should be treated that way.
Additional Information: If you get your nails done at a salon, this secret applies there too: watch what the technician does with her tools. Clean, sealed, single-use files and properly disinfected metal tools are the mark of a good salon; tools pulled from an unlabelled drawer are a reason to find a different one. At home, keep your tools in a small pouch or case rather than loose in a drawer, where they get blunt and dirty. And replace a file or buffer the moment it stops working properly — a worn tool does more damage than no tool at all.
15. The Sunday Damage Check
Once a month, look at your nails properly. Not a glance while you are doing something else — a real look, in good light, one hand at a time. Are there ridges running down the nail? White spots? A yellow tinge? A nail lifting at the corner, or a cuticle that is red and sore? Most nail problems start small and stay small if you catch them early, and they become months-long problems if you do not. A weekly glance and a monthly proper check is the whole system, and it takes less time than reading this paragraph.
Most of what you find will be ordinary: a ridge from a knock you forgot, a white spot from a bump, a bit of dryness. Oil it, file it, carry on. But learn the signs that mean something more. A nail that lifts away from the bed, a dark line running down the nail, a cuticle that stays red and swollen, or a nail that changes colour or shape for no reason — those are not home-treatment problems. Those are worth showing to a doctor, sooner rather than later, because nails can be an early warning system for things happening elsewhere in the body, and early is always better.
Additional Information: Take a photo of your bare nails once a month, in the same light, and keep it in a folder on your phone. It sounds excessive until the month you wonder whether that ridge was there before, or whether a spot is growing — and then you have an answer instead of a guess. Check the skin around the nails too, not just the nails themselves: dry, cracked skin around the nail is usually just dryness, but persistent redness or soreness deserves attention. And if you wear polish all the time, do the check during your monthly polish break, when you can actually see what is going on.
16. Read the Label Before the Colour
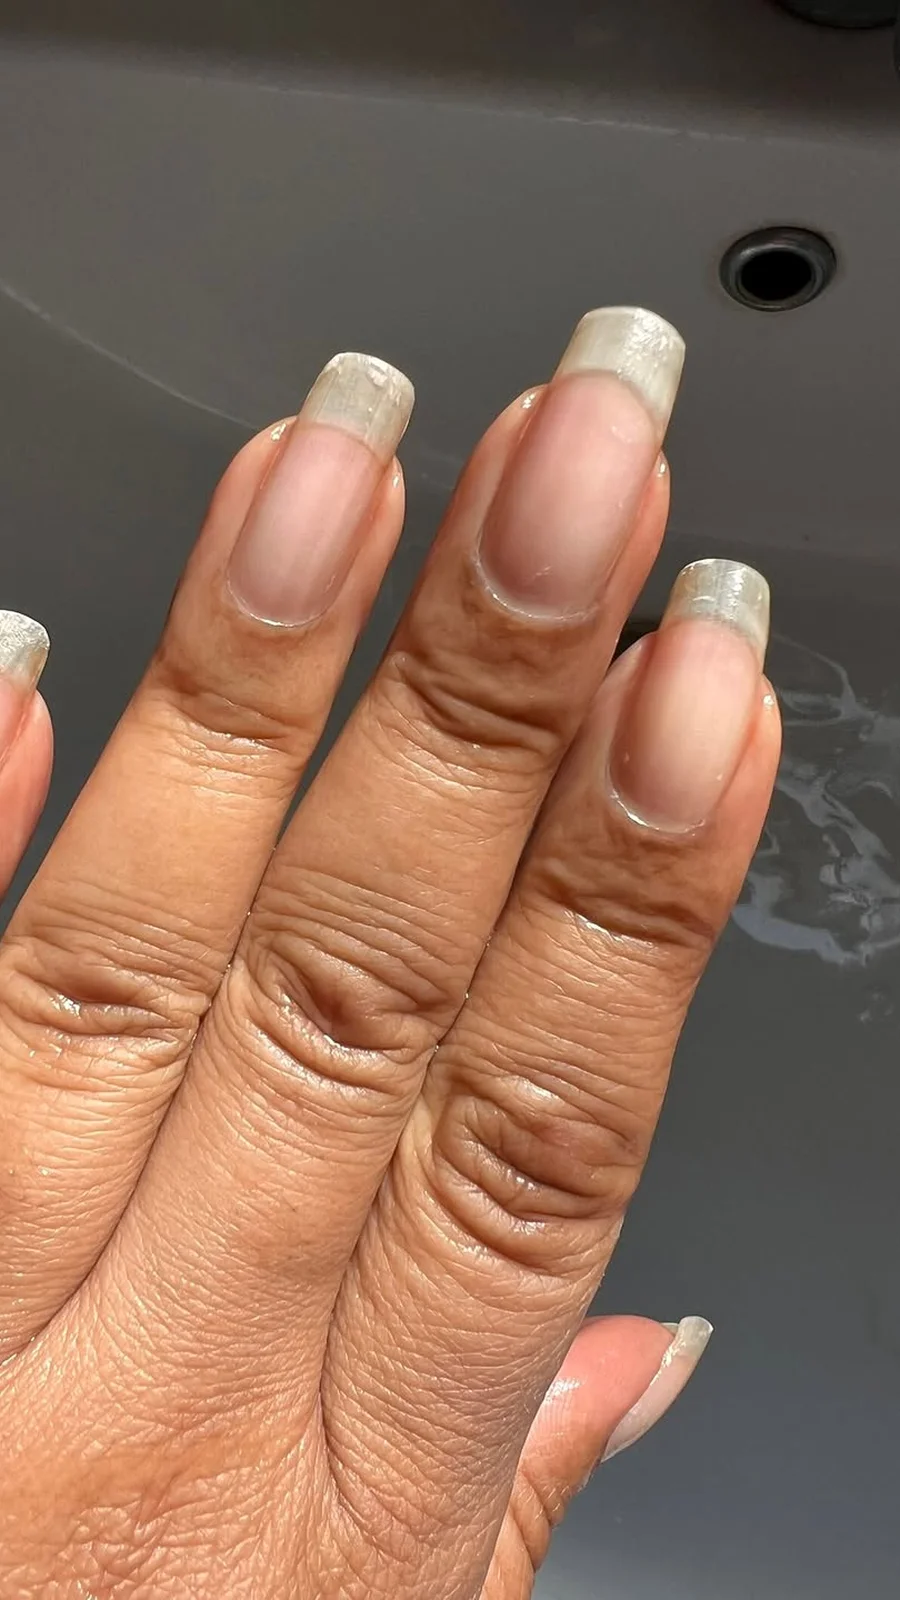
The prettiest bottle on the shelf is not always the kindest one to your nails. Some polishes still contain the old “toxic trio” — formaldehyde, toluene and DBP — which dry the nail out, irritate the skin around it, and make the polish itself harder to remove. You do not need a chemistry degree to avoid them. Look for bottles marked “3-free”, “5-free” or higher, which means those chemicals have been left out. Most good brands print it proudly on the front of the bottle, because they know it matters.
And then there is the base coat, which is not optional, however tempting it is to skip it. A base coat does three jobs at once: it stops dark colours staining the nail, it smooths out ridges so the colour goes on evenly, and it gives the polish something to grip, so it lasts longer. Choose one with keratin or biotin if your nails are weak, use it every single time you paint your nails, and let it dry properly before the colour goes on. It is the cheapest insurance in your whole nail kit, and it is the step most people skip.
Additional Information: The same rule applies to remover: acetone-free remover is kinder to the nail than pure acetone, especially if your nails are already dry or peeling. If you use acetone remover, follow it immediately with cuticle oil or hand cream to put the moisture back. Store your polishes upright, away from heat and sunlight, and throw away any bottle that has gone thick, gloopy or separated — old polish applies badly and chips within a day. And if a polish ever makes your nails or the skin around them sting, itch or go red, stop using it: that is your body telling you something, and it is worth listening to.
The Inside Secret: What You Eat and Drink
Here is the secret that no bottle on your shelf can replace: nails are built from the inside. They grow from the matrix under the cuticle, and what that matrix has to work with is whatever you ate and drank. Biotin gets the most attention — it is the B vitamin linked to stronger, less brittle nails — and the easiest way to get it is food: eggs, almonds, avocados, sweet potatoes, salmon. You do not need a supplement to get enough of it, and if you are thinking about one, talk to your doctor first, because more is not always better.
Water matters just as much, and it is the one people forget. Dehydrated nails crack and peel, exactly like dehydrated skin flakes. Six to eight glasses a day is the usual guidance, and water-rich foods — cucumber, watermelon, oranges — count toward it. Caffeine and alcohol dehydrate, so if you drink a lot of either, your nails are paying for it. None of this will transform your nails overnight, because nails grow slowly, about three millimetres a month. But three months of eating well and drinking enough water will show in the new growth, and new growth is the whole game: you cannot fix the nail you have, only grow a better one.
How to Build Your Own Routine
Sixteen secrets is a lot, and nobody is going to do all of them from tomorrow morning. Do not try. Pick three: the bedtime oil drop, the gloves, and the monthly polish break, for example. Do those for a month and see what changes. Then add the weekly soak. Then the mask. The routine that works is the one you actually do, and the one you actually do is the one that fits into your real life, not the one that looks impressive on paper.
A simple version, if you want one: oil every night, gloves for every wet job, file every snag the moment you feel it. Once a week, soak and mask. Once a month, check your nails, clean your tools, and give them a few bare days. That is the whole system, and it fits on a sticky note on the bathroom mirror. Start tonight, with the oil drop. It takes thirty seconds, and it is the beginning of everything else.
FAQ
How long does it take to see stronger nails?
Nails grow about three millimetres a month, so you are waiting for new, healthier growth to replace the old nail — usually six to eight weeks before you see a real difference, and three to four months for a full transformation. The cuticles and skin around the nails improve much faster, often within two weeks of nightly oiling. Be patient: consistency beats intensity, and small daily care always wins over occasional grand gestures.
Can I do all of these secrets if I wear gel or acrylics?
Most of them, yes. Oiling, gloves, the sugar scrub, the hand mask and the polish break (between sets) all help, and they are arguably more important with enhancements, because the natural nail underneath needs the care. Never peel gel or acrylics off yourself — that is the number one cause of thin, damaged nails after a set. Soak them off properly, or have them removed at a salon, and give your natural nails a week of oil and rest before the next set.
What is the best oil for nails and cuticles?
Jojoba oil is the favourite of most technicians because it closely resembles the skin’s own oils and sinks in well. Vitamin E oil is excellent for very dry or damaged cuticles. Sweet almond oil and olive oil are good, affordable alternatives, and coconut oil works well as an overnight treatment. The best oil is honestly the one you will use every night — a cheap oil used daily beats an expensive oil that sits in a drawer.
Are home remedies like lemon and baking soda safe for nails?
Used gently and occasionally, yes. Lemon brightens and baking soda gives the mildest scrub, but both are drying, so always follow with oil or moisturiser, never use them on broken or irritated skin, and do not use them every day. If your nails are very dry, weak or damaged, skip the lemon entirely and focus on oil and moisture first — brightening can wait until the nail is strong again.
How often should I trim and file my nails?
Trim every ten to fourteen days, straight across for toenails and to your preferred shape for fingernails, and file the edges smooth afterwards. File in one direction only, with a glass file if you can, and file snags the moment you feel them rather than waiting. Keeping nails at a length that suits your life — short if you type or do manual work, medium if you want room for polish — prevents most breakage before it starts.
When should I see a doctor about my nails?
If a nail lifts from the bed, develops a dark line running down it, changes colour or shape without explanation, or if the skin around it stays red, swollen or painful for more than a few days, see a doctor. Persistent ridges, brittleness or discolouration that does not improve with a month of good home care is also worth mentioning. Nails can reflect what is happening elsewhere in the body, and early attention is always better than waiting.
The Secret Behind All the Secrets
If there is one thing to take from this guide, it is this: healthy nails are not bought, they are built — one small, boring, thirty-second habit at a time. The oil drop before bed. The gloves before the dishes. The file in your bag. The soak on a Sunday. None of it is glamorous, and none of it needs a salon appointment. It just needs you, showing up for your hands the way you show up for everything else in your life.
So start tonight. One drop of oil, ten seconds of massage, and you have already begun. Your nails grow slowly, but they grow surely, and three months from now the nails you are looking at will be the ones you grew with these secrets. That is the whole trick, and now you know it. Keep it, share it, and enjoy the feeling of hands that look after themselves — because you looked after them first.

Leave a Reply