Nail care looks simple from the outside. You paint your nails, they look nice for a few days, and then they chip, and you start again. But anyone who has actually tried to keep their nails looking good for more than a week knows there is more going on: nails that peel at the tips, cuticles that tear, polish that bubbles, a break that always happens on the same finger, right before something important. None of that means your nails are hopeless. It usually means nobody ever showed you the basics, in order, without jargon.
This guide is that beginning. It is written for someone who has never had a proper nail routine — maybe you bite your nails, maybe you have never owned a nail file, maybe you have been painting over the same weak, peeling nails for years and wondering why nothing sticks. We start with what a nail actually is, because once you understand the parts you are working with, the rest of nail care stops feeling like guesswork. Then we build the toolkit, the weekly routine, the shaping and the polishing, and finish with the problems that show up most often and the exact point where a professional should take over. Nothing here needs expensive products or salon skills. What it needs is a little consistency — ten minutes a week, the same order every time, and the patience to let your nails grow out stronger instead of chasing a quick fix.
One promise before we start: you do not need perfect nails to begin. You need a starting point and a routine you can actually keep. That is what this guide gives you.
What Healthy Nails Actually Look Like
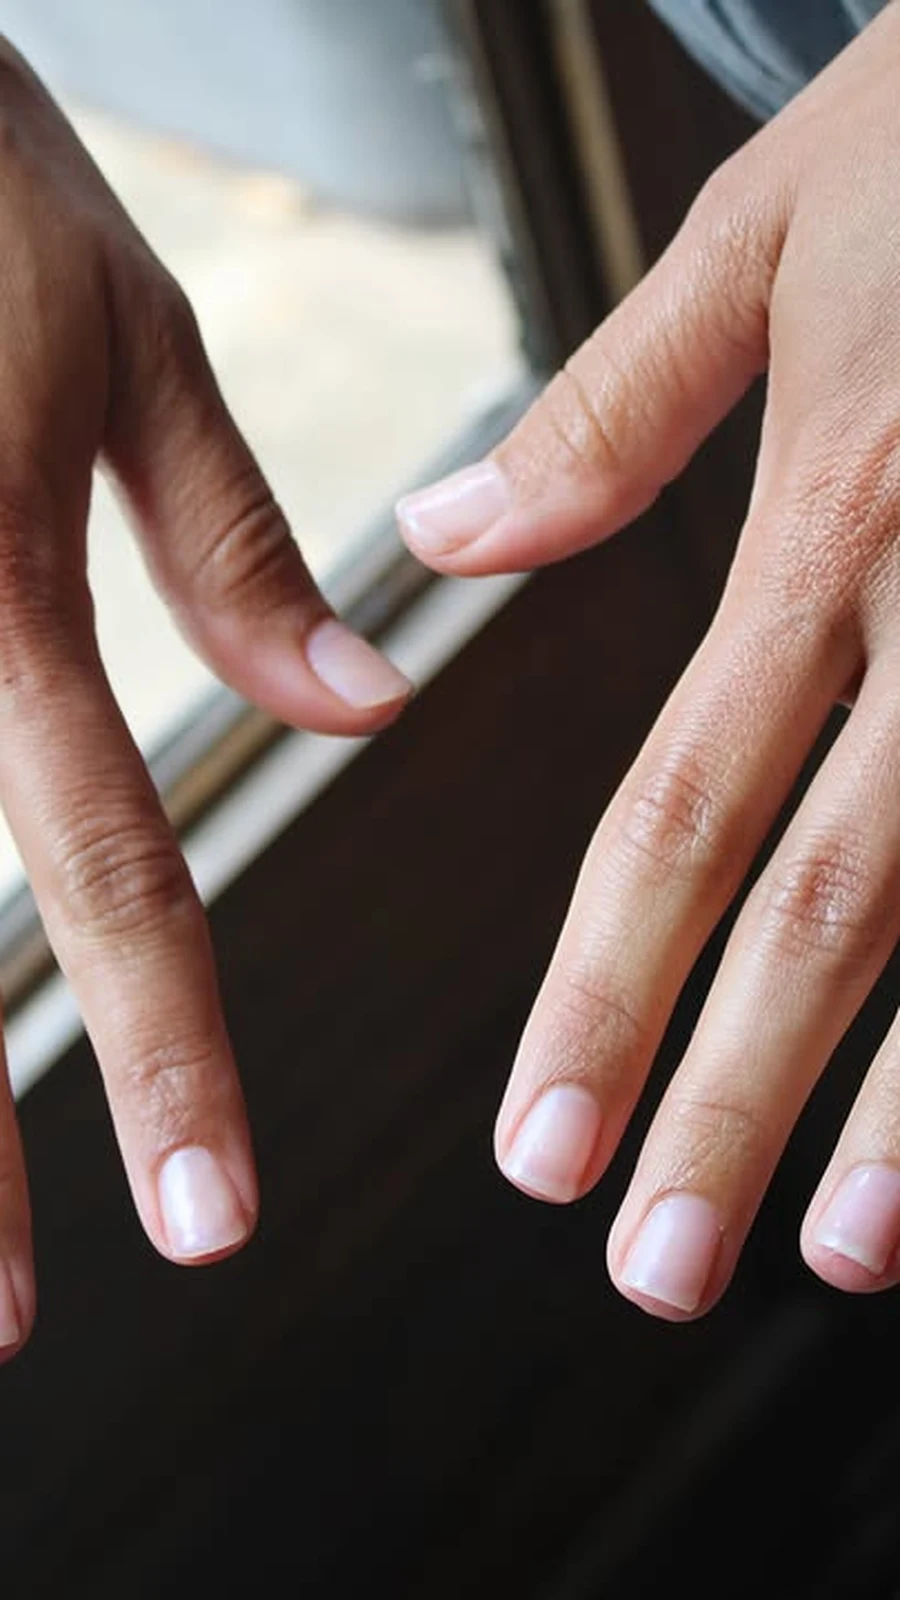
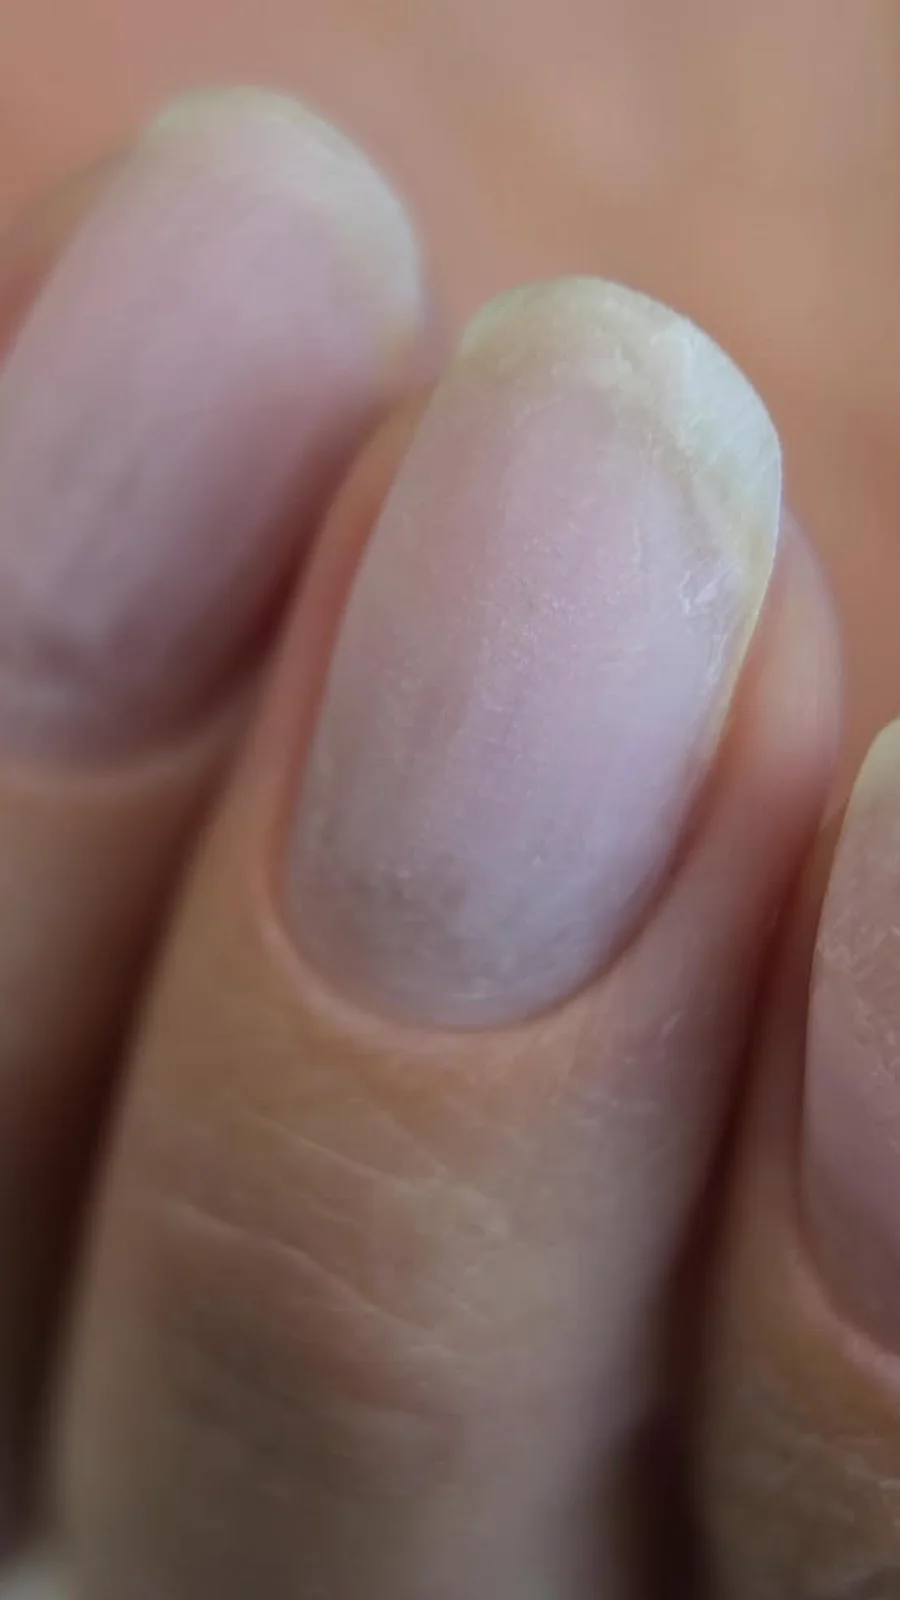
Before you fix anything, it helps to know what you are aiming for. A healthy fingernail is smooth on the surface, with a gentle curve from side to side and a slight arch from base to tip. The colour is a soft pink, coming from the blood vessels in the nail bed underneath, and the little pale half-moon at the base — the lunula — is visible on at least a few fingers, most often the thumbs. The skin around the nail lies flat and calm, without redness, swelling, or torn edges. The nail itself feels firm but slightly flexible; if you press the tip, it bends a fraction and springs back instead of snapping or peeling apart in layers.
That is the baseline, and it is worth memorising, because it is the picture you compare everything against. Most people never look at their nails in good light until something goes wrong, and by then they cannot tell whether a mark is new or has been there for months. So make this your first habit: once a week, hold your hands out in daylight, palms down, and really look. Note the colour, the smoothness, the skin around each nail. Healthy nails are not flawless — a faint ridge here or a tiny white spot there is normal — but they are consistent. When something changes from your baseline, you will spot it early, and early is when most nail problems are easiest to fix.
It also helps to know that healthy nails are not the same as beautiful nails in a magazine. Magazine nails are almost always enhanced — gel, acrylic, or at least a ridge-filling base coat and a professional photographer. Your goal is not that. Your goal is nails that are strong, clean, and cared for, because polish looks better on a healthy nail than on any amount of product layered over a damaged one.
Additional Information: Take a clear photo of both hands in daylight today, before you change anything. Date it and keep it. In a month you can compare, and the difference a simple routine makes is usually obvious — smoother surface, calmer cuticles, less peeling at the tips.
Your Nails, Explained in Plain Words
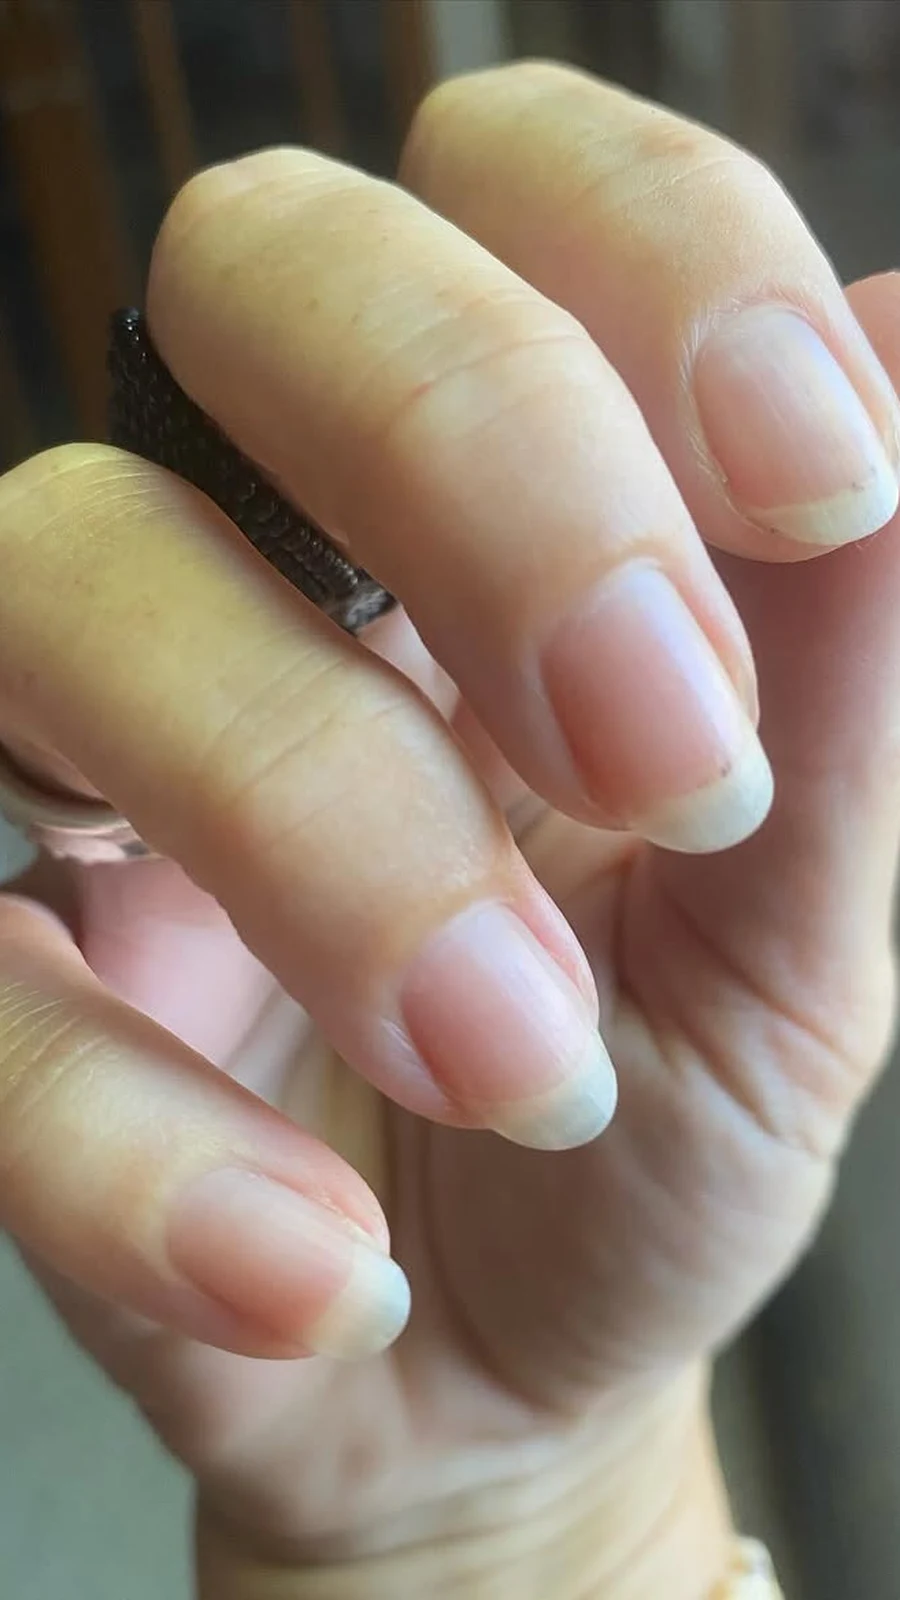
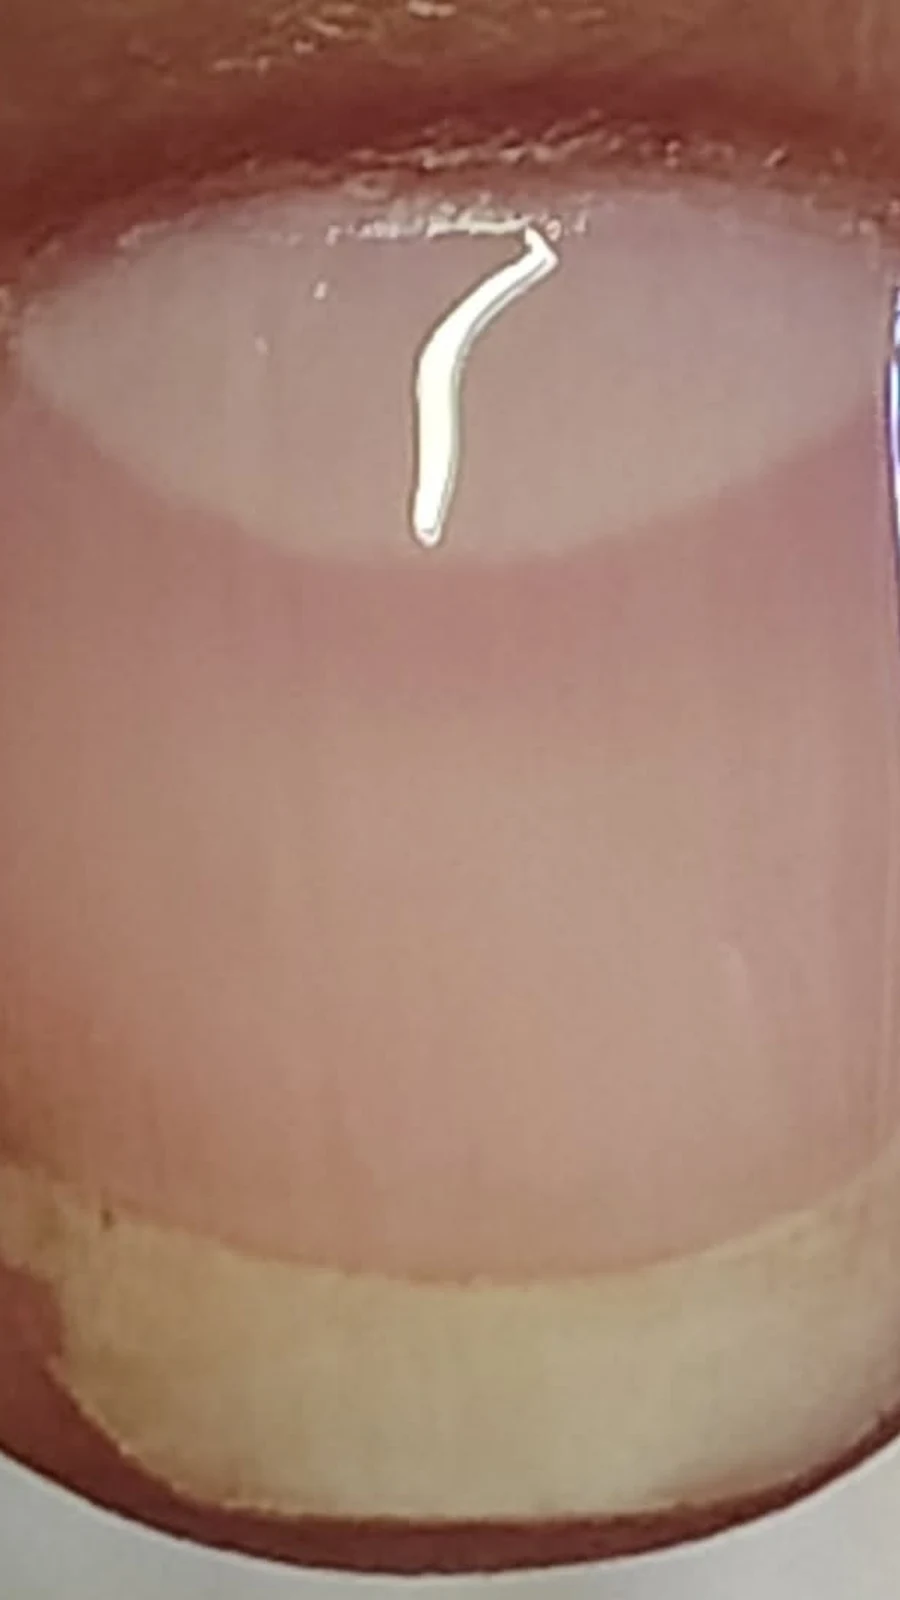
A nail looks like one solid thing, but it is a small assembly of parts, and each part has a job. The hard surface you see is the nail plate, made of keratin, the same tough protein as your hair. Underneath it sits the nail bed, full of tiny blood vessels, which is why healthy nails look pink. At the base, tucked under the skin where you cannot see it, is the matrix — the factory where new nail cells are made. The pale half-moon, the lunula, is the visible front edge of that factory. And the thin strip of skin sealing the base of the nail is the cuticle, which keeps germs and dirt out of the matrix.
Why does any of this matter for a beginner? Because almost every nail care mistake is really a mistake about one of these parts. Filing the surface of the nail too hard thins the plate. Cutting the cuticle opens the seal that protects the matrix. Pushing the cuticle back too aggressively bruises the matrix, and the damage shows up weeks later as a dent or a ridge in the nail that has grown out. Even biting your nails is, at root, a matrix problem: the constant trauma changes how the nail grows.
Think of the matrix as the one part you must never hurt, the plate as the part you protect, and the cuticle as the part you keep soft and pushed gently back, never cut. If you remember only those three rules, you will avoid the majority of nail problems before they start. Everything else in this guide — the filing, the oiling, the polishing — is built on top of that understanding.
Additional Information: The matrix is hidden, but you can feel where it is: press gently on the skin just behind the base of your nail, where the cuticle sits. That soft spot covers the factory. Treat it gently, always — no digging, no scraping, no metal tools pushed under the nail.
How Nails Grow — and Why That Changes Everything
Fingernails grow slowly — about three millimetres a month, which means a full nail takes roughly six months to grow from the matrix to the tip. Toenails grow even more slowly, about one millimetre a month, taking a year or more. That slow pace is the single most important fact in nail care, because it sets the timeline for everything: a damaged nail does not heal in a week, it grows out over months, and a good habit does not show results overnight either.
This is why so many people give up on nail care. They oil their nails for a week, see nothing change, and decide it does not work. But the oil is not for the nail you can see — that part is already dead keratin, and nothing you rub on it will change its structure. The oil is for the skin around the nail and the new nail being made in the matrix right now, which will not reach the tip for months. Nail care is a long game, and the people with the strongest nails are usually just the people who kept going for three months without expecting a miracle in week one.
Growth speed also explains why nail problems are so useful as clues. A dent halfway down your nail happened about three months ago, when that part of the nail was still inside the matrix — which is why people often match a horizontal groove to an illness or a stressful few weeks they had and forgot. A change in one nail only usually points to that one finger: an injury, an infection, a habit. A change in all ten nails at once points to something happening in the whole body. Knowing the timeline turns a confusing mark into a readable story.
Additional Information: If you start a nail routine today, mark the date. Take a photo now, and another in three months. The new growth at the base — smoother, stronger, less peeling — is your proof that the routine is working, long before the old damaged length has grown out and been trimmed away.
The Beginner’s Toolkit: What to Buy, What to Skip
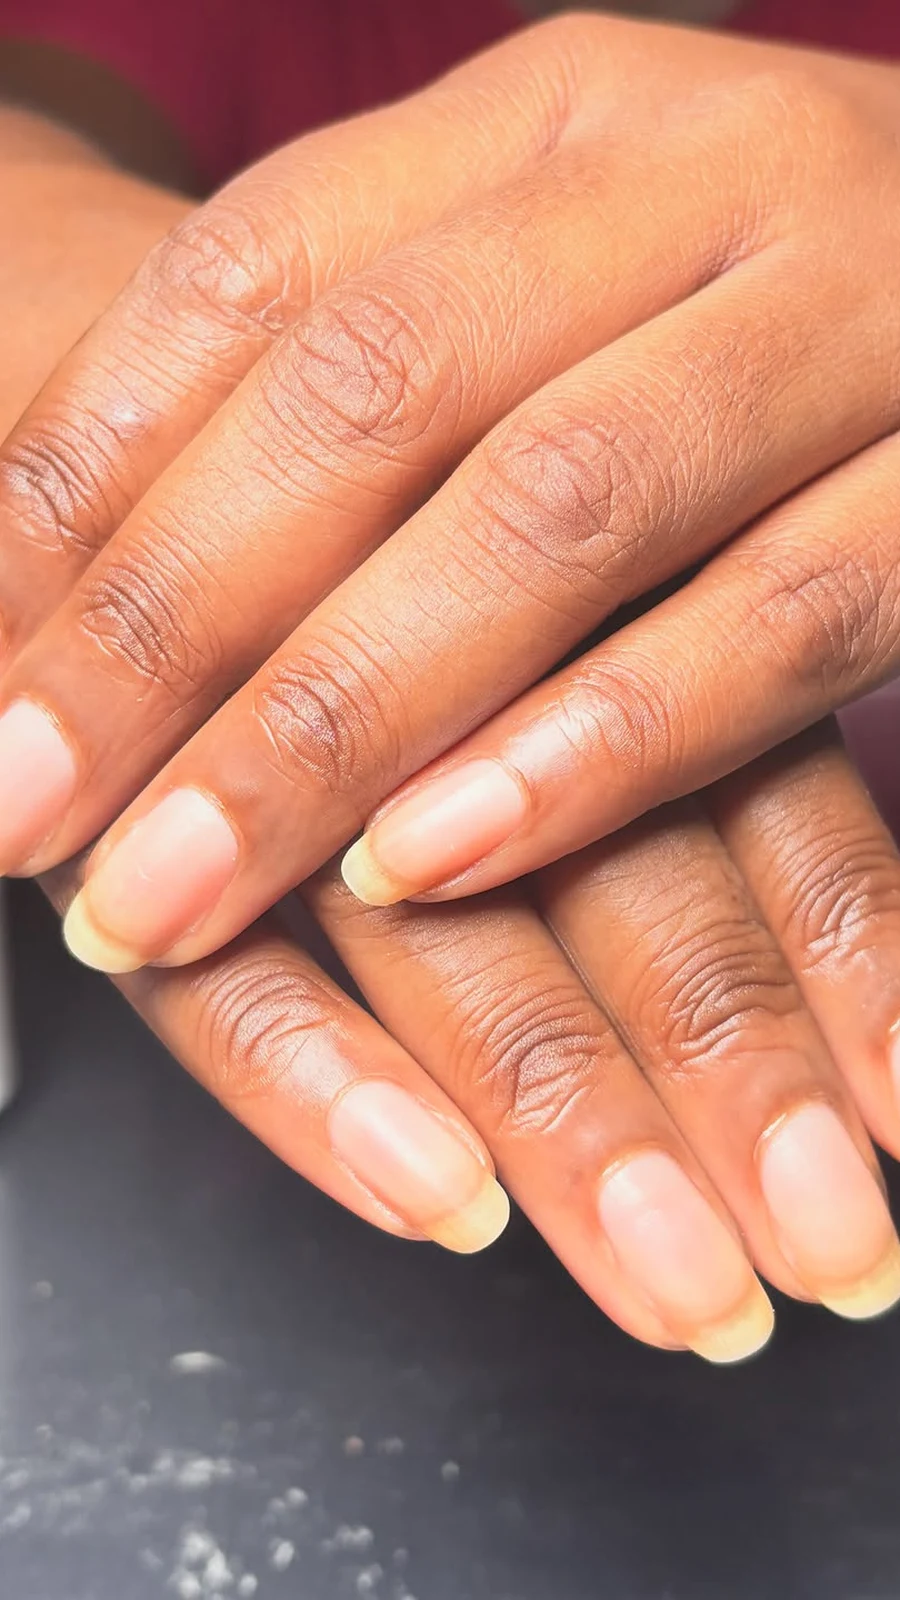
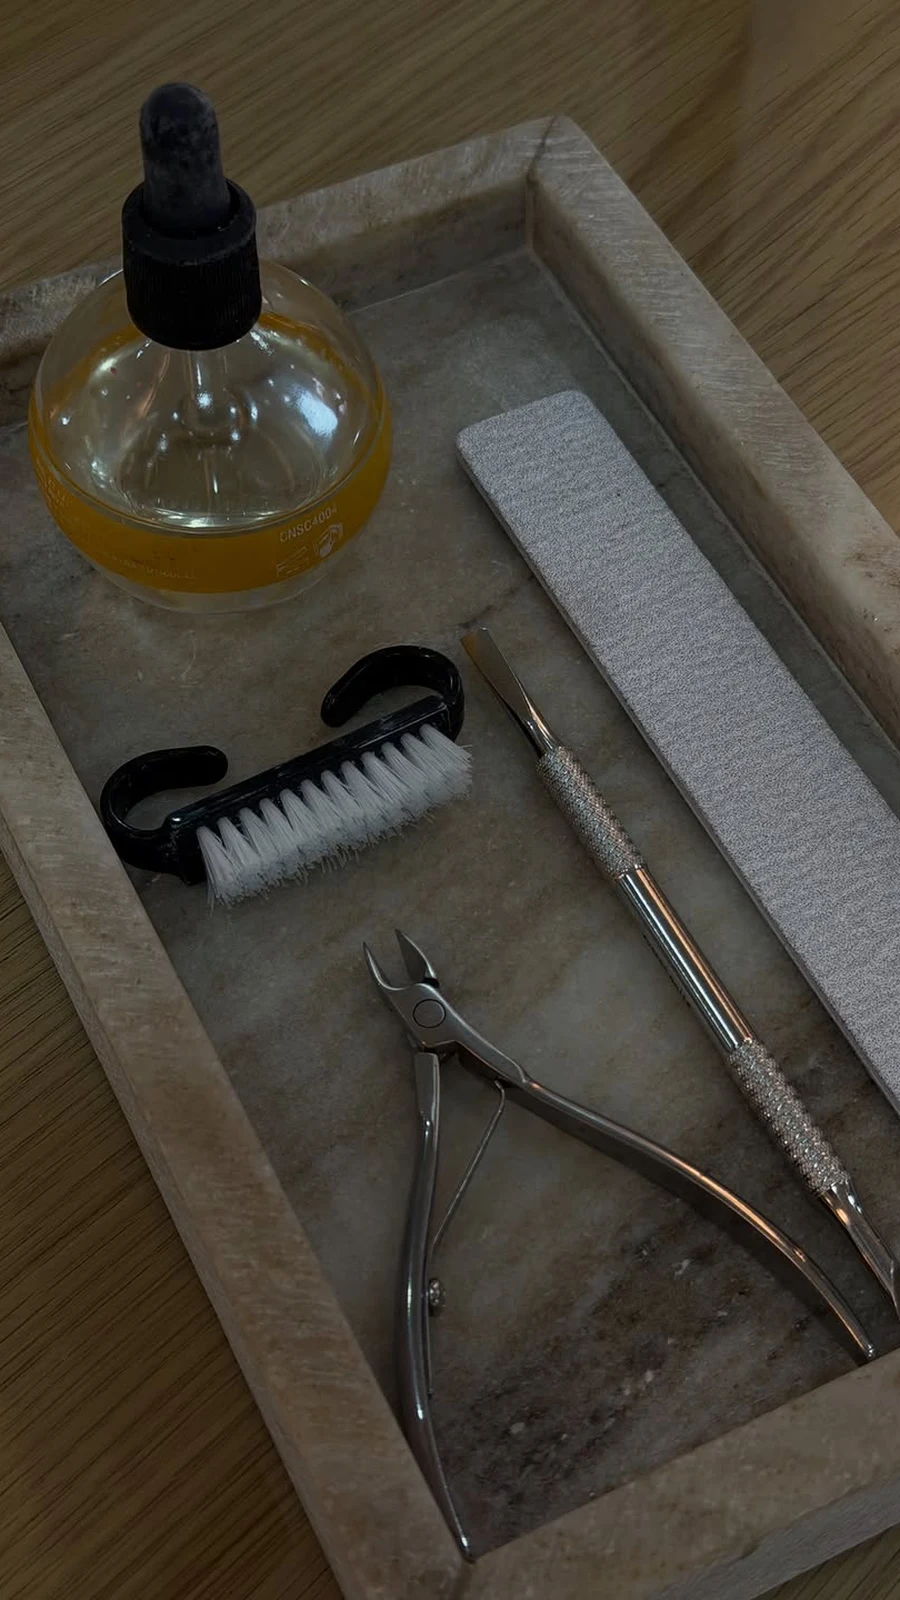
You do not need a salon’s worth of equipment to take care of your nails. A beginner’s kit fits in a small pouch and costs less than one salon manicure, and most of it lasts for years. Start with a good nail file — a glass file or a fine-grit emery board, not a cheap metal one, which is too harsh and leaves rough edges that catch and peel. Add a pair of nail clippers for when nails need shortening, a wooden orangewood stick for gently pushing back cuticles, a soft nail brush for cleaning, and a bottle of cuticle oil. That is the whole essential kit.
Then add the polish basics: a base coat, a top coat, and one or two colours you actually like. Base coat is not optional — it protects the nail from staining, gives polish something to grip, and makes removal easier. Top coat is what makes a manicure last past day three; without it, polish chips at the edges almost immediately. If you buy one extra thing, make it a hand cream you enjoy using, because the cream you like is the cream you will actually apply.
What to skip, at least at first: electric nail drills, cuticle nippers, metal cuticle pushers, and any tool that promises to remove calluses or buff nails to a shine in seconds. Beginners hurt themselves most often with sharp metal tools and aggressive buffing, which thin the nail plate and invite infection. You can add tools later, once you know what your nails actually need. Start simple, learn the feel of your own nails, and let the kit grow with your skill instead of ahead of it.
Additional Information: Keep your tools clean. Wash clippers and files with soap and water after use, let them dry fully, and wipe them with rubbing alcohol once a week. Shared or dirty tools are one of the most common ways nail infections spread — and your own tools, used on your own nails, should still be clean.
The Weekly Routine, Step by Step
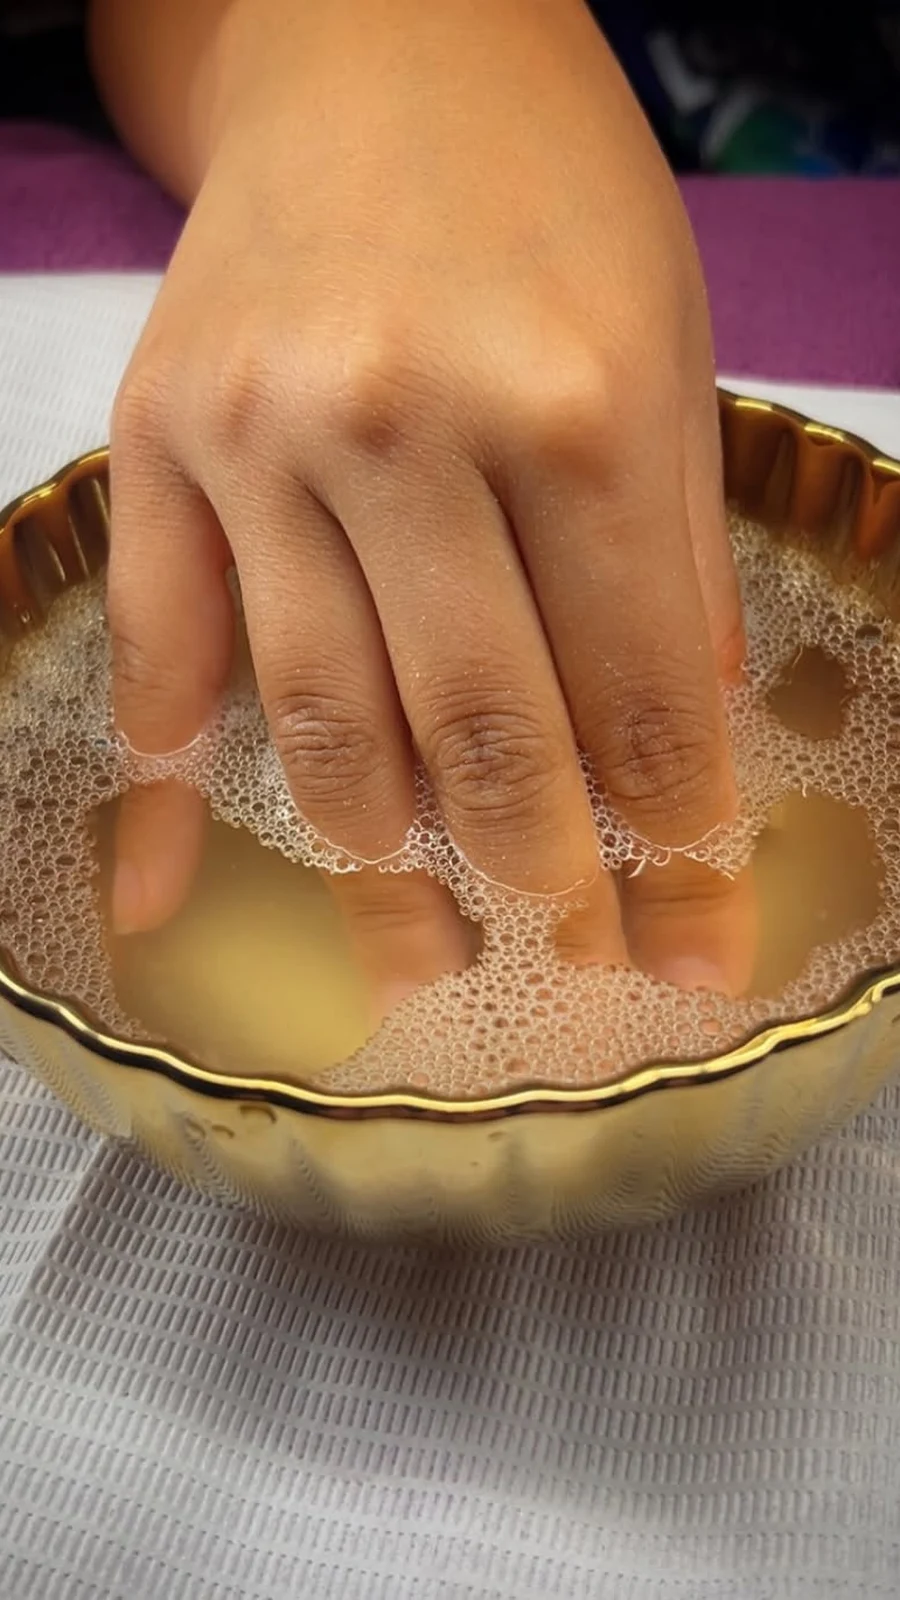
A routine only works if you can remember it, so here is the whole thing, in order, once a week, in about fifteen minutes. Start by removing any old polish with a gentle, acetone-free remover. Then wash your hands with warm water and mild soap, and soak your fingertips for two or three minutes — a small bowl of warm water is enough. Soaking softens the cuticles and makes everything that follows easier, but keep it short: long soaks waterlog the nail plate and leave it swollen and weak until it dries.
Next, clean under the nails with the soft brush, then gently push back the softened cuticles with the orangewood stick, using the flat angled end and almost no pressure. Shape the nails with your file, working in one direction from the sides toward the centre — never saw back and forth, which splits the free edge. Then wash and dry your hands thoroughly, and let the nails dry completely before polish; even a little moisture under polish causes bubbling and peeling.
Finish with cuticle oil massaged into each nail and the skin around it, then hand cream. If you are polishing, apply base coat, two thin coats of colour, and top coat, letting each layer dry for two minutes before the next. That is the whole routine. Do it on the same day each week and it becomes a habit instead of a chore — and habits are what strong nails are made of.
Additional Information: Pick a fixed day — Sunday evening works for most people — and put it in your calendar as a ten-minute appointment with yourself. The routine fails most often not because it is hard, but because it has no fixed slot, and “later” never comes.
Cleaning Your Nails Properly
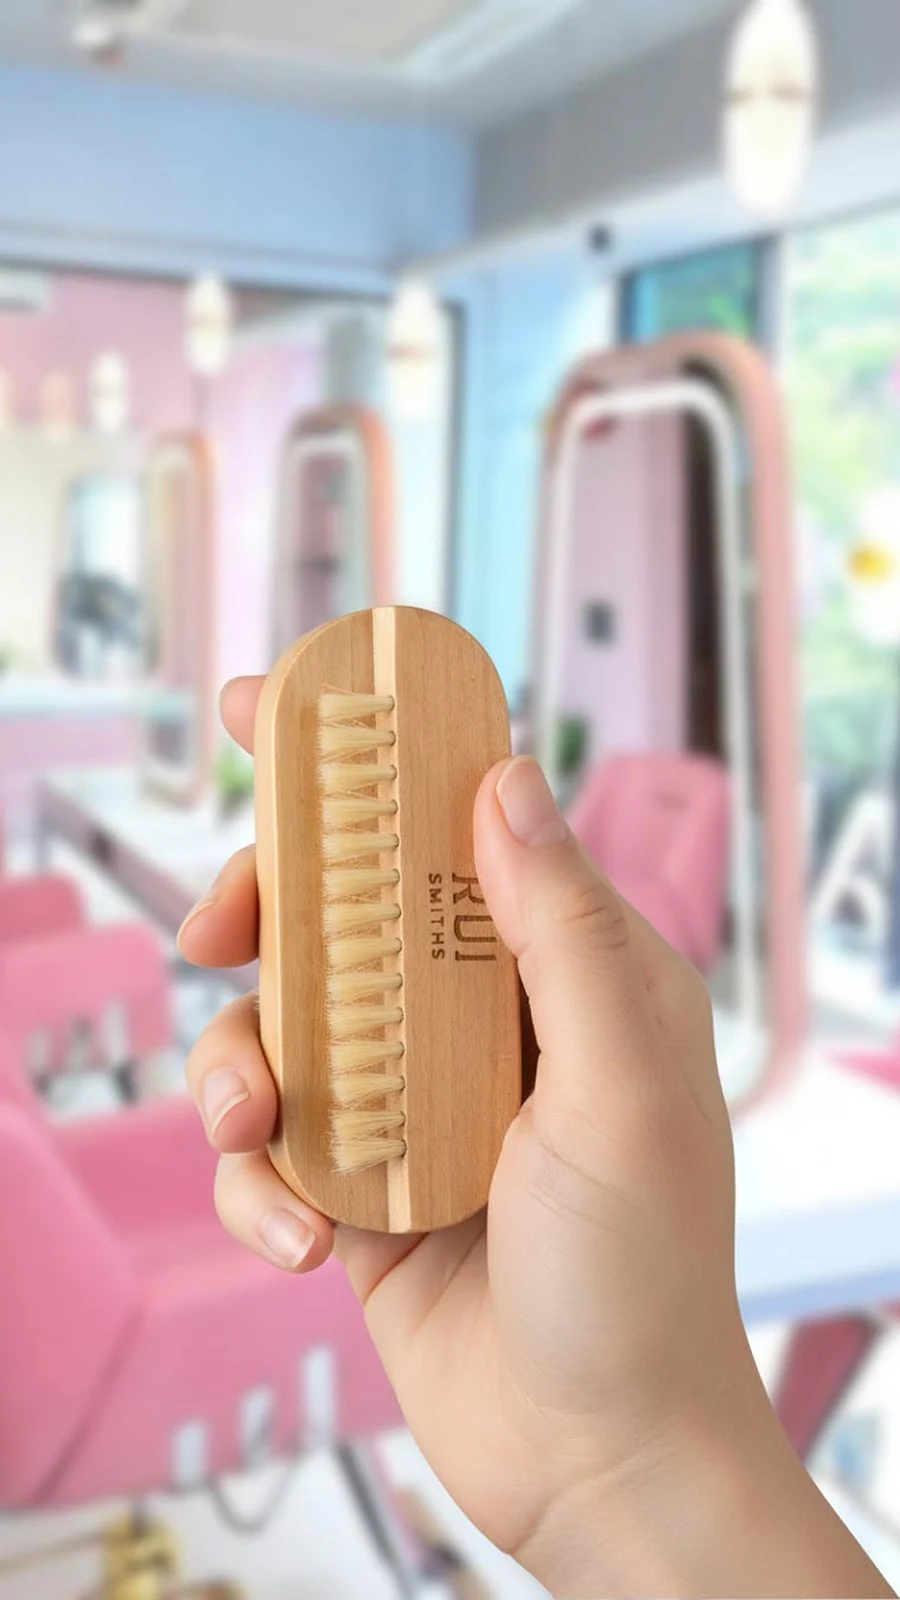
Clean nails are not just about looks — dirt and bacteria collect under the free edge and around the cuticle, and that is where infections start. The good news is that proper cleaning is gentle, not aggressive. Wash your hands with warm water and mild soap several times a day, and pay attention to the area around and beneath the nails rather than just the palms. A soft nail brush, used once a day with soap, gets into the places fingertips cannot reach, especially under the free edge.
What not to do matters just as much. Never dig under your nails with a sharp metal tool, a pin, or the tip of another nail — it scrapes the nail bed, creates tiny cuts, and pushes dirt further in instead of out. Never use harsh antibacterial soaps or bleach-based cleaners on your hands; they strip the natural oils from the nail plate and the surrounding skin, leaving both dry and prone to cracking. And if you work with your hands in soil, cleaning products, or food, wear gloves: the hour your nails spend unprotected in harsh conditions undoes a week of careful oiling.
If your nails stain — from dark polish, cooking spices, or nicotine — a gentle soak in warm water with a squeeze of lemon, followed by a soft brush, usually lifts surface stains. Deeper yellowing that does not fade with cleaning is a different problem, covered in the troubleshooting section below, and it usually needs a break from polish rather than a stronger cleaner.
Additional Information: Keep a small nail brush by your bathroom sink and use it every evening while you wash your hands. Thirty seconds a day keeps the area under the nails clean without any scraping, and it becomes automatic within a week.
Shaping and Filing Without Damage
Shaping is where most beginners accidentally damage their nails, because filing feels harmless and it is easy to overdo. The rule is simple: file in one direction only, from the outer edge toward the centre, with light, even strokes. Sawing back and forth creates tiny tears in the free edge, and those tears are where peeling and splitting start. Use a fine-grit file or a glass file, hold it flat against the edge of the nail, and let the file do the work instead of pressing hard.
Choose a shape that suits your hands and your life. A rounded or oval shape is the most forgiving for beginners: it follows the natural curve of the fingertip, rarely snags, and suits almost every hand. A square shape looks sharp and modern but its corners catch on fabric and chip more easily, and it needs more maintenance. Almond and stiletto shapes are beautiful but they need length and strength, so save them for later, when your nails are stronger. The shape that looks best is the one you can keep without breakage.
Shorten nails with clippers first, then file to refine — never file a long nail down to short in one session, because that much filing thins the edge. And file only when your nails are completely dry. Wet nails are swollen and flexible, and filing them in that state leaves a ragged edge that peels as it dries. Five minutes, dry nails, one direction, light pressure: that is the whole technique.
Additional Information: File the sides of the nail straight, not angled inward. Filing the sides into a taper weakens the corners and makes the nail more likely to break at the sides — the most common break point for beginners. Keep the sides parallel and round only the tip.
Cuticles: Push, Don’t Cut
The cuticle is the thin seal of skin at the base of the nail, and its job is to keep germs out of the matrix. It is also the part of nail care that people most often get wrong, because the temptation to cut away the ragged edges is strong — and cutting is exactly what you should not do. A cut cuticle is an open door: redness, swelling, and infection follow, and a damaged cuticle can leave the matrix unprotected for weeks.
The right method is gentle and boring, which is why it works. After a warm soak, when the cuticle is soft, use the flat end of an orangewood stick to push it back very gently, with almost no pressure. You are not trying to remove it — you are just easing it back so the nail plate shows a little more and polish applies cleanly. Then massage in cuticle oil. That is the whole job. Do it once a week, and the cuticles stay soft and tidy on their own.
If you have hangnails — those small torn strips of skin beside the nail — do not pull them. Pulling tears the skin further and can leave a painful, infected spot. Instead, soak the hand, then trim only the loose torn piece with clean clippers, right at the point where it lifts, and apply oil. And if your cuticles are chronically dry and ragged, the cause is usually not a lack of pushing but a lack of moisture: oil them daily for two weeks and see how much of the problem disappears on its own.
Additional Information: Never use a metal cuticle pusher as a beginner. Metal is unforgiving — one slip scrapes the nail plate or bruises the matrix, and the dent it leaves takes months to grow out. Wood is soft, cheap, and almost impossible to hurt yourself with.
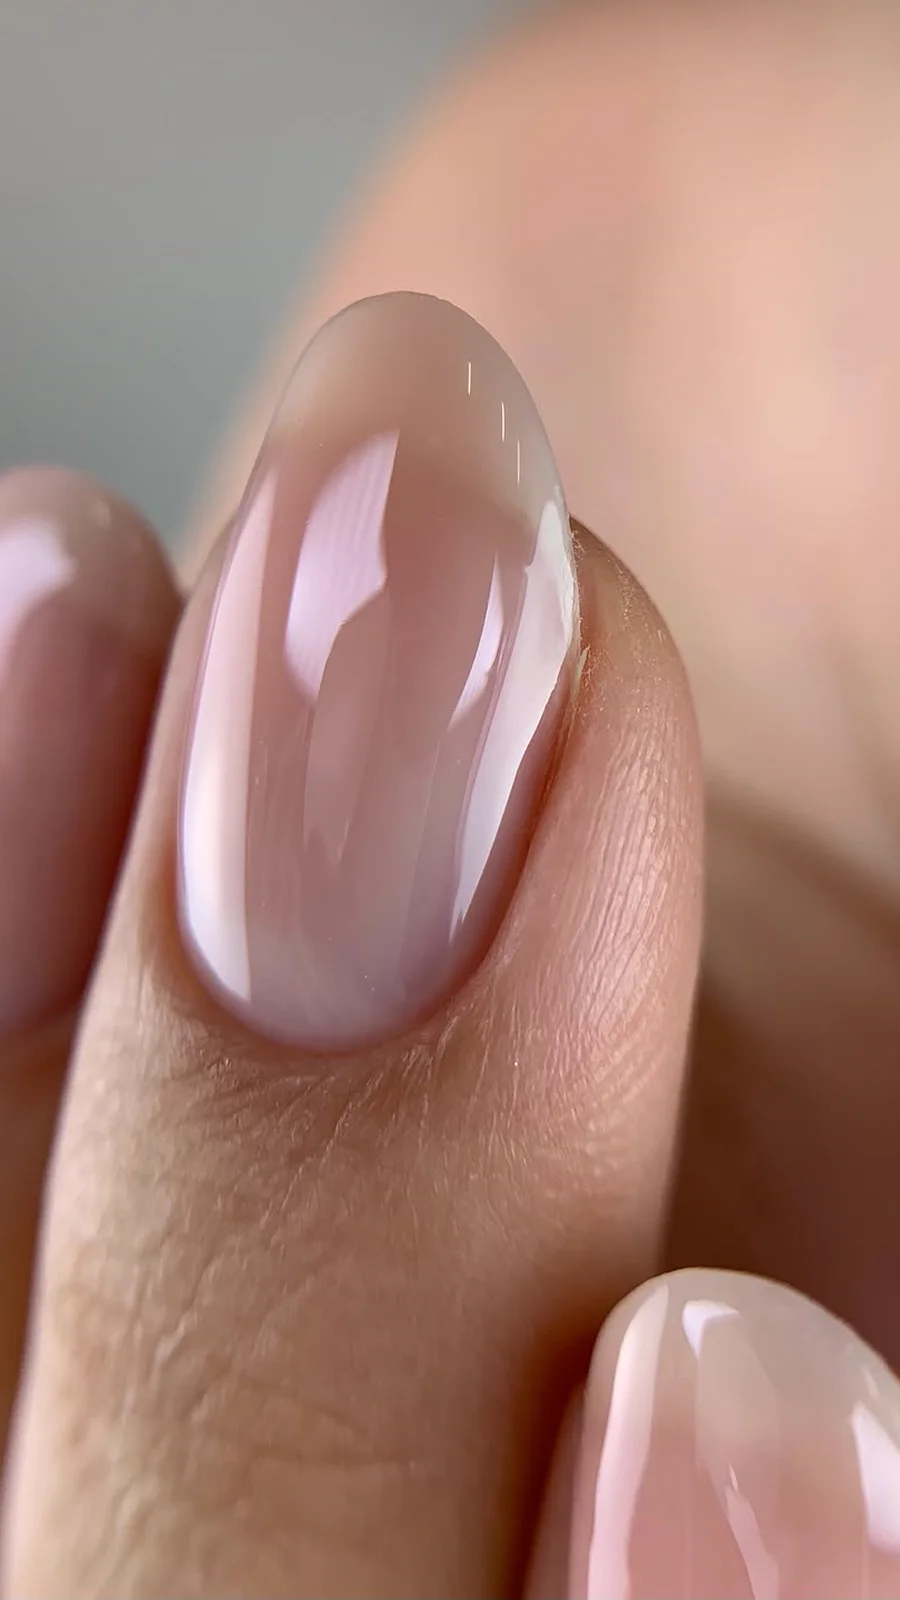
Moisture: The Oil-and-Cream Habit
If there is one habit that separates people with strong nails from people with weak ones, it is moisture — and it is the least glamorous habit of all. Nails are mostly keratin, and keratin behaves like wood: when it dries out, it becomes brittle and splits; when it is kept lightly moisturised, it stays flexible and strong. Your nails lose moisture every time you wash your hands, use sanitiser, handle paper, or spend time in dry air. Cuticle oil and hand cream put it back.
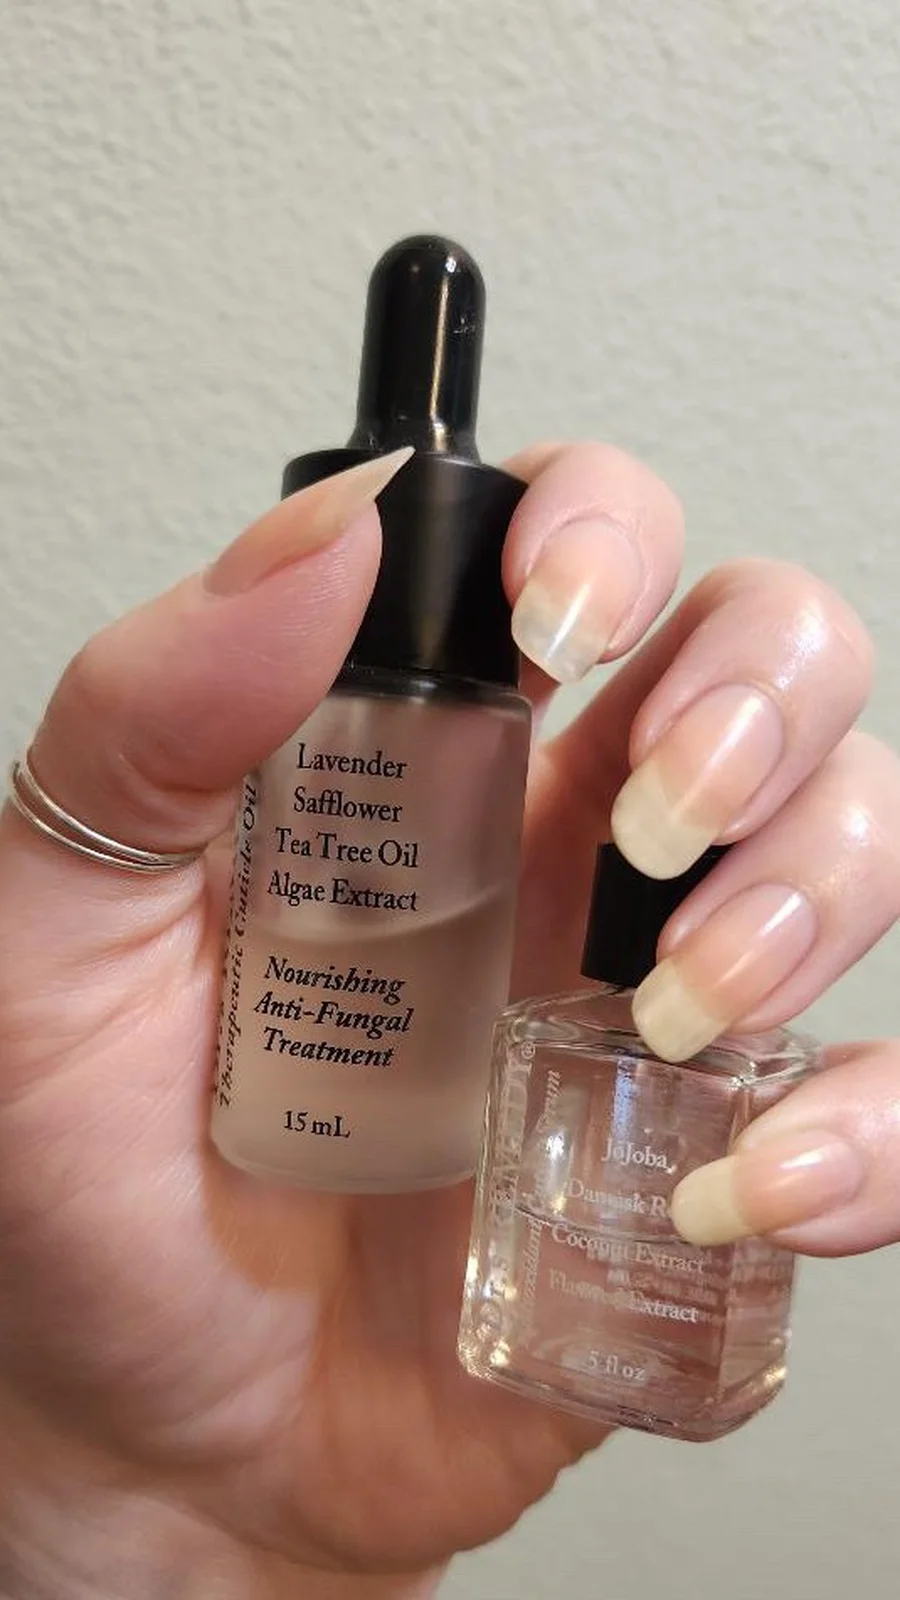
Cuticle oil is the more important of the two. A single drop on each nail, massaged into the cuticle and the surrounding skin, once or twice a day, keeps the cuticle supple and the new nail growing from the matrix well-hydrated. Jojoba oil is a good choice because its structure is close to the skin’s own oils, but any plain nail or cuticle oil works — the habit matters far more than the brand. Hand cream is the second layer: apply it after every hand wash, and especially before bed, when it has hours to absorb undisturbed.
The trick is to make it effortless. Keep a bottle of oil beside your bed and one at your desk or kitchen sink, wherever your hands already are. If the oil lives in a drawer, you will forget it; if it lives where you can see it, you will use it. Within two or three weeks of daily oiling, most people notice the first change: the cuticles look calmer, the skin around the nails stops tearing, and the nails themselves feel less dry and papery at the tips.
Additional Information: Apply cuticle oil at night for the best effect. Overnight, with no handwashing to strip it away, the oil has eight uninterrupted hours to soak into the cuticle and the surrounding skin — which is why a bedtime application does more than three daytime ones.
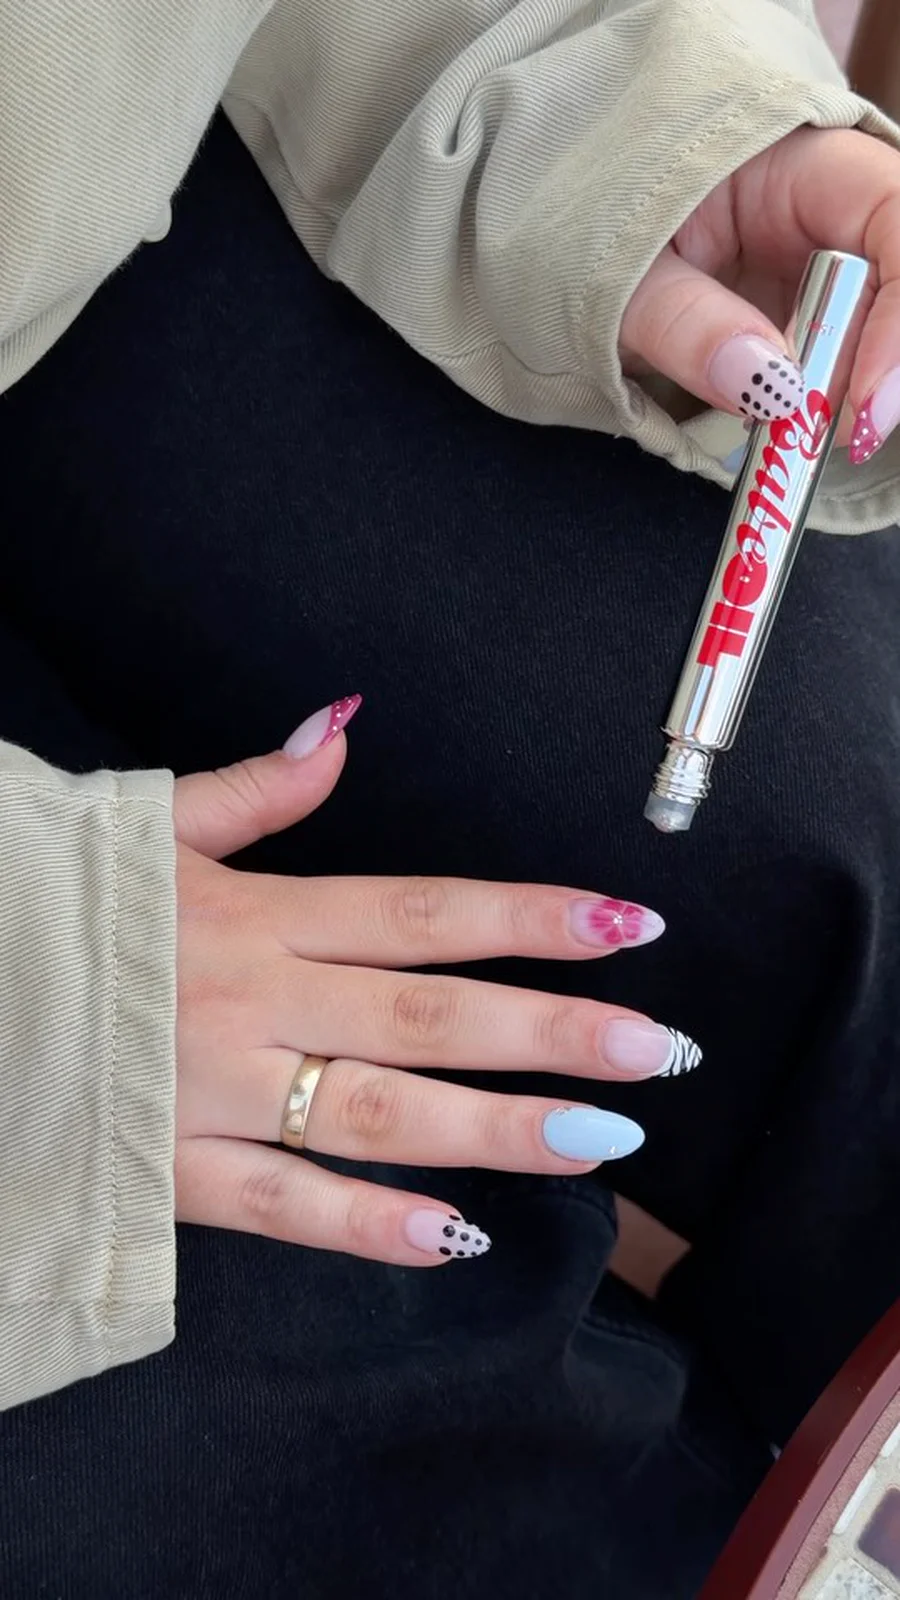
Food, Vitamins and Strong Nails: What’s Real
Nails are built from what you eat, but the relationship is slower and less dramatic than the supplement adverts suggest. The nail plate is made of keratin, a protein, so a diet with enough protein — eggs, lentils, fish, chicken, beans — genuinely supports nail growth. Iron, zinc, and biotin also play a part: iron carries oxygen to the matrix, zinc helps cells divide, and biotin is involved in keratin production. Foods rich in them include leafy greens, nuts, seeds, eggs, and whole grains, and a varied diet usually provides enough of all of them.
What about supplements? The honest answer is that they help mainly when you are actually deficient. If your diet is already reasonable, a biotin pill will not make your nails grow faster — the body uses what it needs and discards the rest, and nail growth has a speed limit set by your biology, not by your supplement shelf. People who do see a real change from supplements are usually the ones whose diet was missing something in the first place. If you suspect a deficiency — you are very tired, your hair is shedding, your nails are spoon-shaped or very pale — a blood test and a doctor’s advice are worth far more than a bottle of pills chosen at random.
And then there is water. Nails are not watered like plants, but chronic dehydration shows up everywhere, including in dry, brittle nails and cracked cuticles. Drinking enough water through the day is not a miracle cure, but it is part of the same picture: healthy nails come from a body that is fed and hydrated, not from a single magic ingredient.
Additional Information: Before buying any nail supplement, check your diet for two weeks and write down what you actually eat. Most people find the gaps themselves — too little protein, almost no leafy greens, very few nuts — and fixing those gaps with food costs less and works better than a pill.

Polish Like a Pro: Base, Colour, Top
A good manicure is not about talent; it is about thin coats and patience. Start with nails that are clean, dry, and free of oil — wipe each nail with a cotton pad dampened with a little remover, even if you have not worn polish, because oil left on the nail stops polish from gripping. Then apply one thin coat of base coat, and let it dry for two minutes. Base coat does three jobs at once: it protects the nail from staining, it gives the colour something to hold onto, and it smooths out small ridges so the colour goes on evenly.
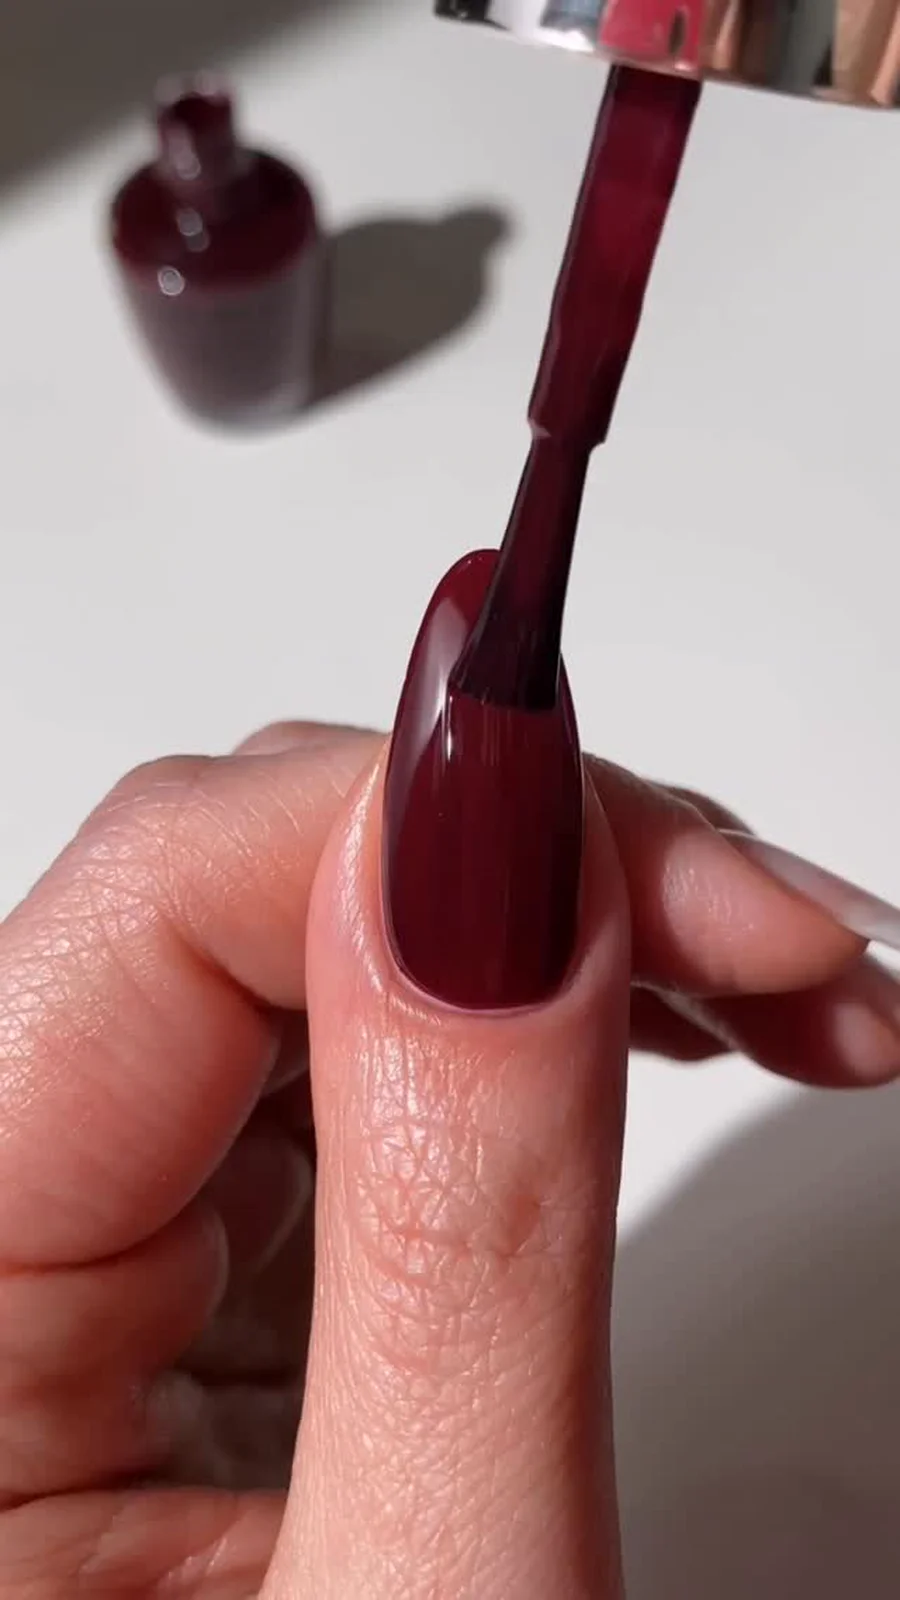
Colour goes on in two thin coats, never one thick one. Thick coats bubble, take forever to dry, and peel off in sheets. Load the brush lightly, wipe one side on the neck of the bottle, and paint the centre of the nail first, then each side, leaving a hair’s breadth of bare nail at the cuticle — polish flooded into the cuticle lifts and peels within a day. Wait two minutes between coats. Then finish with one coat of top coat, drawn right over the free edge of the nail — that sealed edge is what stops chipping at the tips, where manicures usually fail first.
Two common beginner mistakes are worth naming. The first is shaking the bottle, which whips air into the polish and causes bubbles; roll it gently between your palms instead. The second is painting over wet layers because you are in a hurry; every layer you rush costs you a day of wear. Ten unhurried minutes gives you a manicure that lasts a week. Ten hurried minutes gives you one that chips by tomorrow.
Additional Information: If you make a mistake, do not start over. Wait until the polish is fully dry, then dip a small flat brush or a cotton bud in remover and tidy just the edge. Cleaning up dry polish is far easier than fixing wet polish, and it is how professionals get those crisp, clean lines.
Removing Polish the Gentle Way
How you take polish off matters as much as how you put it on. Peeling polish off by hand is the single fastest way to damage your nails: the polish is bonded to the top layer of the nail plate, and when you peel it, that layer comes away with it, leaving the nail thin, weak, and prone to splitting. It feels satisfying for a second and costs you weeks of regrowth.
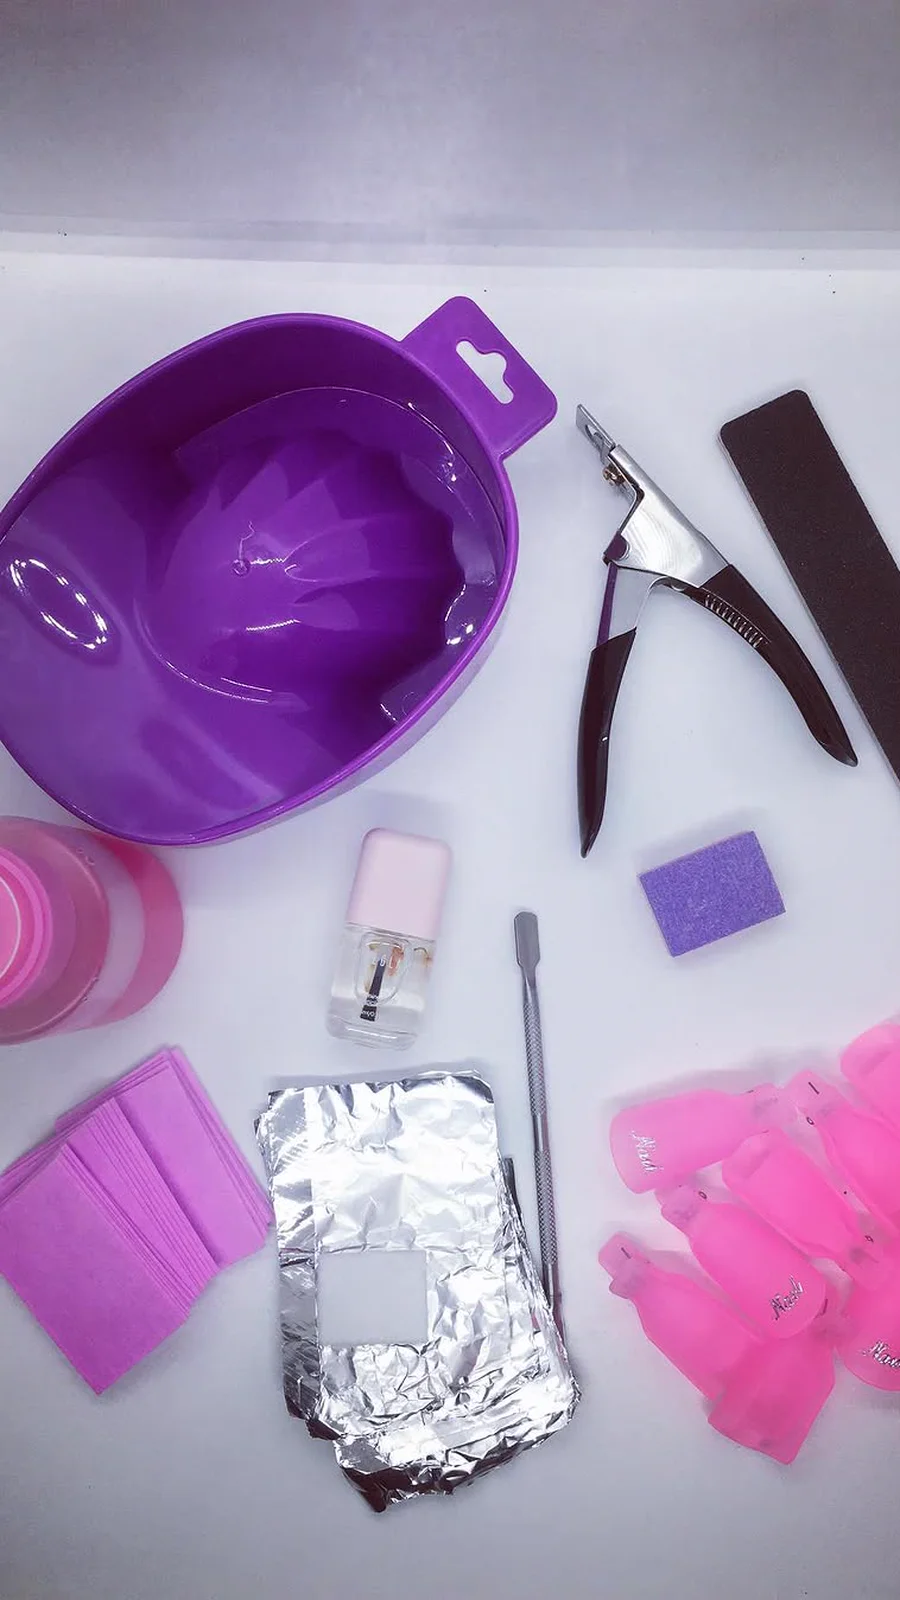
The gentle method is slower and much kinder. Soak a cotton pad in remover — acetone-free if your nails are dry or weak, acetone-based if you are removing glitter or gel, because it works faster and means less rubbing. Press the pad onto the nail, hold it there for ten to fifteen seconds so the remover can dissolve the polish, and then wipe in one smooth motion toward the tip. For stubborn glitter, wrap the pad around the fingertip with a small square of foil and wait two minutes; the polish lifts off almost by itself.
After removal, wash your hands, apply cuticle oil, and give your nails a break before the next manicure — at least a day bare, ideally two. Nails that are constantly covered never get a chance to rehydrate, and a short bare break between manicures does more for their strength than any treatment product. Think of it as letting the nail breathe: it is not a medical term, but the rest period genuinely helps.
Additional Information: Never use pure acetone on bare, unpolished nails as a “cleaner.” Acetone strips the natural oils from the nail plate and the surrounding skin, and used often it leaves nails dry, white, and brittle. Use it only on a cotton pad, only on polished nails, and wash and oil your hands immediately afterwards.
Gels, Acrylics and Extensions: What Beginners Should Know
Sooner or later, every beginner wonders about gels, acrylics, and extensions — the manicures that last three weeks and look flawless in photos. They are wonderful tools, and they are also the easiest way for a beginner to damage their nails badly, so it is worth understanding them before you book an appointment or buy a kit.
Gel polish is cured under a UV or LED lamp and lasts two to three weeks without chipping. Acrylics are a mix of liquid and powder sculpted over your natural nail, adding length and strength. Extensions — tips or forms — add length to either system. All three are safe when applied and removed properly by a trained professional, and all three are damaging when they are picked, peeled, or pried off. The damage almost never comes from the product itself; it comes from removal, and from wearing enhancements back-to-back for months without a break, so the natural nail underneath never recovers.
If you are a beginner, two rules will protect you. First, get your first few sets done by a professional, in a clean salon, and watch how they remove them — proper removal is soaking, never force. Second, schedule a bare-nail break between sets: at least a week, with daily cuticle oil, so you can see the condition of your natural nails and let them rehydrate. If a salon ever offers to pry off your gels with a tool, or tells you a break is unnecessary, that is your sign to find a different salon.
Additional Information: A home gel kit is tempting, but it is not a beginner purchase. Curing gel on the skin causes allergies in a surprising number of people, and once you develop a gel allergy you often cannot wear gel again. Learn on regular polish first, and let a professional handle gel until you understand the process properly.
Habits That Quietly Wreck Your Nails
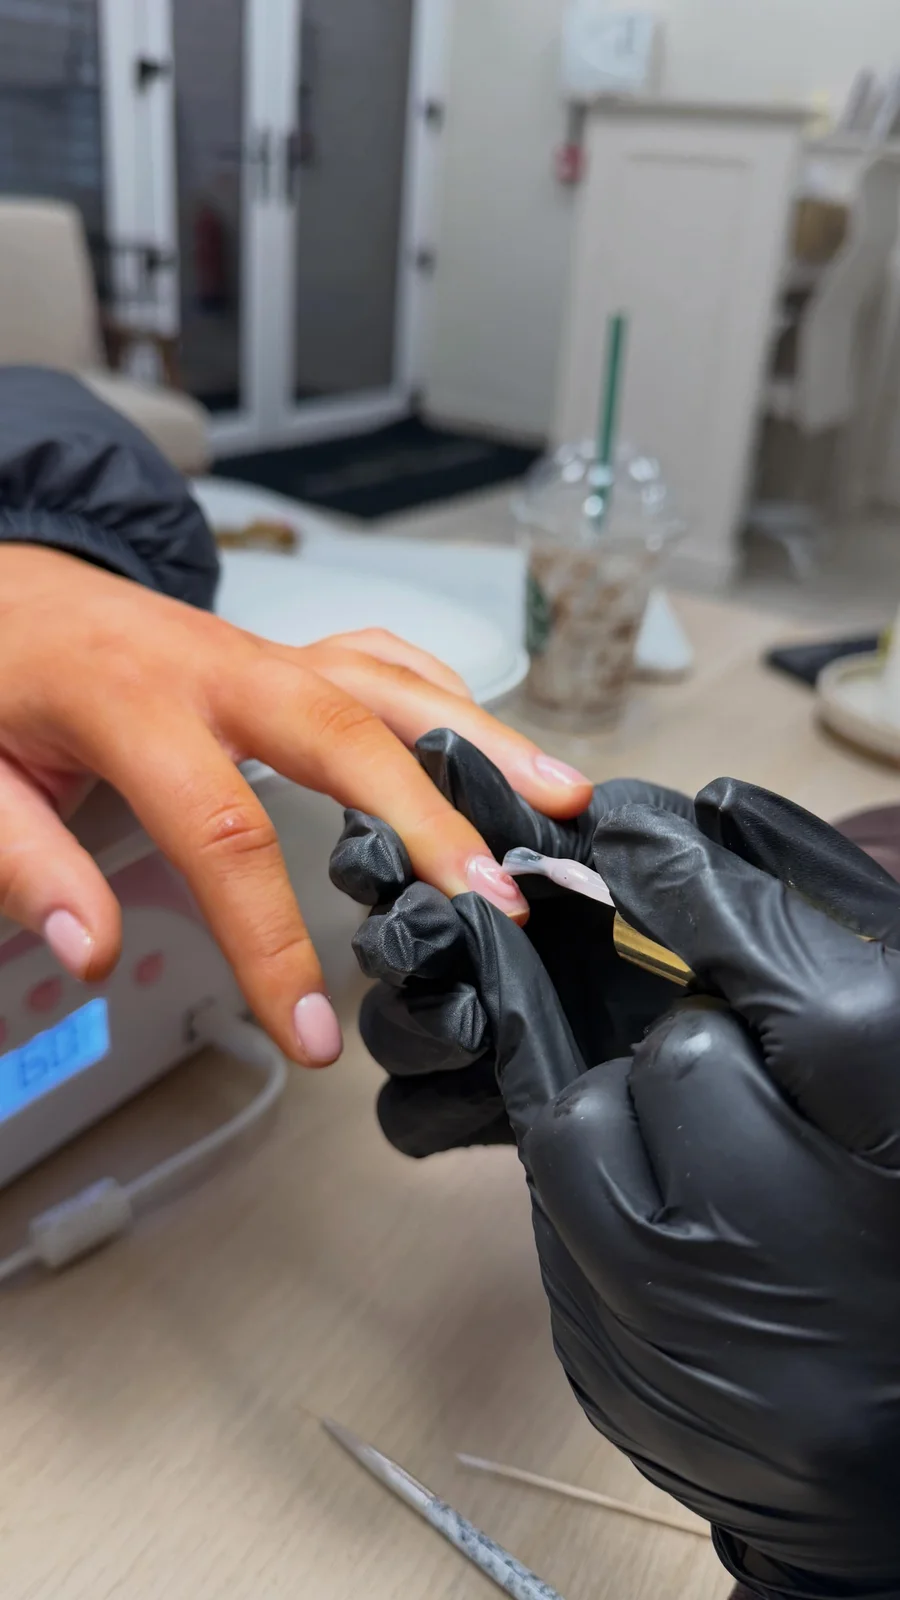
Most nail damage does not come from one big mistake. It comes from small habits, repeated every day, that you barely notice. The first is using your nails as tools — opening cans, scraping off stickers, prying at packaging. Every time a nail takes that kind of leverage, the free edge bends and micro-cracks, and the crack grows until the nail splits. Use a coin, a key, or scissors instead; your nails are not a multi-tool.
The second is biting and picking. Biting damages the matrix and the skin around the nail, and it keeps the nail too short to ever grow strong. Picking at polish, gel, or cuticles has the same effect in a smaller way: each picked layer takes nail plate with it. If you bite, the most effective first step is not willpower but substitution — keep the nails oiled and the hands busy, and paint them, because most people bite far less when the nails look cared for.
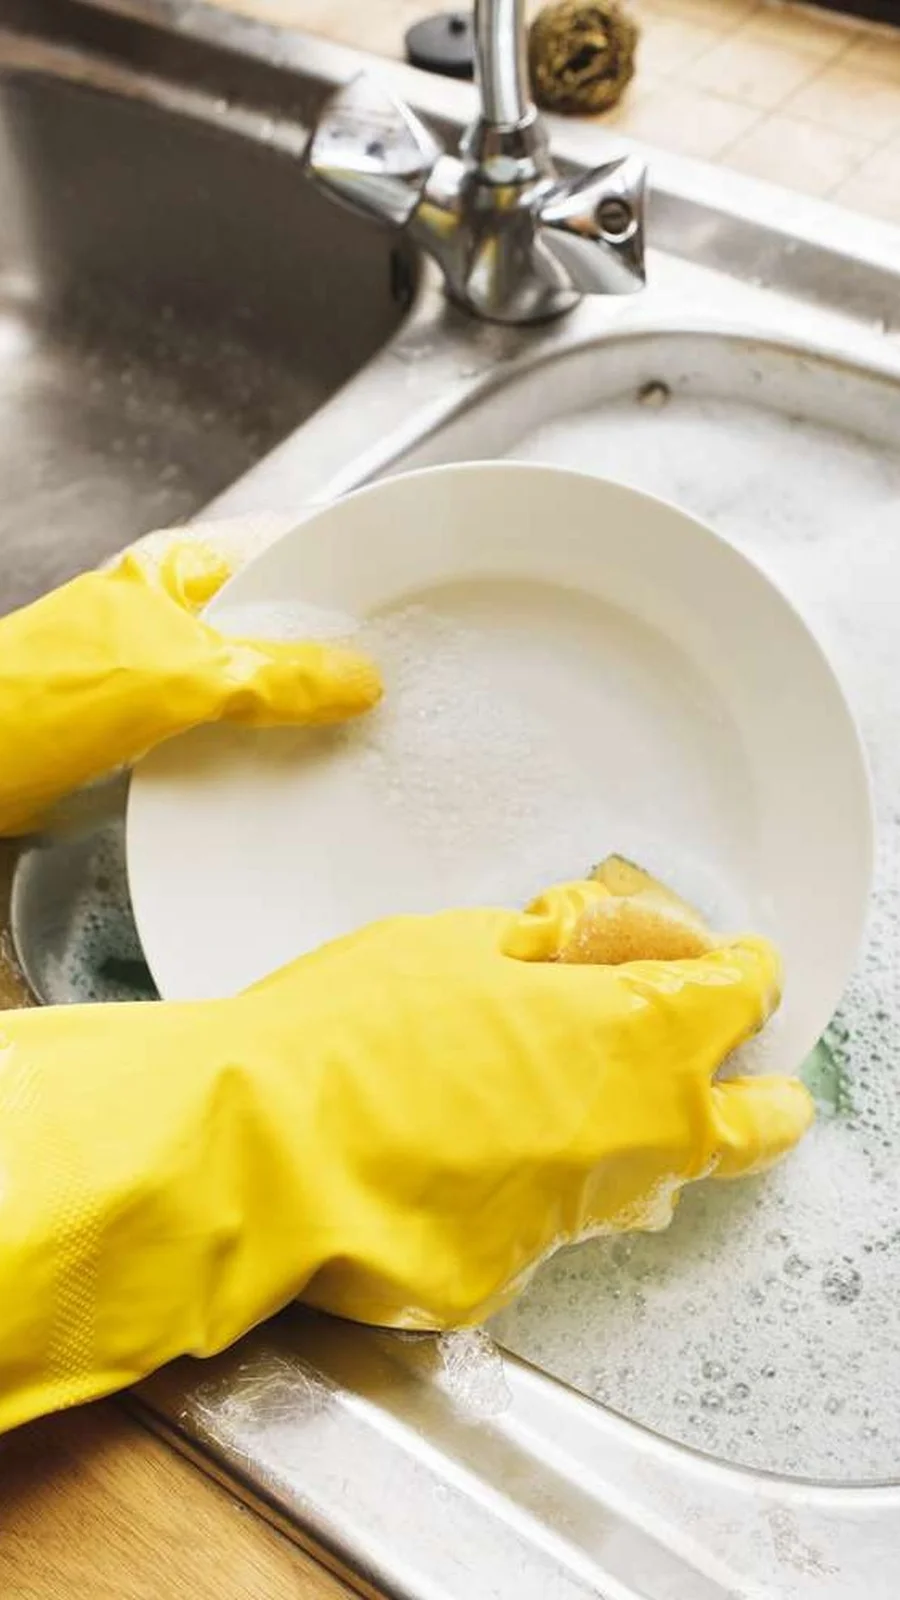
The third is water and chemicals without gloves. Long hot showers, washing dishes bare-handed, and cleaning with harsh products all swell and dry the nail plate in turn, which is exactly the cycle that causes peeling. Gloves for dishes and cleaning are the cheapest nail treatment there is. And the fourth habit is the simplest to fix: leaving polish on far past its life. Chipped polish traps moisture underneath it and stains the nail beneath — remove it when it starts to chip, not a week later.
Additional Information: Pick one habit from this section and fix only that one for two weeks. Trying to change everything at once fails; changing one thing, and seeing the result, builds the confidence to fix the next one.
Common Problems and Quick Fixes
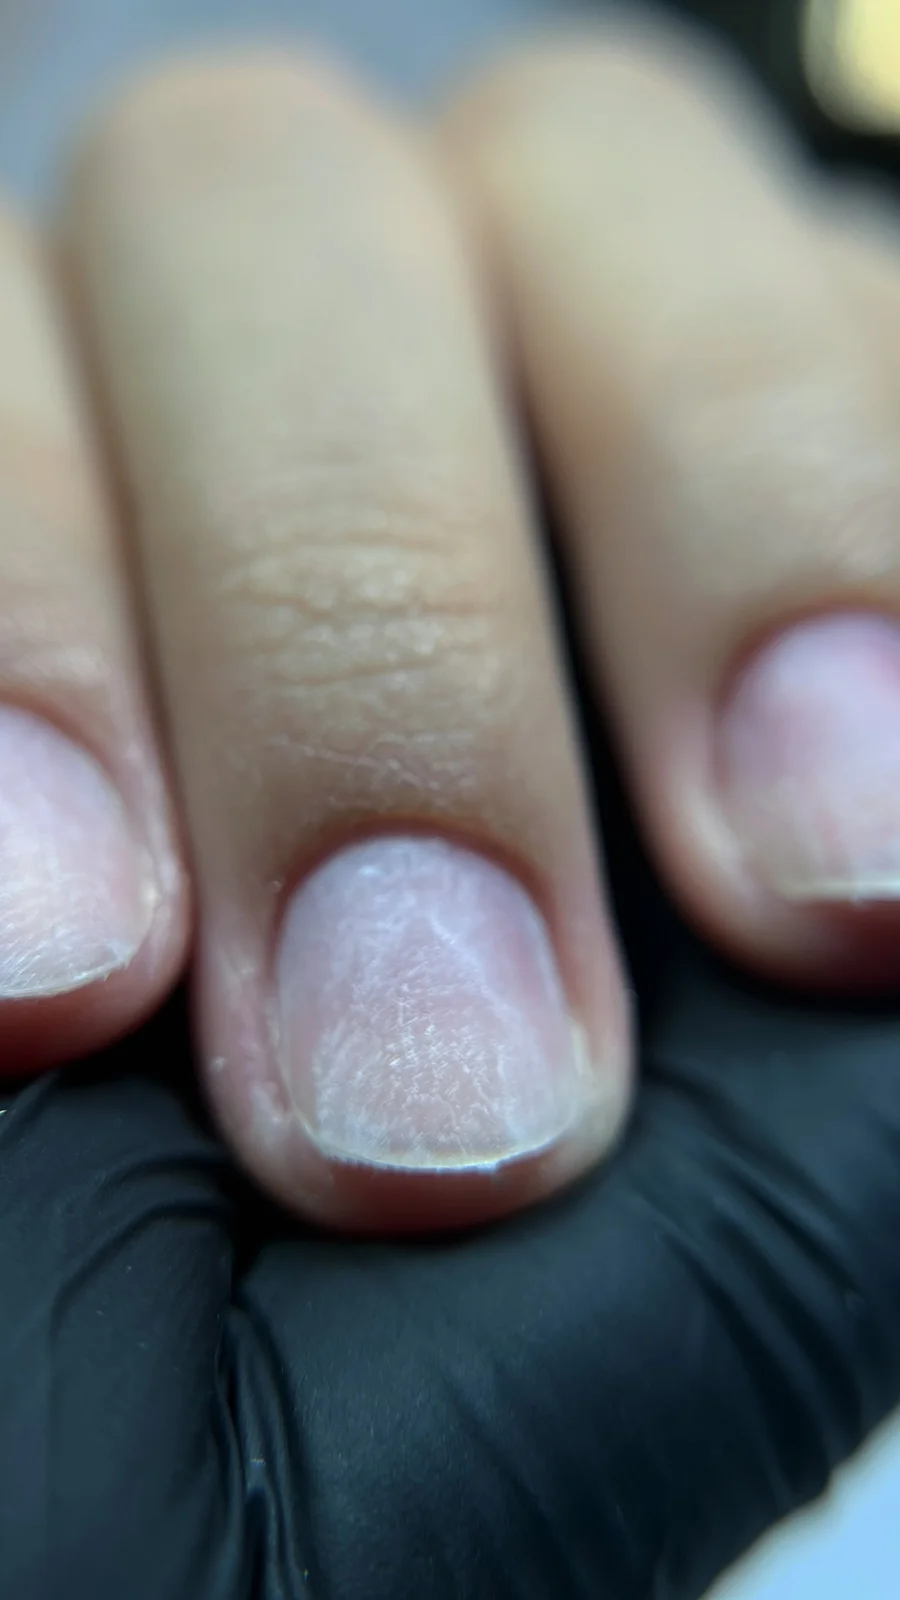
Even with a good routine, problems appear — and most of them have simple, unglamorous fixes. Peeling nails, where the tip splits into thin layers, usually mean the nail is too dry or has been filed too aggressively. The fix is moisture and gentleness: oil daily, file only in one direction, keep the nails a little shorter while they recover, and stop using the nail as a tool. Peeling grows out over a few months; it does not heal in place.
Brittle nails that snap instead of bending are usually the same story — dryness, plus too much water exposure and harsh removers. Switch to an acetone-free remover, oil nightly, wear gloves for wet work, and give the nails a bare break between manicures. Yellow stains, most often from dark polish worn without a base coat, fade once you stop the cause: always use a base coat, take a polish break, and let the stained nail grow out.
White spots are almost always a small bump to the matrix weeks earlier — they grow out on their own and are not a calcium deficiency, whatever the internet says. Ridges that run lengthwise are usually age. And if a nail turns dark, lifts from the bed, becomes very painful, or shows a dark streak that does not grow out, that is not a quick-fix problem — it belongs in the next section, with a professional.
Additional Information: Keep a small note on your phone when a problem appears: what it looks like, which nails, when you first noticed it. If it does not improve in four to six weeks, or if it gets worse, that note is exactly what a doctor or nail professional will ask you about first.
When to See a Professional
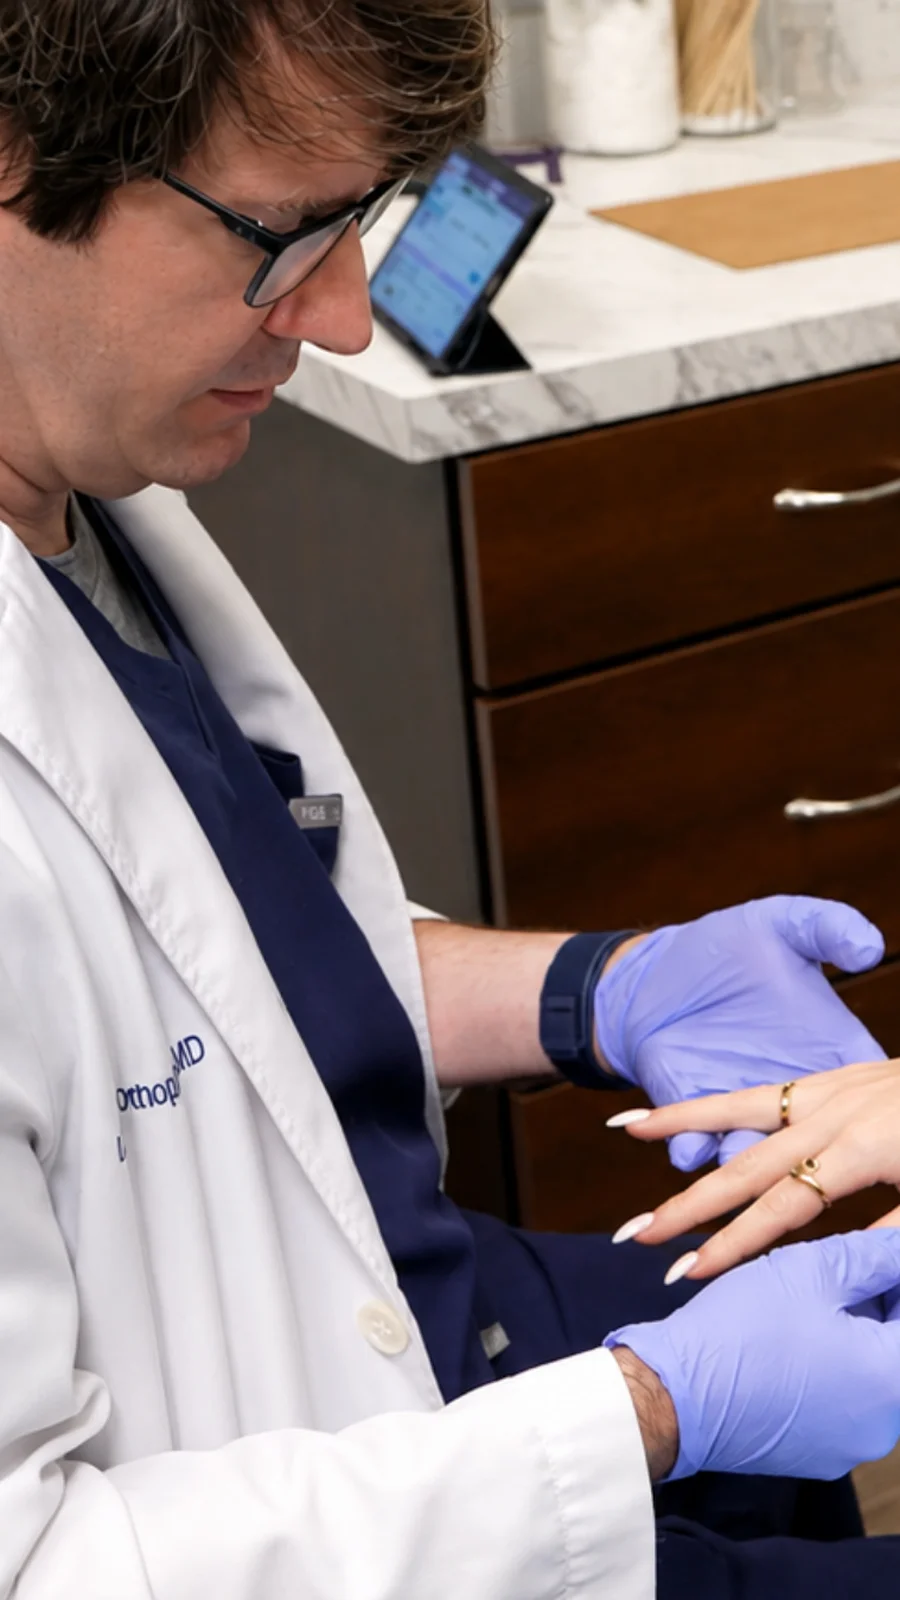
Home care covers almost everything — but not everything, and knowing the line is part of good nail care. See a doctor or dermatologist promptly if a nail becomes very painful, swollen, or red around the edges, especially with warmth or pus, because that is an infection and it will not clear up with oil. See one, too, if a nail lifts away from the bed, turns dark without an injury, develops a dark streak that does not move outward as the nail grows, or changes shape dramatically — thickening, crumbling, or curving in a new way — over a few weeks.
A professional nail technician is the right call for a different set of problems: a nail that keeps breaking in the same place, a shape you cannot get right, enhancements you want applied or removed safely, or a special occasion manicure you want to last. A good technician will also tell you honestly when a problem is beyond their scope and needs a doctor — and that honesty is a sign you have found a good one.
What neither a salon nor a home routine can do is diagnose. If several nails change at once, if the change comes with other symptoms like fatigue or hair loss, or if a problem keeps returning after you have fixed the obvious causes, ask a doctor. Nails are a small window into the rest of the body, and a professional’s opinion is worth more than months of guessing.
Additional Information: When you do see a professional, take your dated photos and your notes. “It started about six weeks ago on these two nails” is far more useful than “it has been like this for a while” — and it usually means a faster, more accurate answer.
Your First Month: A Simple Plan
Reading about nail care is easy. Starting is the hard part, so here is a first month with nothing to decide. In week one, buy the kit — file, clippers, orangewood stick, brush, cuticle oil, base coat, top coat, one colour. Take your “before” photo. Do the full routine once, slowly, following the steps in order. In week two, do the routine again, and start oiling your cuticles every night before bed. Notice how the cuticles already look calmer.
In week three, keep the routine, keep the oiling, and add gloves for dishes and cleaning — the single change that protects all the work you have done. If you bite or pick, this is the week to paint your nails and leave them painted, because cared-for nails are harder to bite. In week four, do the routine one more time and take your “after” photo. Compare it with week one: the new growth at the base should look smoother, the skin around the nails calmer, the tips less ragged.
After that, the routine runs itself. Same day, same order, fifteen minutes a week, oil every night, gloves for wet work. That is the whole secret of nail care — not a product, not a salon, not a talent, but a small routine kept long enough for slow-growing nails to show the result. Start today, and in three months you will have nails you recognise as your own, only stronger.
Additional Information: If you miss a week, do not try to catch up by doing twice as much. Just do the next routine on schedule. Nail care forgives a missed week easily; what it does not forgive is quitting because one week went wrong.
FAQ
How often should I do a full nail care routine?
Once a week is enough for most people. A full routine — remove polish, soak, push cuticles, shape, oil, and polish — takes about fifteen minutes. Between routines, the only daily habits that matter are cuticle oil once or twice a day and hand cream after washing. Doing the full routine more often than weekly does not make nails stronger; it just gives you more chances to over-file or over-soak them.
Do I need to cut my cuticles?
No — and you should not. The cuticle seals the base of the nail and protects the matrix underneath from germs. Cutting it opens that seal and invites infection. Push the cuticle back gently after a warm soak, then keep it soft with oil. If it looks ragged, the cause is usually dryness, not excess skin, and a week of daily oiling fixes it better than any cutting ever will.
How long does it take to see stronger nails?
Expect visible change in six to twelve weeks. Fingernails grow about three millimetres a month, so the stronger nail being made in the matrix today will not reach the tip for months. What changes first, usually within two or three weeks, is the skin around the nails and the cuticles — they look calmer and tear less. The nail plate itself follows later, so judge your routine by the new growth at the base, not by the old damaged length.
Is it bad to wear nail polish all the time?
Wearing polish constantly is not dangerous, but it is not ideal either. Polish seals the nail and traps moisture underneath, and without breaks the nail plate can become dry, stained, or prone to peeling. Give your nails at least a day or two bare between manicures, and always use a base coat — it is the single best protection against staining and damage from coloured polish.
What is the best nail shape for beginners?
Rounded or oval. Both follow the natural curve of the fingertip, rarely snag on fabric, and suit almost every hand shape. Square looks sharp but its corners catch and chip more easily, and it needs more maintenance. Start rounded, learn how your nails behave, and try other shapes later once your nails are stronger.
Can I do nail care at home, or do I need a salon?
Almost everything in this guide is designed for home — the weekly routine, shaping, cuticle care, polishing, and removal are all beginner-friendly. A salon is worth it for gel or acrylic application and removal, for a special occasion, or when a problem keeps coming back despite a good home routine. Home care and salon care are not rivals; they work best together.
Conclusion
Nail care is not a talent, and it is not a luxury. It is a small set of habits, done in the same order, once a week, plus a drop of oil every night and a pair of gloves for the dishes. That is genuinely all it takes. The nails themselves do the slow work — three millimetres a month, one layer at a time — and your job is simply not to get in their way: do not cut the cuticle, do not peel the polish, do not file back and forth, do not use your nails as tools.
If you take one thing from this guide, take the timeline. Your nails will not transform this week, and that is not a sign that you are doing it wrong. In a month, the cuticles will look calmer. In three months, the new growth will look smoother. In six months, the nail you see will be one you grew yourself, with a routine you built. Start with the kit, pick your day, take your “before” photo — and then just keep going. The rest is patience, and patience is the easiest part once you know what you are waiting for.

Leave a Reply