Intro
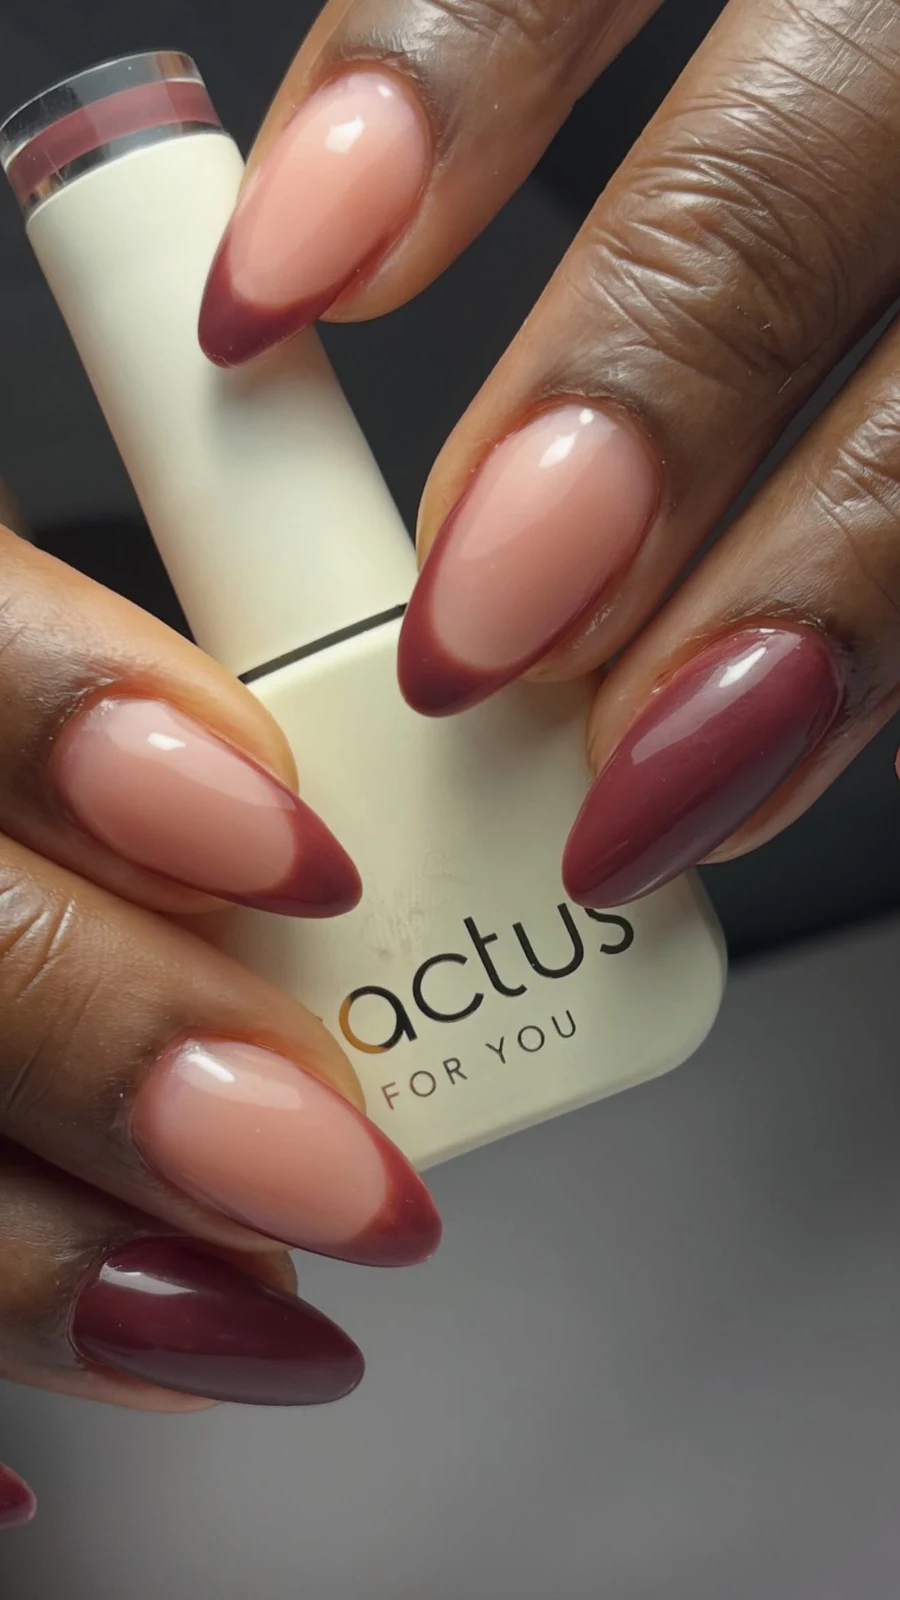
You are standing in front of your polish shelf, holding a bottle of deep burgundy, looking down at the pale pink dip manicure you got ten days ago. The dip is still perfect — glossy, unchipped, not a lift in sight. The burgundy would be perfect for tonight. The only question is whether the two can meet without ruining everything.
Short version: yes, they can. A regular nail polish can go over a dip powder manicure and look genuinely good, and it can come off again without taking the dip with it. But there are three conditions, and they are not optional. The dip has to be intact. The products have to be compatible. And the remover you use at the end matters just as much as the polish you use at the start.
This guide is the full, honest version of that answer. Not a yes with an asterisk buried at the bottom, but the whole picture: what dip powder actually is once it is on your nails, how regular polish and gel polish behave differently on top of it, the repaint done properly step by step, the base coat and top coat questions everyone asks, how long the new colour will realistically last, how to take it off again, the mistakes that wreck a good set, and the moments when the right move is to put the bottle down and book a removal instead.
If you have ever wondered whether you can stretch a dip manicure through one more event with a colour change, this is the article to read before you open the bottle.
The Short Answer: Yes — If Three Things Are True
Yes, you can paint over dip powder nails with regular nail polish. Not “sort of,” not “only in an emergency” — properly, with a good result, provided three things are true.
First, the dip manicure has to be intact. No lifting at the cuticle or the free edge, no cracks, no peeling corners, no sore or irritated skin around the nail. A new coat of polish over a damaged enhancement is a cover-up, not a fix, and it hides exactly the things you should be looking at.
Second, the products have to be compatible. Most conventional nail polishes play nicely with a fully cured dip top coat. Gel polish is a different story — it brings curing lamps, bonding requirements and a much more complicated removal into the picture, and it should not be treated as the same decision.
Third, you need a plan for removal. The polish you put on has to come off again, and the remover that takes it off can also attack the dip underneath. If you only think about the colour going on and not about how it comes off, you can end up losing the whole manicure in the process of changing it.
When those three things line up, repainting a dip manicure is one of the easiest ways to get a second look out of a set you already paid for. A nude dip becomes a burgundy evening manicure. A soft pink becomes a dark autumn shade. The dip underneath keeps doing its job — strength, structure, wear — while the polish on top does the talking.
When any one of the three is missing, the answer flips. A lifting set needs attention, not polish. An incompatible product combination needs a technician’s advice, not a guess. And a remover you have not checked needs a test on one nail, not a full soak on all ten.
Additional Information: Yes, with conditions: intact dip, compatible products, and a removal plan. Regular polish is the simple option; gel polish over dip is a separate decision with its own rules.
What You Are Actually Painting On
It helps to know what is sitting on your nails before you paint over it, because dip powder is not polish and it does not behave like polish.
A dip powder manicure is a system of layers. The technician preps the natural nail, brushes on a base liquid, dips or sprinkles the nail into fine coloured powder, repeats that for two or three layers, brushes off the excess, seals the whole thing with an activator that hardens the layers, and finishes with a top coat. There is no UV or LED lamp involved. What you are wearing is several thin, hardened coats fused into one rigid shell.
That rigid shell is the whole point of dip powder — and the thing to respect when you paint over it. Regular nail polish dries by solvent evaporation: the liquid evaporates and leaves a thin film behind. It sits on top of the dip’s top coat the way paint sits on a sealed tabletop. It does not soak in, it does not bond chemically, and it does not need to. It just needs a clean, smooth, compatible surface to grip.
That is also why the condition of the surface matters so much. A glossy, intact top coat gives polish something even to hold on to. A rough, lifting or cracked surface gives it edges to peel from and gaps to seep under. And a top coat that has gone dull or worn thin after two weeks will not hold polish the way a fresh one does — which is one reason a repaint looks better on a one-week-old set than on a three-week-old one.
One more thing worth knowing: the dip underneath does not care what colour is on top of it. It has no opinion about burgundy versus nude. What it cares about is solvents, friction and time. Acetone softens many dip coatings. Aggressive buffing thins them. And every extra layer you add is another layer that has to come off eventually, through the same surface. Keep that in mind and the rest of the decisions get easier.
Additional Information: Dip powder is layered powder + base liquid + activator, hardened into a rigid shell with no UV lamp. Regular polish sits on top of the sealed top coat as a separate film — it needs a smooth, intact surface to grip.
Regular Polish vs Gel Polish Over Dip
Regular polish and gel polish can both change the colour of a dip manicure. They are not interchangeable ways of doing it — they are two different decisions with different trade-offs, and most of the confusion about painting over dip comes from treating them as the same thing.
Regular Nail Polish
Regular polish is the straightforward option. It dries in the air, needs no lamp, and comes off with ordinary polish remover. Its advantages for a temporary colour change are practical: a huge range of colours, no special equipment, familiar finishes from glossy to matte to shimmer, and a removal process you already know how to do.
The trade-off is wear. Regular polish over dip will not last as long as the dip underneath it. It chips sooner, dulls faster, and shows tip wear within days rather than weeks. That is normal — it is a thin film of polish sitting on a hard surface, not a bonded enhancement. If you go in expecting dip-level durability from a polish layer, you will be disappointed. If you go in expecting a few good days of a new colour, you will be pleased.
Gel Polish
Gel polish is the heavier option. It cures under a UV or LED lamp, needs specific surface preparation, and is designed to bond as part of a system. Over dip powder it raises questions regular polish never does: whether the two systems are chemically compatible, whether the gel will cure properly on a dip top coat, and — the big one — how you will ever get it off again without damaging the dip underneath.
Some manufacturers do make products intended to work together, and some technicians do layer gel over dip successfully. But that is a professional judgement about specific products, not a general rule you can apply to any bottle in your drawer. Gel over dip done wrong can mean poor adhesion, premature lifting, an uneven finish, and a removal that takes the dip with it.
Which One Should You Choose?
For a temporary colour change on an intact dip manicure, regular polish is the simpler and safer choice in almost every case. It goes on easily, comes off easily, and asks nothing of the dip underneath except a clean surface.
Gel polish over dip is a conversation to have with your nail technician, not a DIY experiment. If you want a gel finish, ask the person who applied your dip whether their system supports it, what they would use, and how they would remove it. If they hesitate, that is your answer.
Additional Information: Regular polish: air-dries, no lamp, easy removal, shorter wear. Gel polish: needs curing and compatible systems, longer wear, much harder removal. For a temporary change, regular polish wins; for gel, ask your technician first.
The Repaint, Step by Step
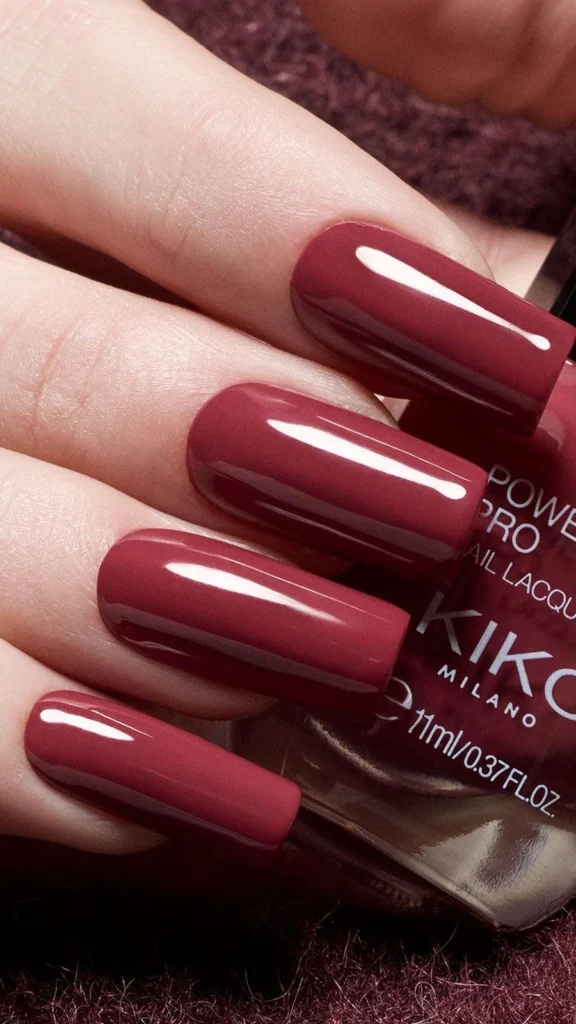
Here is the whole process, in the order that matters. None of it is difficult. The part most people skip is the first step, and it is the one that decides whether the rest works.
Step 1: Inspect the Manicure Honestly
Before you open a bottle, look at all ten nails in good light. Check the cuticle edge and the free edge of every nail for lifting — any place where the coating has separated from the nail, even slightly. Look for cracks, chips in the dip itself, and any discolouration that was not there on day one. Press gently on each nail: it should feel solid and comfortable, not sore or tender.
If you find lifting, cracking or discomfort, stop. A new colour will not fix any of those things, and it will hide them from view while they get worse. Book a salon visit instead. If everything is smooth, solid and comfortable, you are good to proceed.
Step 2: Find Out What You Are Working With
If your manicure was done at a salon, you may not know which dip system or top coat was used — and that matters, because compatibility is specific, not general. A quick message or call to the salon is worth it: “Can I put regular polish over the dip you did, and is there a remover I should avoid?” Most technicians will answer in a sentence, and that sentence is more reliable than any general guide, including this one.
If you did the dip yourself, check the product instructions for your specific top coat. Some brands state clearly whether conventional polish can go over their finish.
Step 3: Clean the Surface
Wash your hands and dry them properly. Then wipe each nail with a lint-free pad barely dampened with a gentle, non-acetone cleanser or plain water — the goal is to remove hand cream, oils and everyday residue, not to strip the surface. Let the nails dry completely. Polish applied over a greasy or damp surface peels quickly, and the failure looks like a product problem when it was really a prep problem.
Do not buff the dip to “help the polish stick.” This is the most common bad advice about repainting dip nails. Aggressive buffing thins the top coat and can cut into the dip layers, and once the surface is damaged you cannot un-damage it. A clean, intact top coat is already a good surface for polish. If the top coat has gone very dull after weeks of wear, a single thin layer of a compatible clear top coat, left to dry fully, is a better refresh than a file.
Step 4: Choose the Polish
Pick a conventional nail polish — the ordinary kind that dries in the air. Avoid anything labelled gel, gel-effect, or UV-cure unless you have confirmed it is compatible with your dip system, because those are not the same product even when the bottle looks similar. Read the label and the manufacturer’s directions, and do not mix unfamiliar chemical systems on a guess.
Colour-wise, anything goes. Dark colours over a light dip base are the classic repaint — burgundy over nude, navy over pale pink, forest green over white. Just remember that dark polish shows chips sooner than sheer polish does, so the darker you go, the more the next step matters.
Step 5: Apply Thin Coats
Apply the polish the way you would on a bare nail, but thinner than you think. Two thin coats beat one thick coat every time — thick coats dry slowly, stay soft underneath, and peel in sheets. Let the first coat dry fully before the second. Use the same care at the edges: cap the free edge lightly if you can, and keep polish off the cuticles and skin, where it lifts first.
Step 6: Finish With a Compatible Top Coat
A top coat is not optional for a repaint. It seals the colour, adds the shine, and buys you extra days before the edges start to wear. Use a conventional top coat — the ordinary air-drying kind — and check that it is compatible with the polish you used. Let it dry completely before you do anything with your hands: surface-dry and fully dry are not the same thing, and the difference is a sheet mark on your thumbnail at 11 p.m.
Step 7: Plan the Removal Before You Need It
Before you even admire the finished result, decide how the new colour will come off. The safest general approach is a non-acetone remover on a cotton pad, held on the nail briefly and wiped gently, tested on one nail first. Acetone-based removers are stronger and faster, but acetone is also the solvent used to soak off many dip systems — which means it can soften or damage the dip underneath while it removes the polish on top. Whatever you choose, test it on one nail and watch what happens to the dip below before you do all ten.
Additional Information: Inspect first, identify your products, clean without buffing, use ordinary air-drying polish in thin coats, seal with a conventional top coat, and decide on the remover before you start.
Do You Need a Base Coat Over Dip Powder?
Not necessarily — and this is one of those questions where the confident answer you will find online is usually wrong, because it assumes every dip manicure is the same.
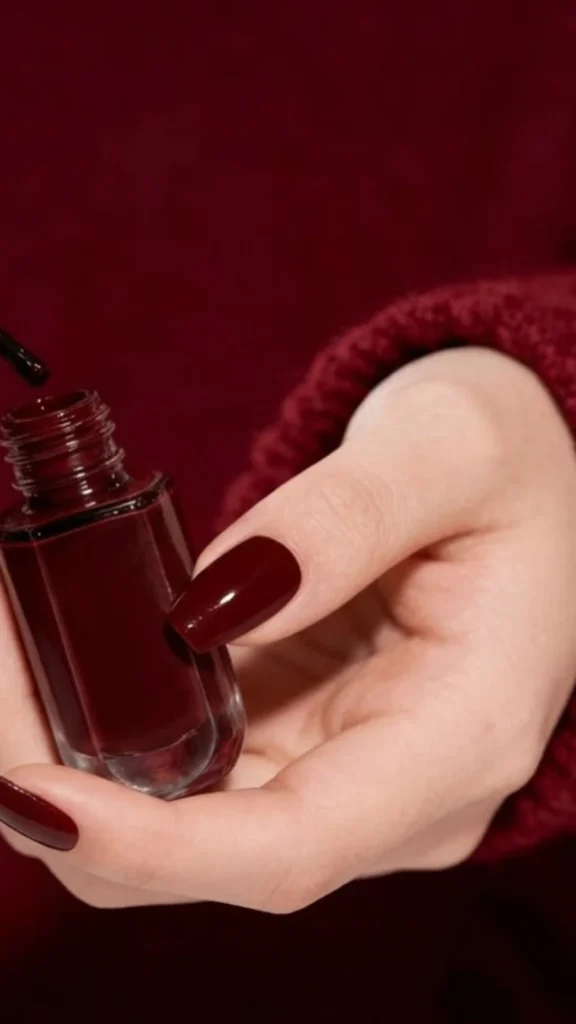
Whether a base coat helps depends on the dip top coat underneath and the polish going on top. Some conventional polishes adhere perfectly well to a finished dip surface with no base coat at all. Others grip better with a compatible base layer underneath. There is no universal rule, and adding layers automatically is not free: every extra layer changes the thickness of the manicure, can change how the colour looks, and is one more thing to remove later.
The practical approach: if your polish brand’s instructions recommend a base coat, or if you have repainted this same dip before and the polish peeled quickly without one, use a thin layer of a conventional base coat and let it dry fully. If the polish goes on smoothly and stays put without one, skip it. Either way, do not use a gel base coat under regular polish over dip — that mixes two systems for no benefit and creates a removal problem you do not need.
One more note: a base coat will not stain-proof the dip underneath. Dark polish can leave a faint tint on a light dip top coat if it sits there for days, especially reds and deep burgundies. A base coat reduces that risk but does not eliminate it. If you are repainting a very pale dip with a very dark colour and you love the dip underneath, accept that a faint tint is possible — or choose a mid-tone instead.
Additional Information: No universal rule — some polishes grip fine with no base coat, some do better with one. Use a conventional base coat only if your polish needs it; never a gel base coat under regular polish.
Can You Apply a Top Coat Over Dip Powder Nails?
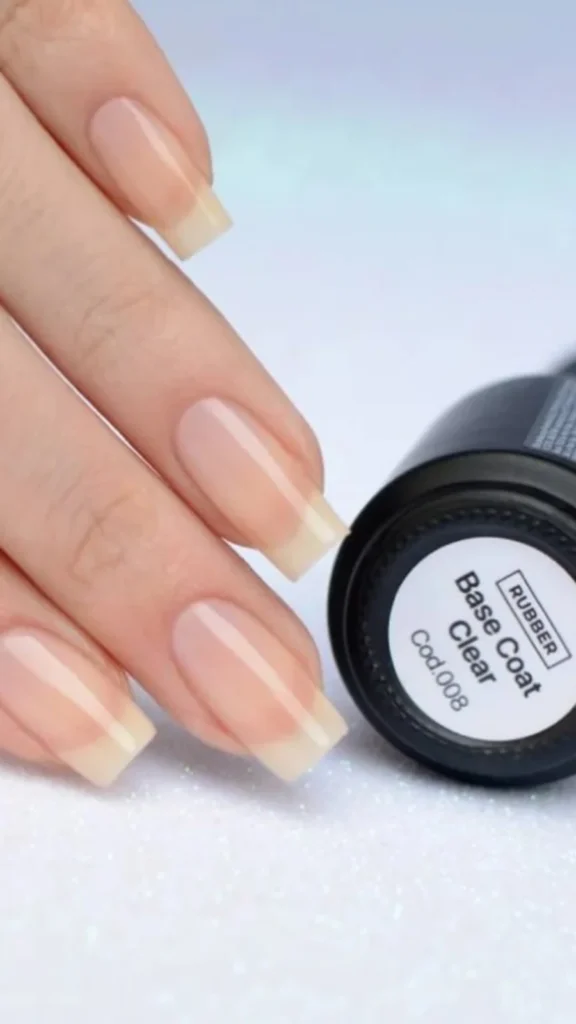
Yes — in many cases, a compatible conventional top coat over an intact dip manicure is not only fine, it is the single most useful thing you can do for a repaint. It is also the product most people get wrong, because top coats are not interchangeable.
A regular polish top coat, a gel top coat and a dip powder finishing coat are three different products with different ingredients and different rules. A UV-cured gel top coat should never be treated like an ordinary air-drying polish, and putting one over dip without knowing the system is exactly how people end up with a manicure that cannot be removed without a fight.
What a conventional top coat does over dip: it seals the colour layer, restores shine to a top coat that has dulled after two weeks of wear, smooths the surface, and slows down the tip wear that makes a repaint look tired first. It is the difference between a repaint that looks good for two days and one that looks good for five.
What it does not do: it does not repair damage underneath. If the dip is lifting, a fresh top coat just seals the lift in place and hides it. It does not strengthen the dip, either — the structure comes from the dip layers, not from anything you paint on top.
Use a conventional top coat, apply it thinly, let it dry fully, and reapply a fresh thin layer every two or three days if you want to stretch the repaint further. That two-minute refresh is the cheapest longevity trick in this whole article.
Additional Information: A conventional top coat over intact dip seals the colour, restores shine and extends wear. Never use a gel top coat as a substitute — different product, different removal. And no top coat repairs lifting underneath.
How Long Does Regular Polish Last Over Dip Powder?
There is no guaranteed wear time, and anyone who gives you one is guessing. What you can expect is a range — and the range depends on more than the polish.
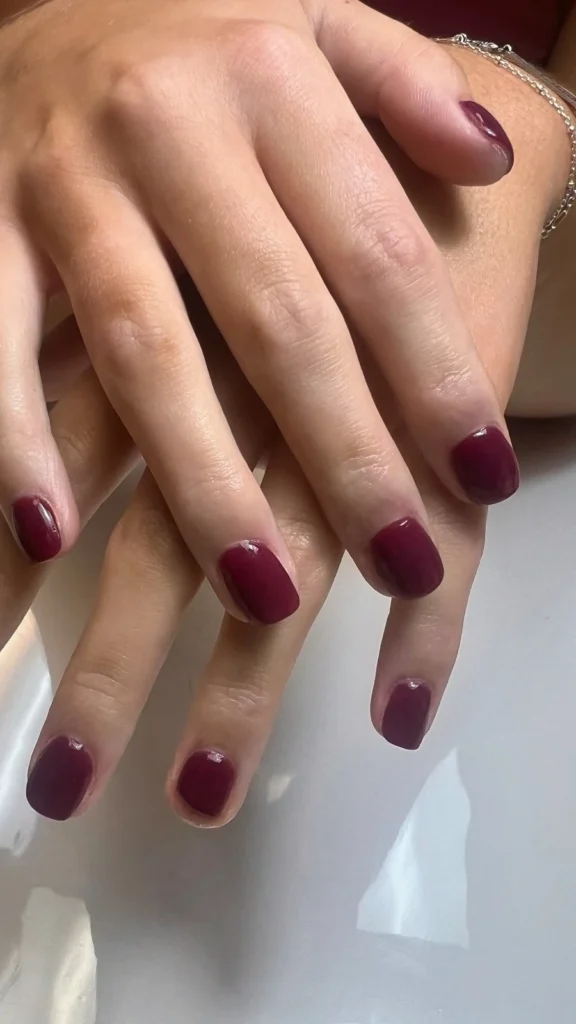
On an intact dip manicure with a good top coat, a regular polish repaint typically looks good for three to five days, sometimes a little longer if you are gentle with your hands. The first thing to go is usually the tip: a faint line of wear at the free edge, then a small chip on the nail you use most. The colour on the rest of the nail can look fine for days after the tips start to show wear.
What decides where you land in that range:
- Product compatibility. Polish and top coat from the same brand and the same line usually wear better together than a random pairing.
- The condition of the dip underneath. A one-week-old set holds a repaint better than a three-week-old set with a dulled top coat and a visible growth gap.
- Nail length and daily life. Long nails, typing all day, washing dishes without gloves, and using your nails as tools all shorten the repaint’s life. Short nails on a gentle week last longest.
- The polish itself. Sheer and light colours hide tip wear far better than dark, opaque ones. A dark burgundy shows every chip; a sheer rose barely shows any.
- Drying conditions. Polish that was rushed — thick coats, a top coat applied before the colour was dry — peels early no matter how good the products are.
- Top coat maintenance. A fresh thin layer of top coat every two or three days genuinely extends the repaint by days, because it re-seals the edges before they lift.
One thing to keep separate in your head: the lifespan of the new colour and the lifespan of the dip underneath are two different clocks. The polish can start chipping on day three while the dip beneath it is still perfectly fine at day fourteen. Do not read a chipped repaint as a failing dip manicure — and do not read a fresh-looking repaint as proof that a three-week-old dip set is fine to keep wearing. Judge each layer on its own condition.
Additional Information: Expect roughly 3–5 good days from a polish repaint over dip. Dark colours show wear first; a fresh top coat every 2–3 days extends it. The polish’s lifespan and the dip’s lifespan are separate — judge each on its own.
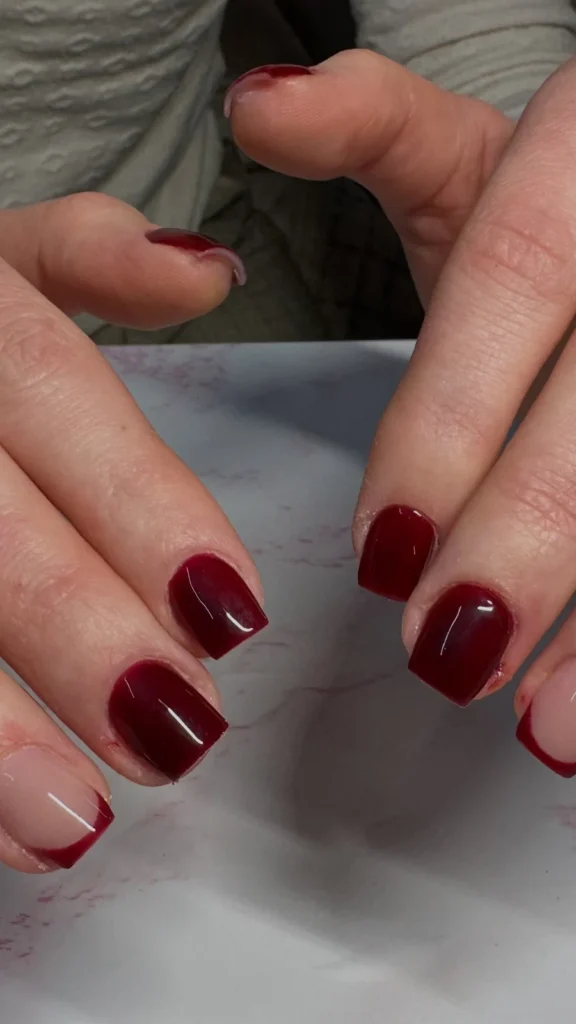
Removing the New Colour Without Ruining the Dip
This is the step that decides whether repainting was a clever trick or an expensive mistake — and it is the step most people think about last, when they are already holding the remover.
The problem is simple: acetone is the solvent used to soak off many dip powder systems. So the acetone-based remover that takes your new polish off in seconds can also soften, dull or damage the dip top coat and the layers underneath it. A non-acetone remover is gentler on the dip, but it works more slowly and is not guaranteed to leave every dip system untouched either. There is no remover that is universally safe for every dip manicure, because dip systems differ.
The Method That Works Most Often
Use a non-acetone remover first. Soak a cotton pad, hold it on one nail for a few seconds, and wipe gently — do not scrub. Check that nail: is the polish coming off, and is the dip underneath still glossy and intact? If yes, continue with the rest, one nail at a time, using a fresh section of the pad for each nail. If the dip looks dull, tacky or softened, stop and switch to an even gentler approach — a barely-damp pad, shorter contact, and patience — or ask your technician.
Does Acetone Damage Dip Powder Nails?
Acetone can soften or affect the coatings used in many dip powder systems, and it dries and irritates skin with repeated use. That does not mean a single careful pass with an acetone remover will destroy a dip manicure — many people do it and the dip survives — but it does mean you should not soak acetone-soaked cotton on a dip set the way you would on bare nails, and you should never assume the dip is untouched just because it still looks fine while it is wet. Let the nail dry fully and look again: softening sometimes shows up as dullness once the surface dries.
Acetone products are also flammable, so handle them according to their safety instructions, away from heat and open flame, and never with improvised heated removal methods.
Can a Non-Acetone Remover Preserve the Original Manicure?
It may, with certain finished surfaces — non-acetone removers are the safer starting point and the one most technicians recommend trying first. But “gentler” is not “guaranteed.” Different formulations behave differently, and some non-acetone removers still affect some top coats. The only reliable test is the one-nail test described above, on your actual manicure, with your actual products.
When Professional Removal Is the Better Call
Get the removal done professionally if any of these are true: you do not know which dip system was applied; the dip is lifting or cracked; you have layered multiple product systems on top of each other; you have had irritation or damage before; or the new colour will not come off cleanly and you are tempted to scrape. Scraping is how natural nails get thinned and damaged — it is never the answer, however stubborn the polish looks.
Additional Information: Try non-acetone remover first, one nail at a time, and check the dip underneath before continuing. Acetone can soften many dip coatings, so never soak it on a dip set. If the colour will not come off cleanly, book professional removal instead of scraping.
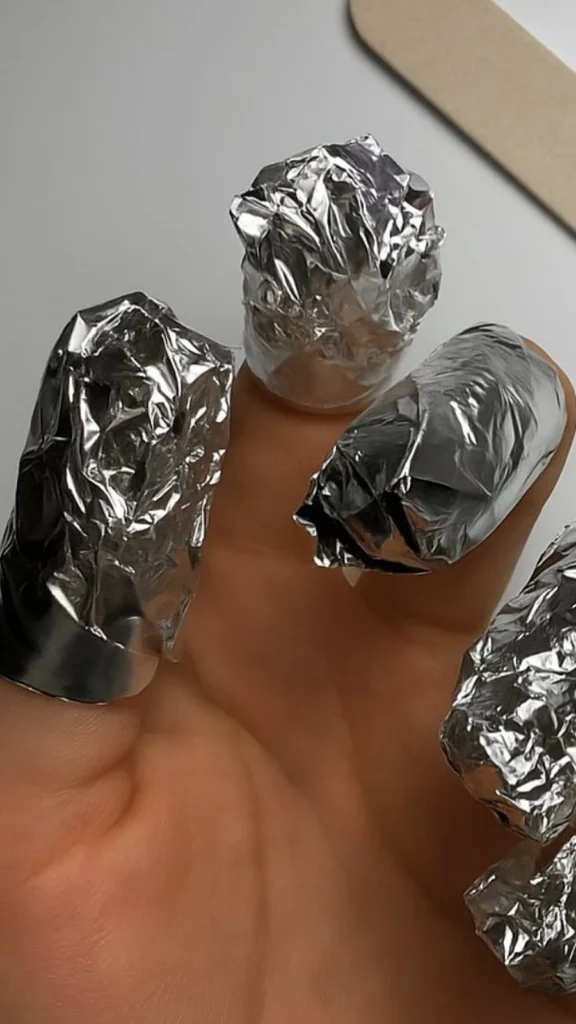
Colour Ideas Worth Trying Over a Dip Base
Here is the fun part — the reason anyone repaints a dip manicure in the first place. A dip base is a perfect canvas because it is already smooth, strong and even. These are the repaints that work best, roughly in order of how forgiving they are:
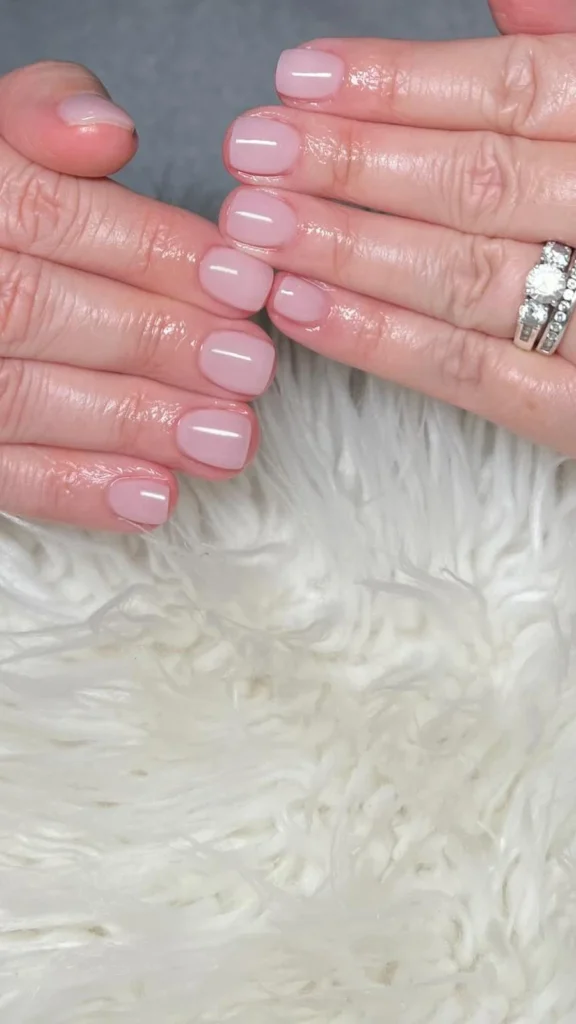
Sheer rose over a nude dip. The easiest repaint there is. A sheer pink adds warmth and shine, hides almost no imperfections because there are none to hide, and tip wear is nearly invisible. The “my nails but better” option.
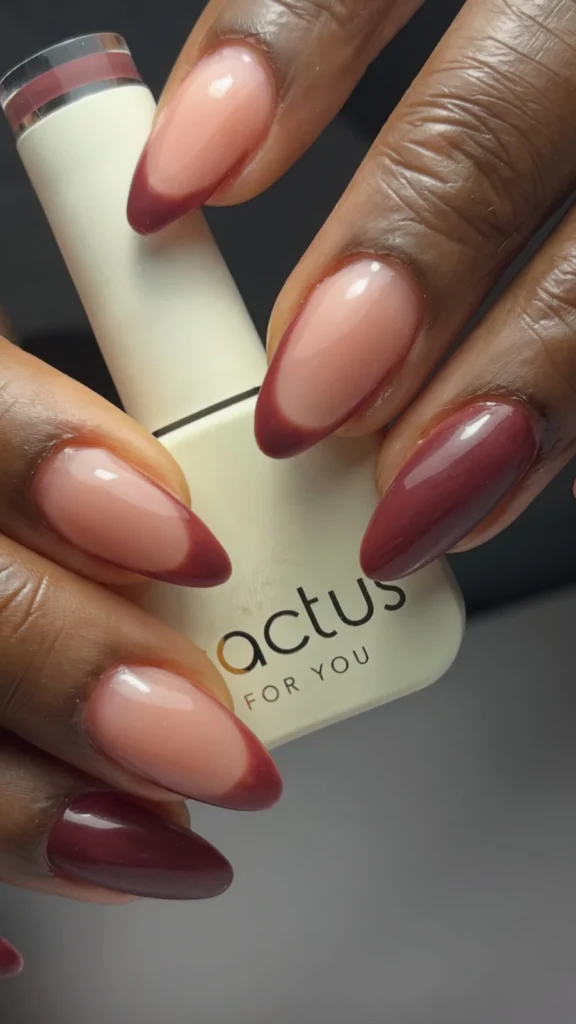
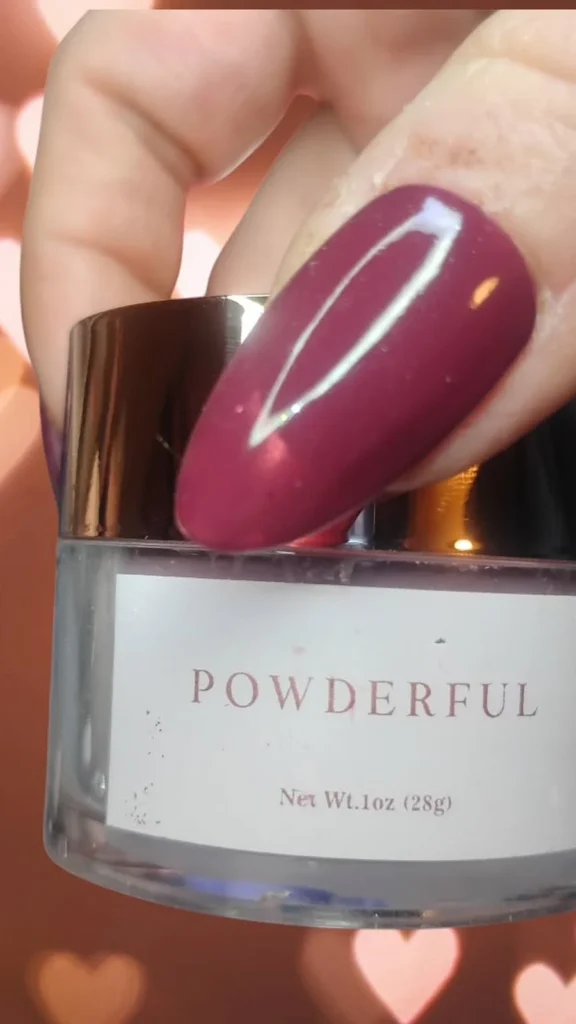
Burgundy over pale pink. The classic event repaint. Deep wine and burgundy sit beautifully over a light base and make the whole hand look more polished instantly. Dark colours show chips sooner, so keep the top coat fresh.
Navy over white or pale grey. A sharp, modern contrast that looks deliberate rather than improvised. Works especially well on short square nails, where the dark colour makes the shape look crisp.
Forest green over nude. The autumn answer to burgundy — rich, a little unexpected, and very flattering on medium and deep skin tones. A glossy top coat is essential; matte green over dip can look flat.
Cherry red over a soft pink dip. The most forgiving dark repaint, because the pink base underneath warms the red and small chips read less harshly than they do over a pale base.
Midnight shimmer over black or dark dip. If the dip underneath is already dark, a shimmer or glitter polish on top adds dimension without a colour clash. One coat of fine glitter over a dark dip looks like a salon effect for about a tenth of the effort.
A practical tip for all of them: if you love the dip colour underneath and might want it back, repaint with a lighter or sheerer polish rather than an opaque dark one. Dark polish can leave a faint tint on a light dip top coat, and a sheer repaint washes off cleanly.
Additional Information: Best repaints: sheer rose over nude, burgundy over pale pink, navy over white, forest green over nude, cherry red over soft pink, shimmer over dark dip. Sheer and mid-tone repaints are the most forgiving and the easiest to remove cleanly.
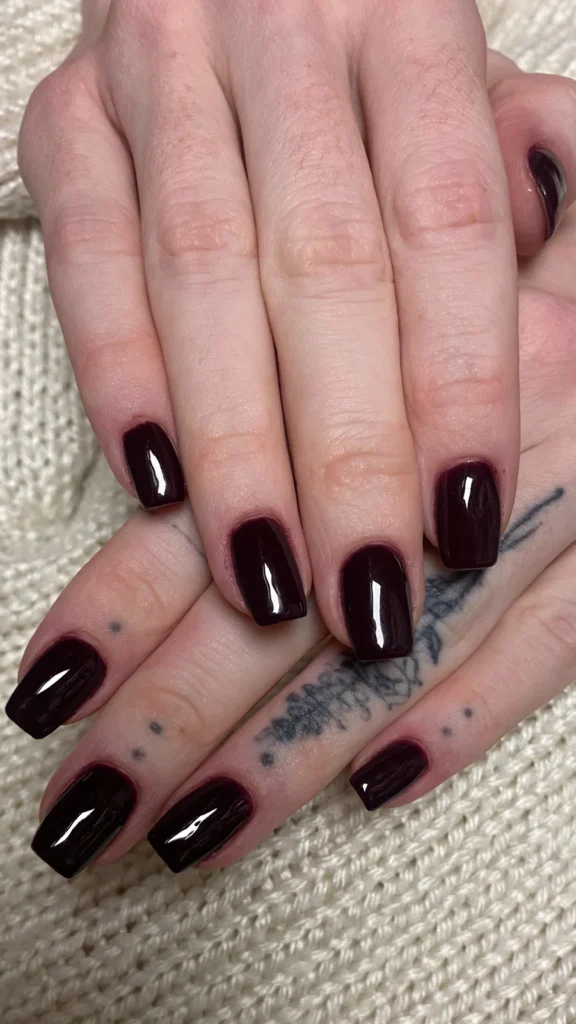
7 Mistakes That Ruin a Good Dip Set
Most repaint disasters are not product failures. They are one of these seven decisions, made in a hurry.
1. Painting Over Lifted Dip
A lifting enhancement needs assessment, not a cover-up. New polish over a lift traps moisture underneath, hides the problem from view, and lets it spread. If you can see or feel a gap at the edge, the polish stays in the bottle.
2. Buffing the Surface to “Help It Stick”
Aggressive buffing thins the dip top coat and can cut into the dip layers themselves. The surface you damage cannot be undamaged. Clean the nails; do not sand them.
3. Using Gel Products as if They Were Regular Polish
Gel base coats, gel top coats and gel-effect polishes are not interchangeable with conventional polish. Layering a gel product over dip without knowing the system creates a removal problem that can cost you the whole manicure.
4. One Thick Coat Instead of Two Thin Ones
Thick polish dries on the surface and stays soft underneath, then peels off in a sheet — sometimes taking the shine off the dip with it. Thin coats, fully dry between layers, are the whole secret to a repaint that stays put.
5. Soaking Acetone on the Whole Set
Holding acetone-soaked cotton on all ten nails at once, the way you would for a bare-nail removal, is the fastest way to soften a dip manicure. Test one nail with the gentlest remover first, and only then decide how to proceed.
6. Scraping When the Colour Will Not Budge
If the polish resists, the answer is more patience, a different remover, or a professional — never a tool. Scraping thins the natural nail and damages the surface it is supposed to protect, and the damage lasts far longer than the manicure.
7. Ignoring Pain, Redness or Swelling
A manicure should never hurt. If painting over your dip causes stinging, redness, swelling or any unusual sensation, remove the new polish gently, stop using additional products, and get advice. Covering irritation with another layer is how a small problem becomes a real one.
Additional Information: The seven mistakes: painting over lifting, buffing the surface, mixing gel products in, thick coats, soaking acetone on the whole set, scraping stubborn polish, and ignoring pain or irritation.
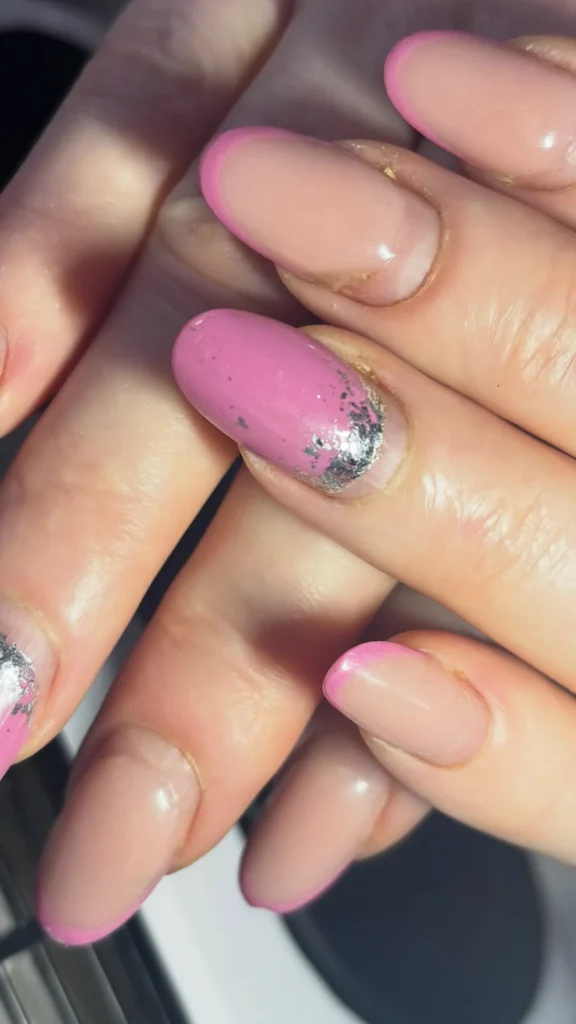
When to Skip the Repaint and Book a Removal Instead
Sometimes the right answer is not a new colour. It is a fresh start. Skip the repaint and book a removal or a new set when:
- The dip is lifting, cracked or peeling anywhere, even on one nail.
- The manicure is past three to four weeks old — at that point the growth gap and the wear underneath matter more than the colour on top.
- You have had pain, redness, swelling or any reaction to the products.
- You do not know which system was applied and you cannot find out.
- You have already layered gel or another system over the dip once before.
- The dip has unexplained discolouration, or the nail underneath looks or feels different from usual.
None of these are failures. A dip manicure is a temporary enhancement with a lifespan, and knowing when it has reached the end of it is part of taking care of your nails — not a sign that you did something wrong. The next set will look better for it.
Additional Information: Book a removal instead of repainting when the dip is lifting or cracked, past 3–4 weeks, painful or irritated, an unknown system, already layered with gel, or showing unexplained changes.
Frequently Asked Questions
Can you paint over dip powder nails with regular nail polish?
Yes. Regular nail polish can go over a fully finished, intact dip powder manicure, as long as the dip is in good condition and the products are compatible. It is a temporary colour change — expect a few good days of wear, not dip-level durability — and plan the removal before you start.
Can you use gel polish over dip powder nails?
Sometimes, but it is a professional decision, not a DIY one. Gel polish needs curing, specific surface preparation and compatible systems, and its removal is much more complicated over dip. Ask the technician who applied your dip whether their system supports it.
Do you need a base coat over dip powder nails?
Not necessarily. Some conventional polishes adhere fine to a finished dip top coat with no base coat; others do better with one. Use a conventional base coat if your polish needs it, and never use a gel base coat under regular polish over dip.
How long does regular nail polish last over dip powder nails?
Typically three to five good days with a compatible top coat, sometimes longer on short nails and a gentle week. Dark colours show tip wear sooner than sheer ones. A fresh thin layer of top coat every two or three days extends the repaint noticeably.
Can you remove regular nail polish without removing dip powder?
Sometimes. A non-acetone remover, used gently one nail at a time with a test nail first, is the safest starting point. Acetone-based removers can soften many dip coatings, so they should never be soaked on a dip set. If the colour will not come off cleanly, professional removal is the safer option.
Will painting over dip powder damage your natural nails?
Painting over an intact dip manicure with compatible regular polish should not damage your natural nails. The risk comes from the things around it: painting over lifting, buffing the surface, using incompatible gel products, soaking in acetone, or scraping during removal. Avoid those and your nails will be fine.
The Bottom Line
You can paint over dip powder nails. It is one of the easiest ways to get a second look from a manicure you already love — a burgundy evening from a pale pink afternoon, a navy statement from a quiet nude. The trick is not the painting. It is the three quiet decisions around it: only repaint a set that is intact, only use products that are compatible, and always know how the new colour is coming off before you put it on.
Do those three things and a repaint is a small, satisfying bit of nail magic: same strong dip underneath, brand-new colour on top, no salon appointment required. Skip them and the same bottle of polish can cost you the whole manicure. The bottle does not know the difference. You do now.
So check the set, clean the surface, paint thin, seal it well — and enjoy the second life of your dip manicure. When the colour starts to tire, take it off gently, one nail at a time, and let the dip underneath carry on doing its job until it is genuinely time for a fresh set.


Leave a Reply