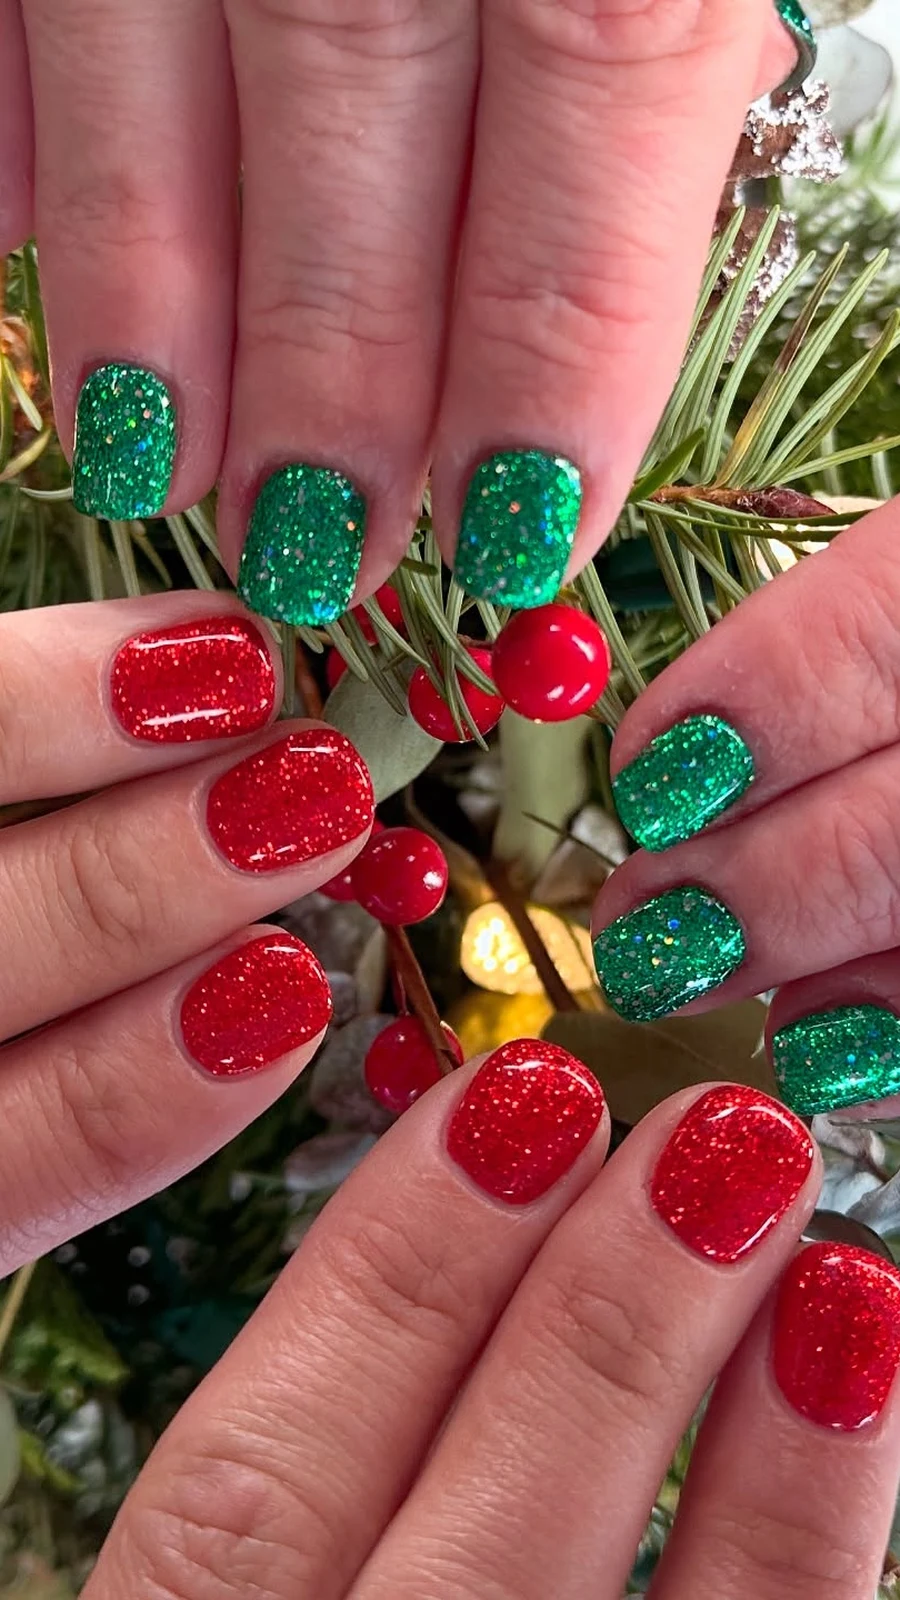
Start at the Bottom, Climb as High as You Like
Red and green is the oldest holiday pairing there is, and it still works every single year. The trick is not the colours — it is how much sparkle you want. Some people want one glitter nail and a quiet evening. Some want to be seen from across the room.
So this list is a ladder. It starts with the easiest looks — five minutes, no steady hand needed — and climbs, step by step, to the full festive showstoppers. Find your level. Start there. Or skip straight to the top. Nobody is checking.
Level One — Five Minutes, Done
These five need almost no skill at all. If you can paint a solid colour, you can do every one of them tonight.
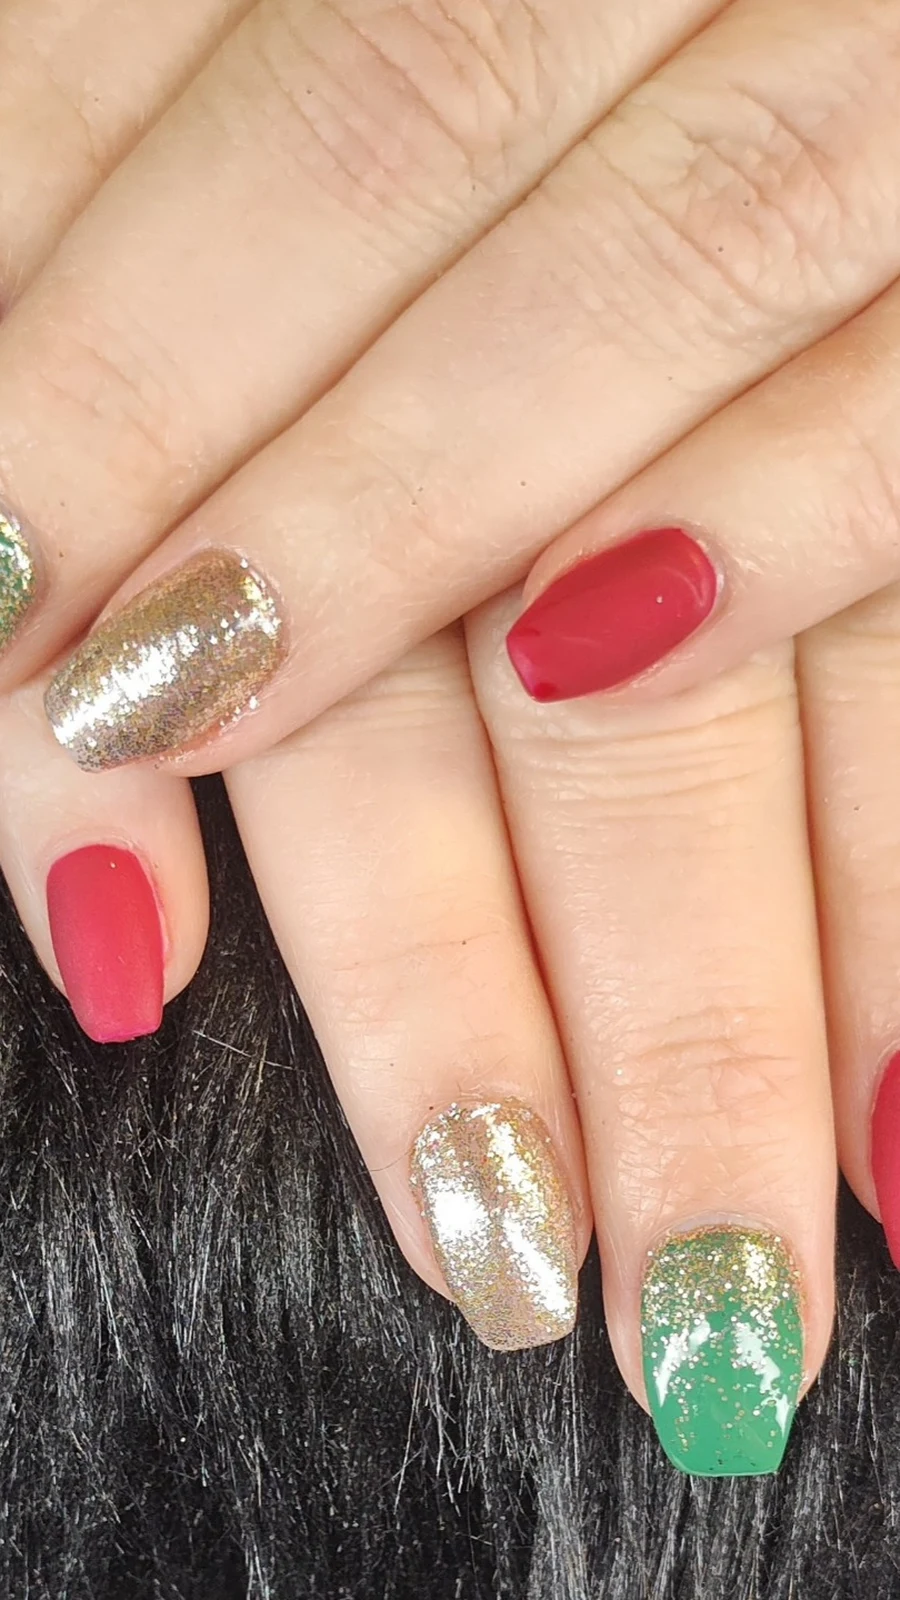
1. One Glitter Accent Nail
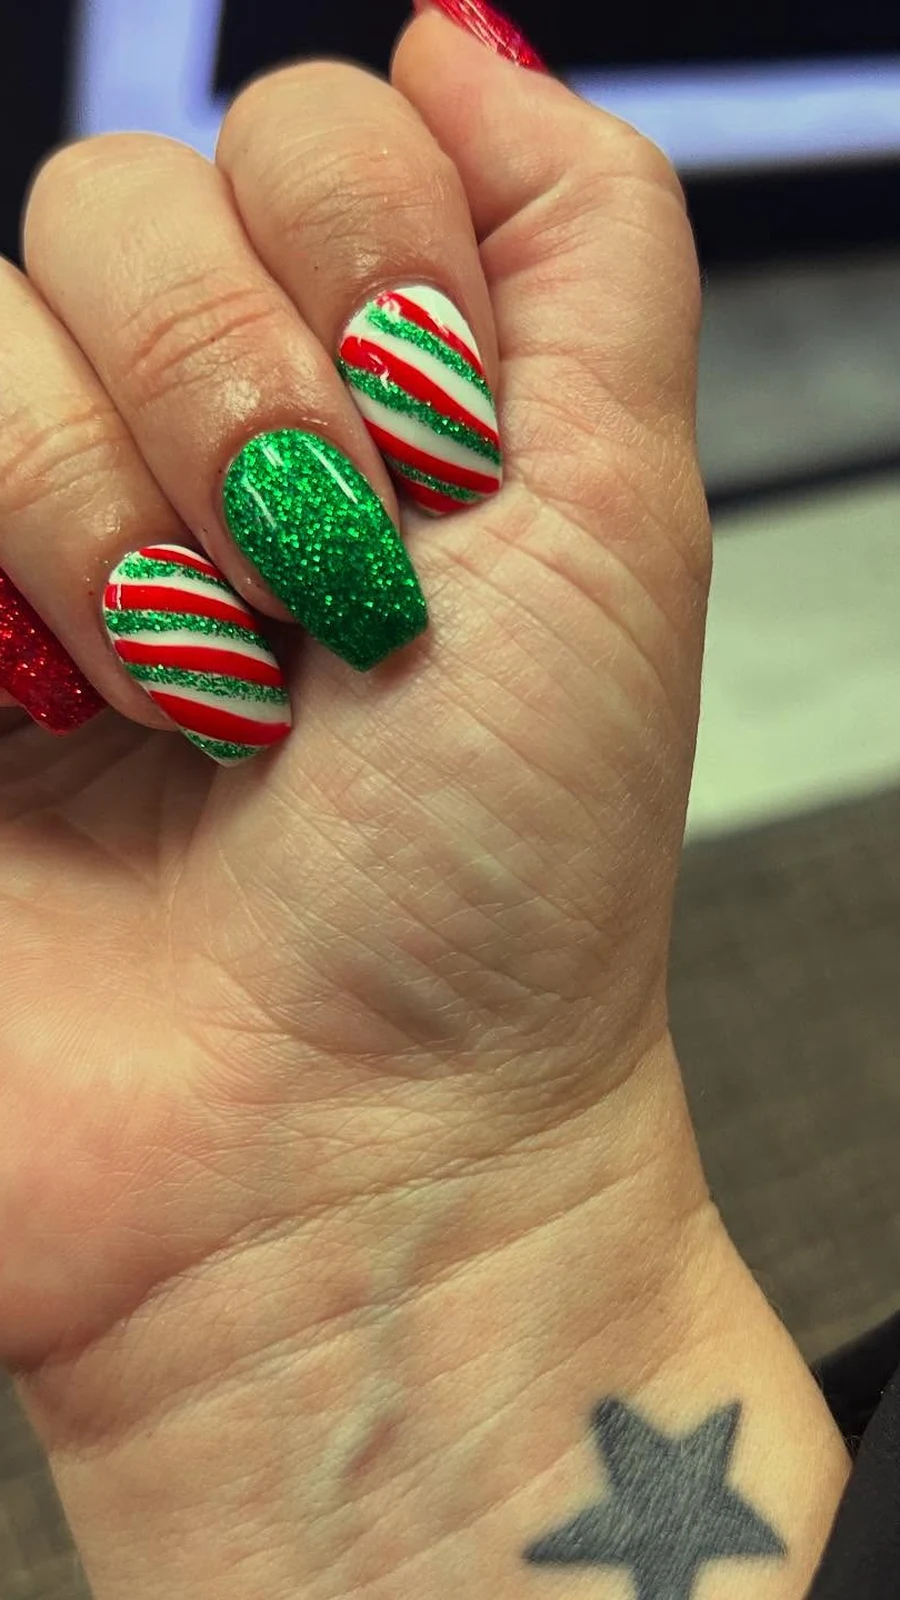
Paint nine nails in a deep glossy red. Paint one ring finger in green glitter. That is the whole look, and it works because the glitter nail does all the talking.
Additional Information: Use a true red, not a pink-red, so the green pops. Two coats of glitter over a green base so it looks dense, not patchy. Short or medium nails both suit it. It is the safest first step into holiday nails.
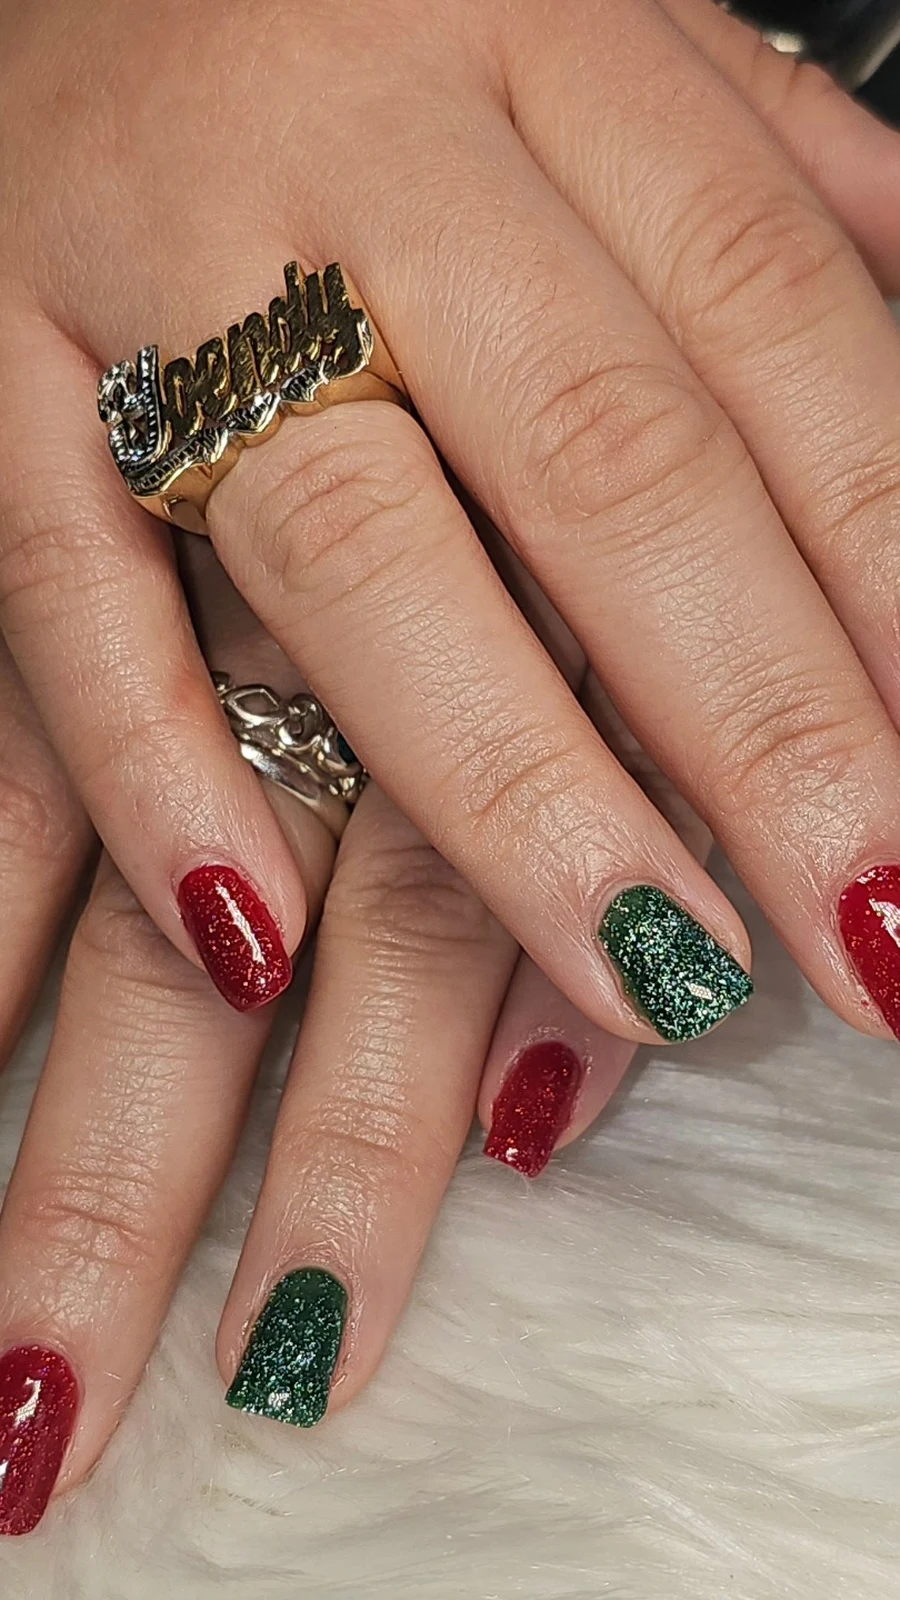
2. Red Base, Green Glitter Tips
A red manicure with just the tips dipped in green glitter. It reads as festive from a distance and stays neat up close.
Additional Information: Paint the red base first and let it dry fully. Then press green glitter polish onto the tips with a sponge for a dense, even edge. Seal with a glossy top coat. Medium almond or square shapes show the tips best.
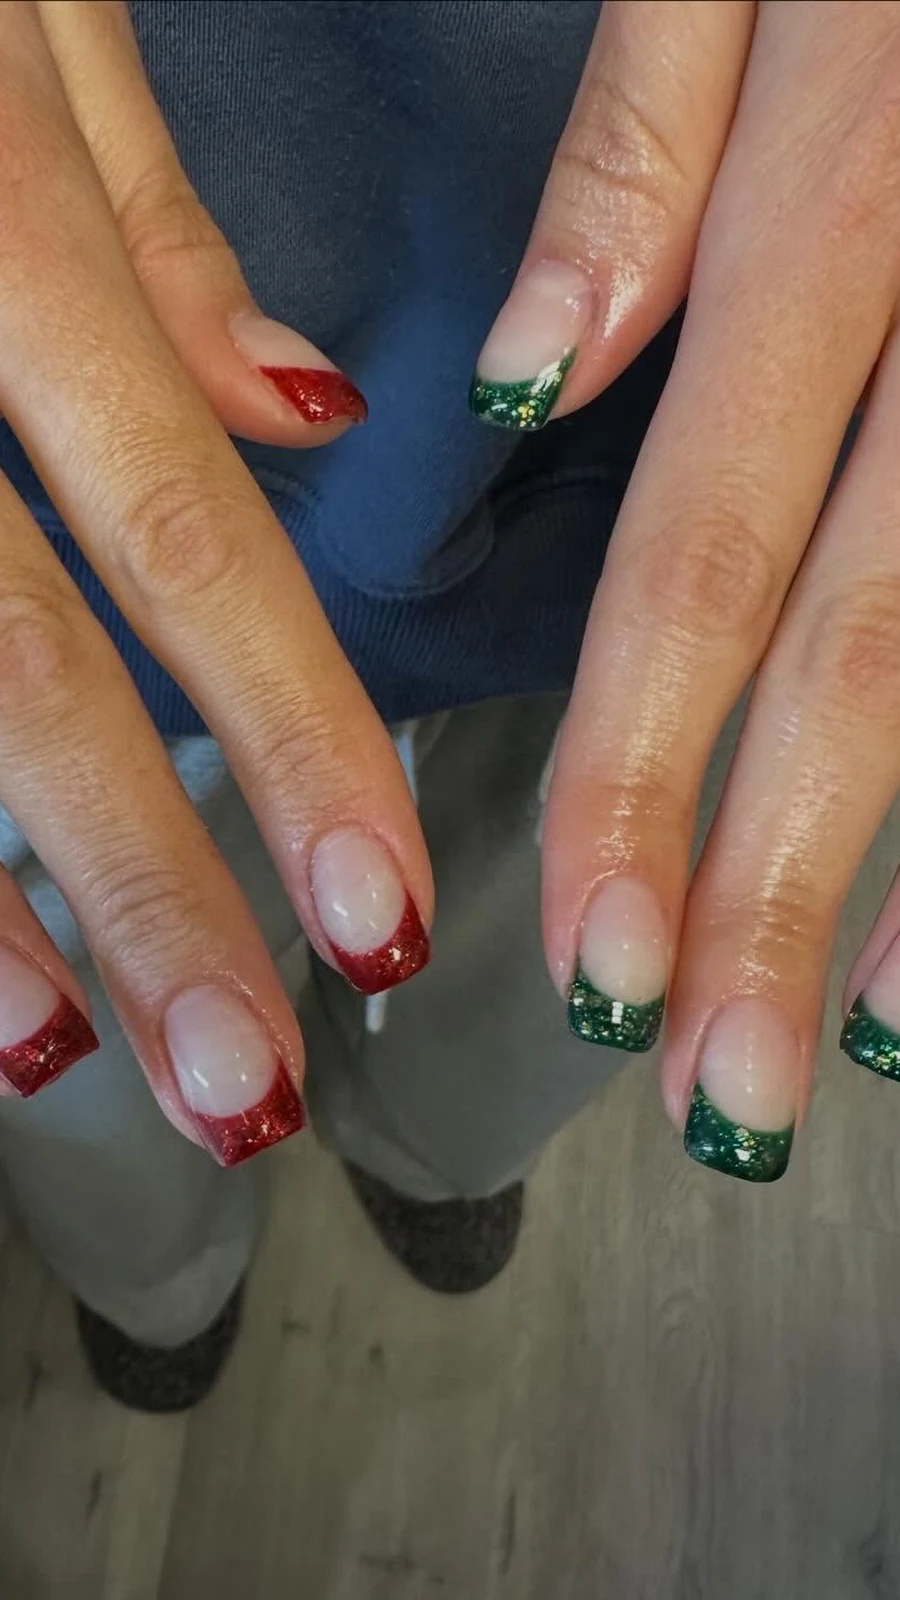
3. Alternating Red and Green Solids
One nail red, the next green, all the way across. No art, no tools, just two bottles and a steady rhythm. It looks far more put-together than it has any right to.
Additional Information: Alternate a classic cherry red with a deep forest green. Keep the finishes the same — both glossy — so the set feels deliberate. It suits any length and any shape, and it grows out evenly.
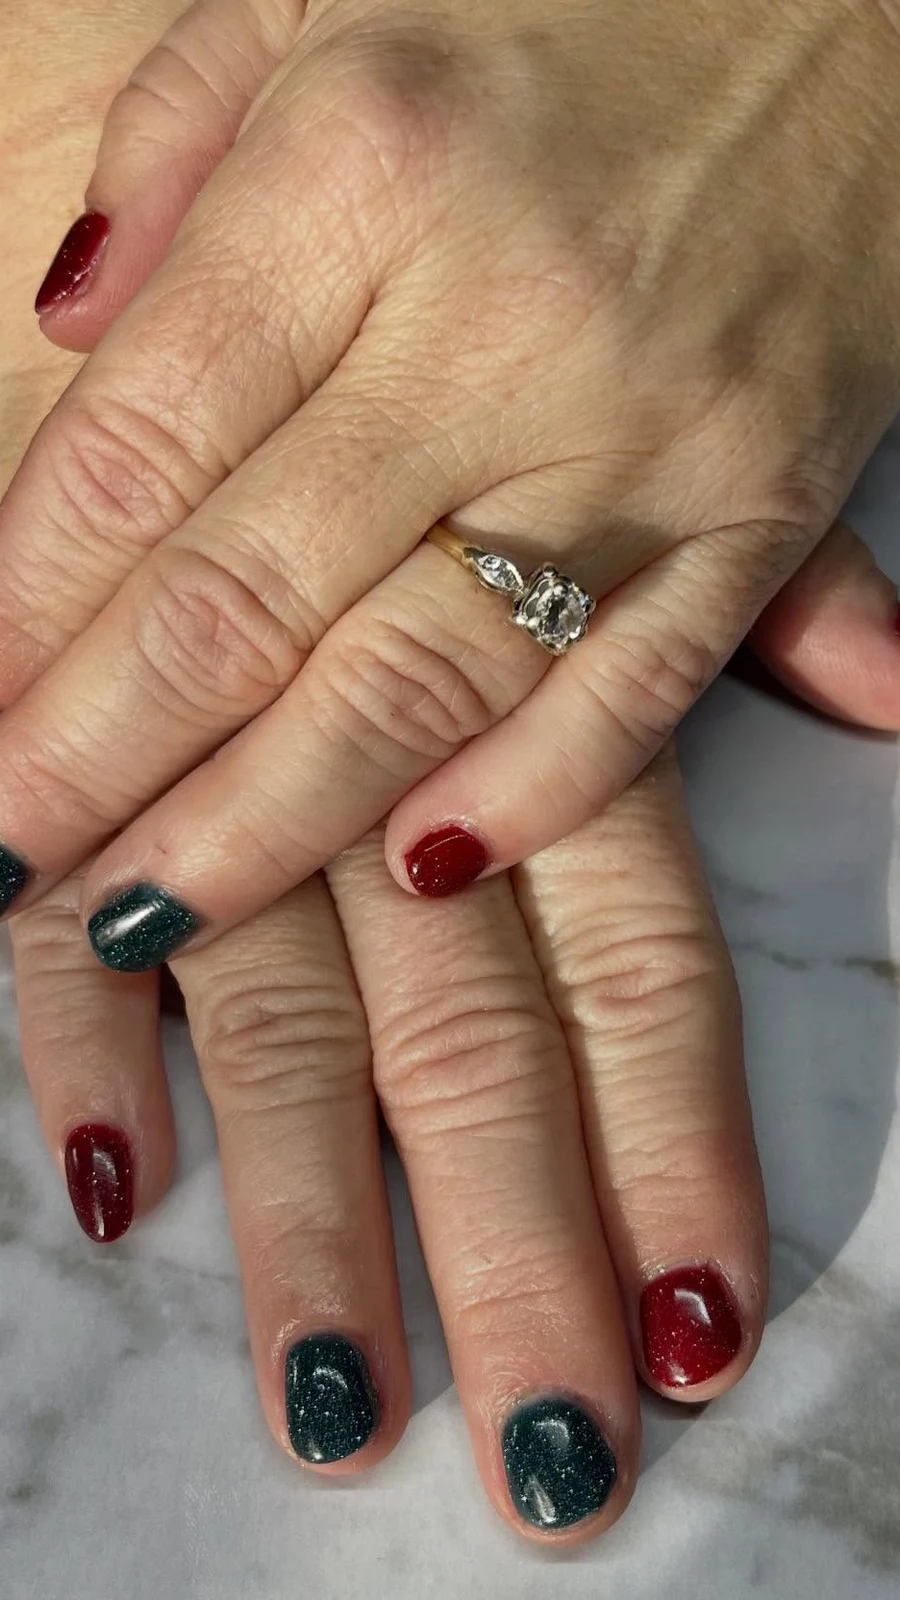
4. Red Nails, One Green Star
All red, except one tiny green star on each ring finger. It is the smallest possible nod to the season, and it is quietly charming.
Additional Information: Paint the red base glossy. Add the star with a dotting tool or a toothpick, in a bright emerald green. One coat of top coat keeps it smooth. Best on short nails, where a small motif does not get lost.
5. Candy-Cane Stripe Accent
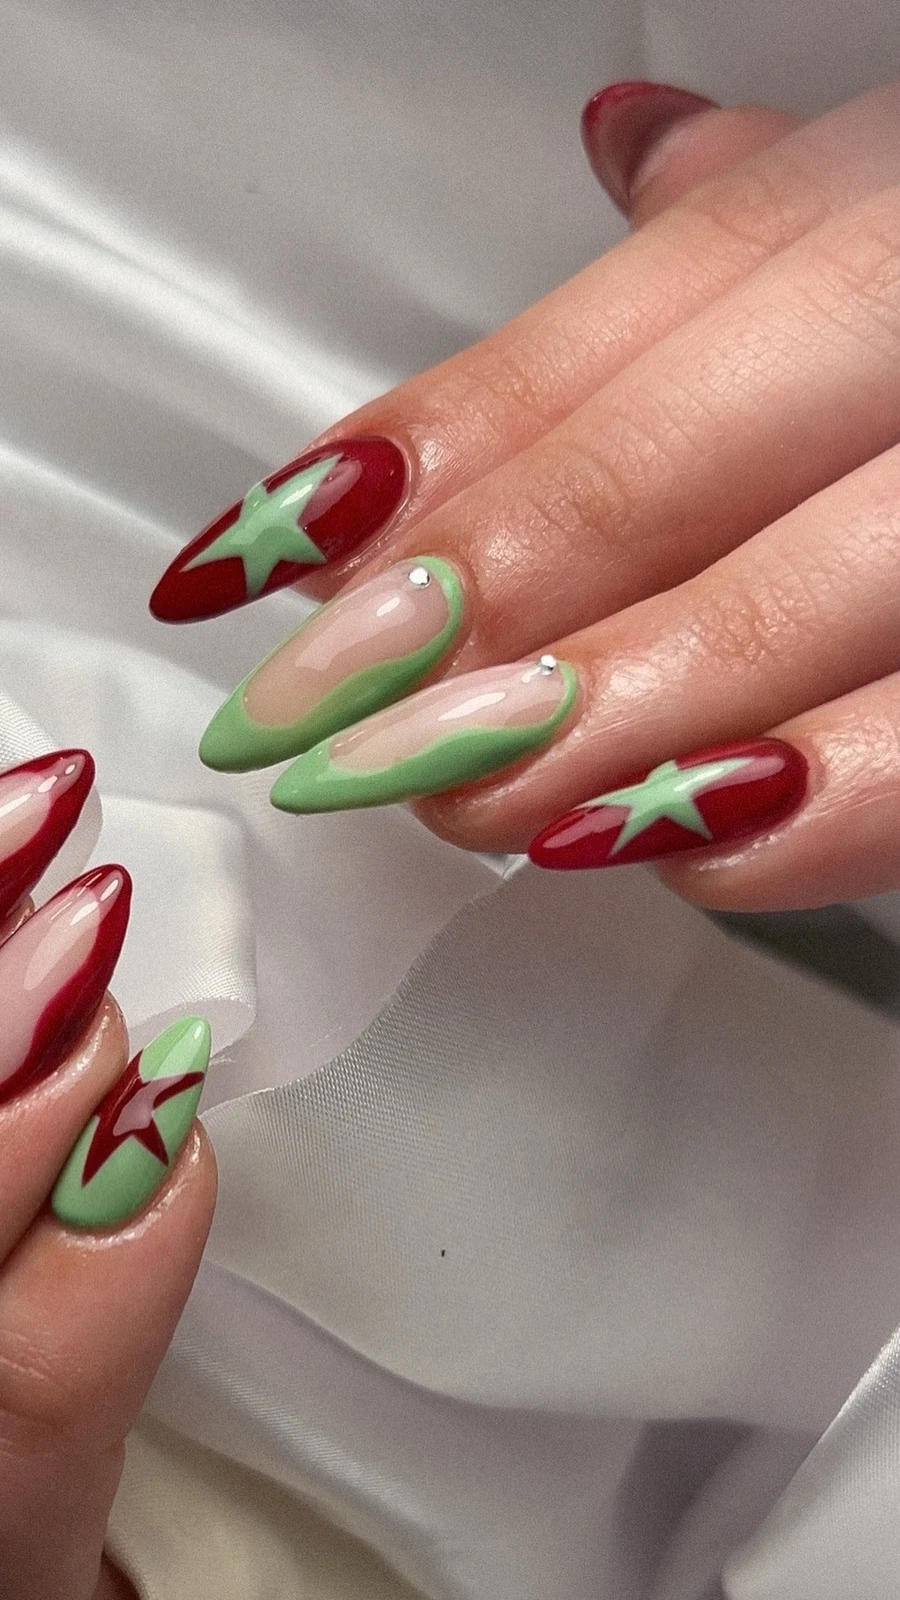
A nude or white base, with one nail striped in thin red and green lines like a candy cane. One striped nail is enough — it carries the whole set.
Additional Information: Use a thin striping brush for the lines, alternating red and green over a milky white base. Keep the stripes slightly diagonal for a candy-cane feel. Finish with top coat to smooth the lines. Medium nails give the stripes room to show.
Level Two — A Little Effort, A Lot More Sparkle
You are past the easy stuff now. These six need a sponge, a striping brush, or ten extra minutes — and they pay it back in compliments.
6. Half-and-Half Split Nails
Each nail split down the middle: red on one side, green on the other. It is graphic, modern, and much easier than it looks.
Additional Information: Paint the whole nail red first. Once dry, tape off one half and paint the other green. Peel the tape while the green is still slightly wet for a crisp line. A glossy top coat hides any tiny edge. Square shapes suit the straight line best.
7. Red-to-Green Ombré Fade
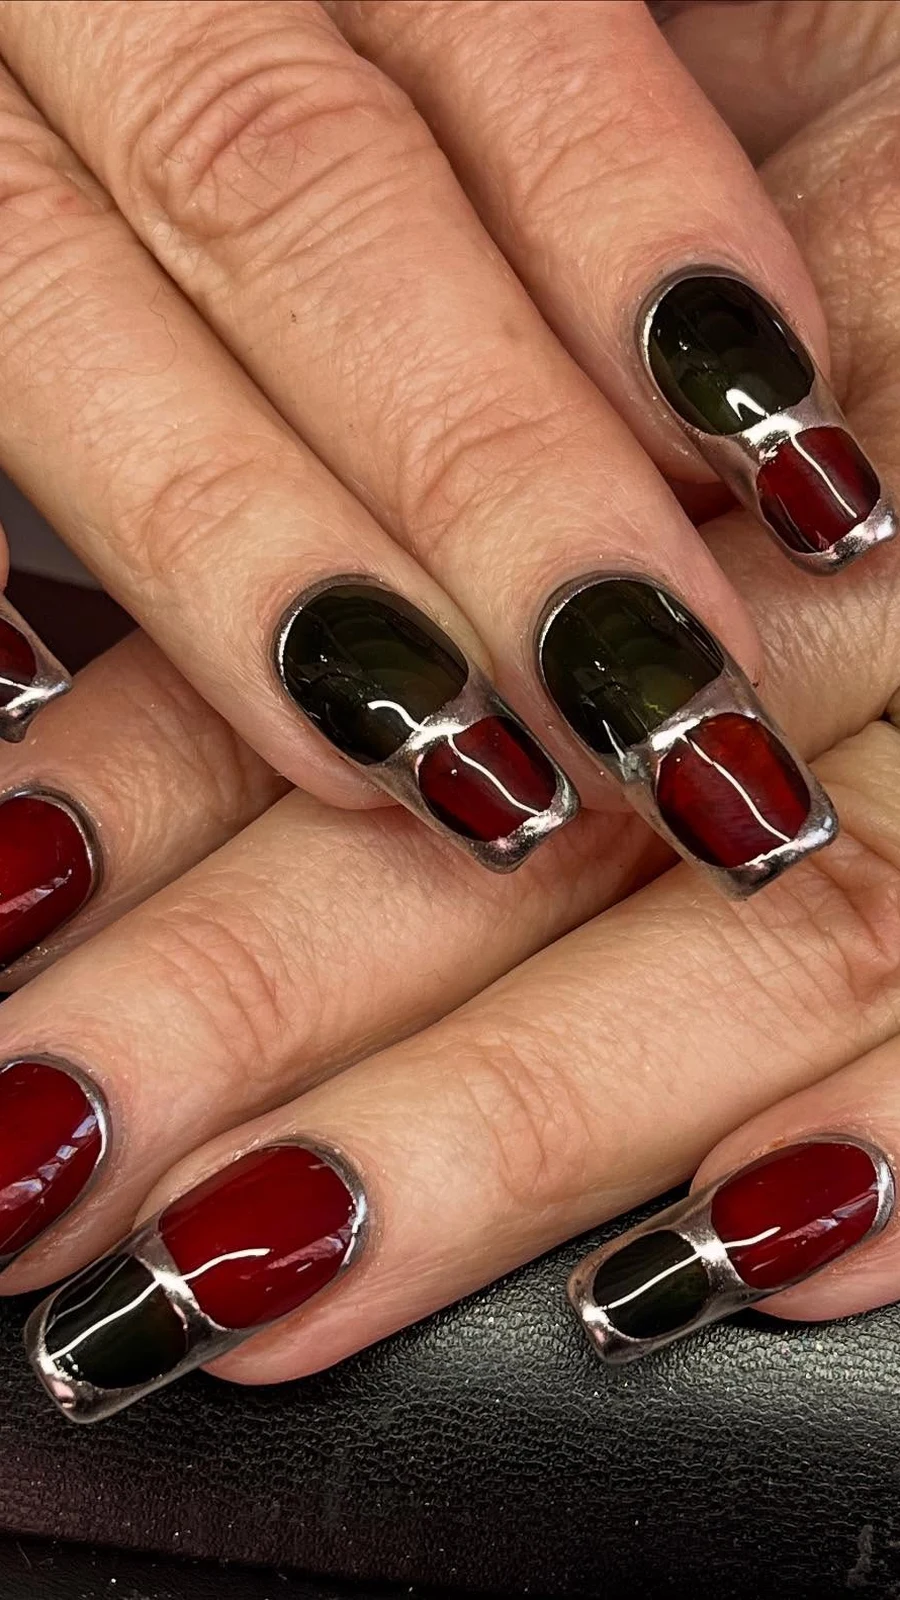
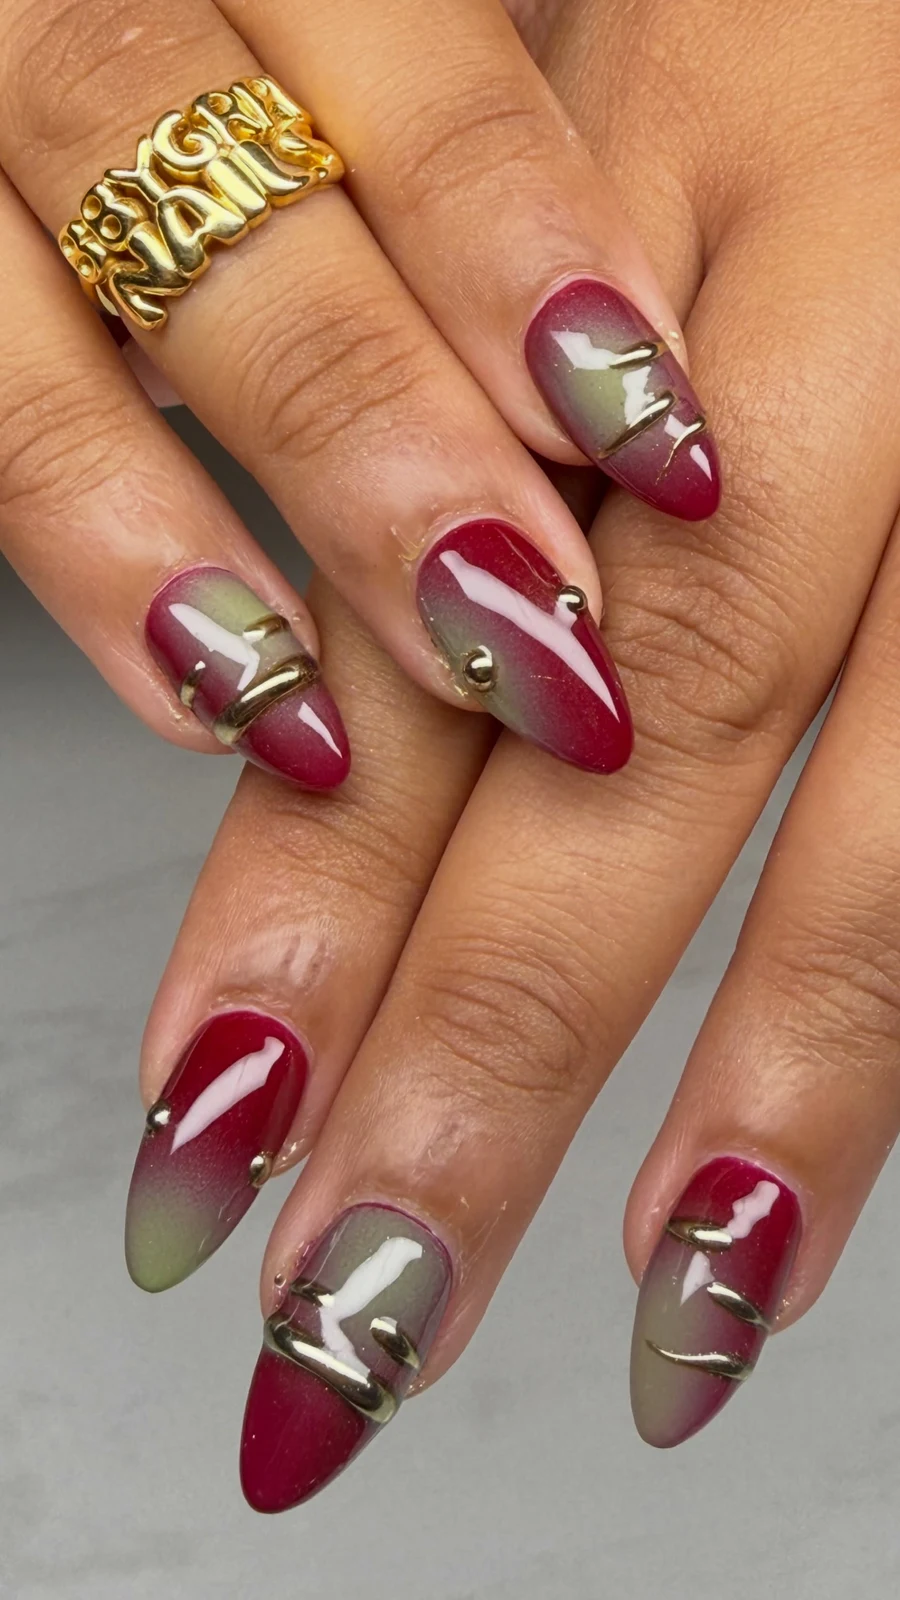
Red melting into green across each nail, like a sunset that decided to be festive. The blend does the work — no drawing required.
Additional Information: Sponge red on the cuticle half and green on the tip half, dabbing where they meet until the colours melt together. Two or three light layers build the blend. A glossy top coat smooths everything out. Medium to long nails show the fade best.
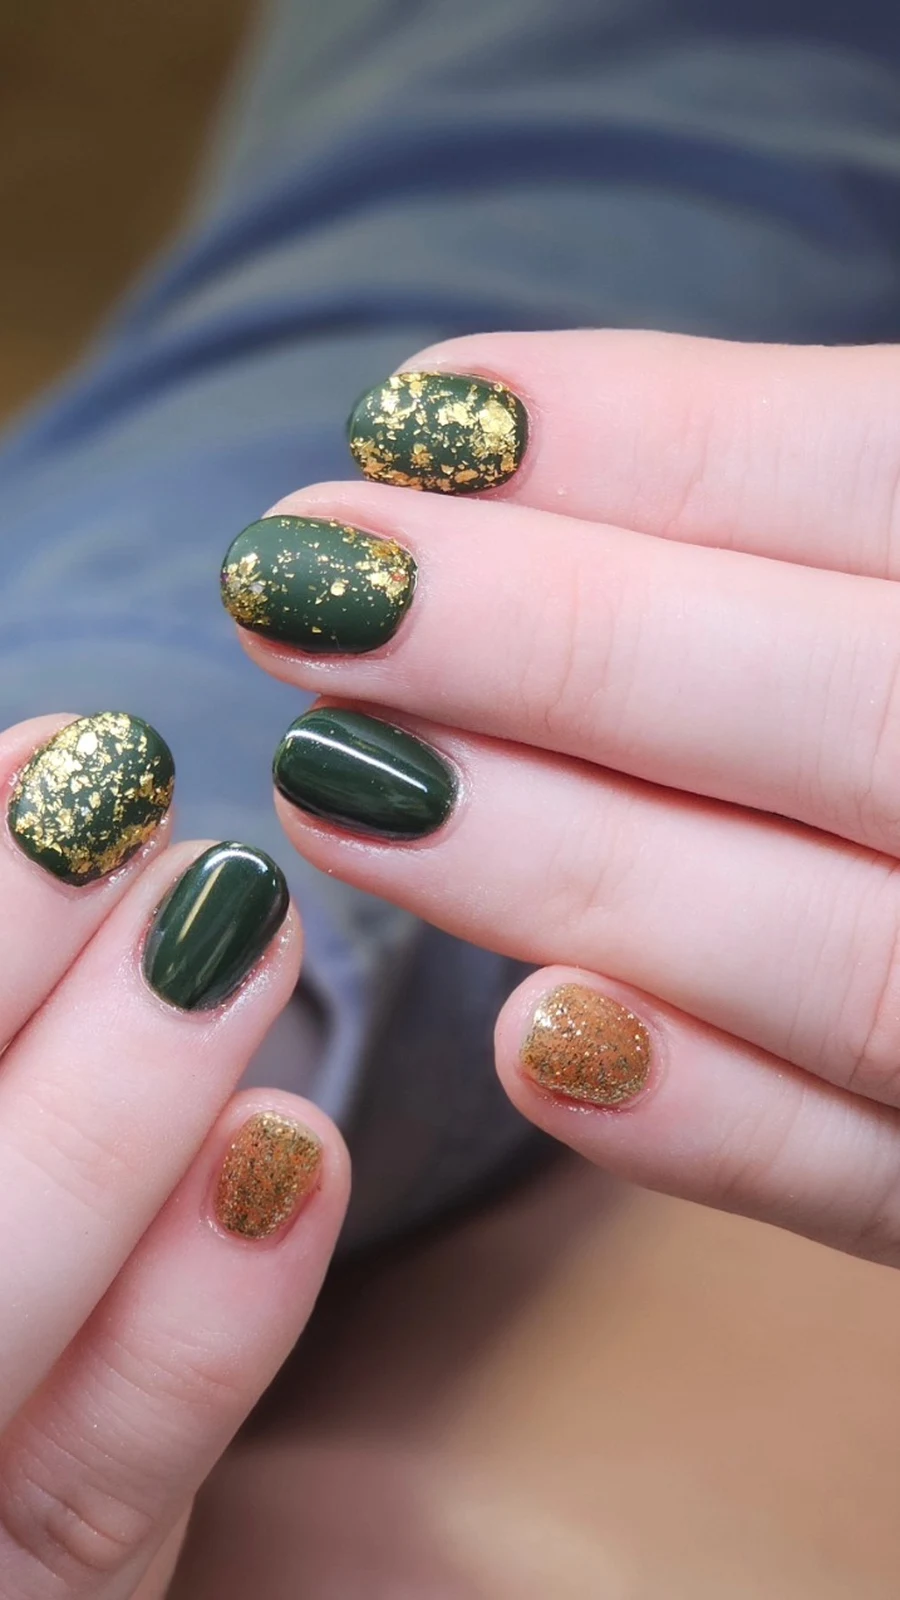
8. Gold-Flecked Forest Green
Deep forest green with flecks of gold glitter scattered through it, like light catching pine needles. Rich, dark, and quietly expensive-looking.
Additional Information: Use a dark green base, then a gold glitter topper in one thin coat so the flecks stay sparse. Two coats of top coat keep it smooth. It flatters every skin tone and suits short nails beautifully.
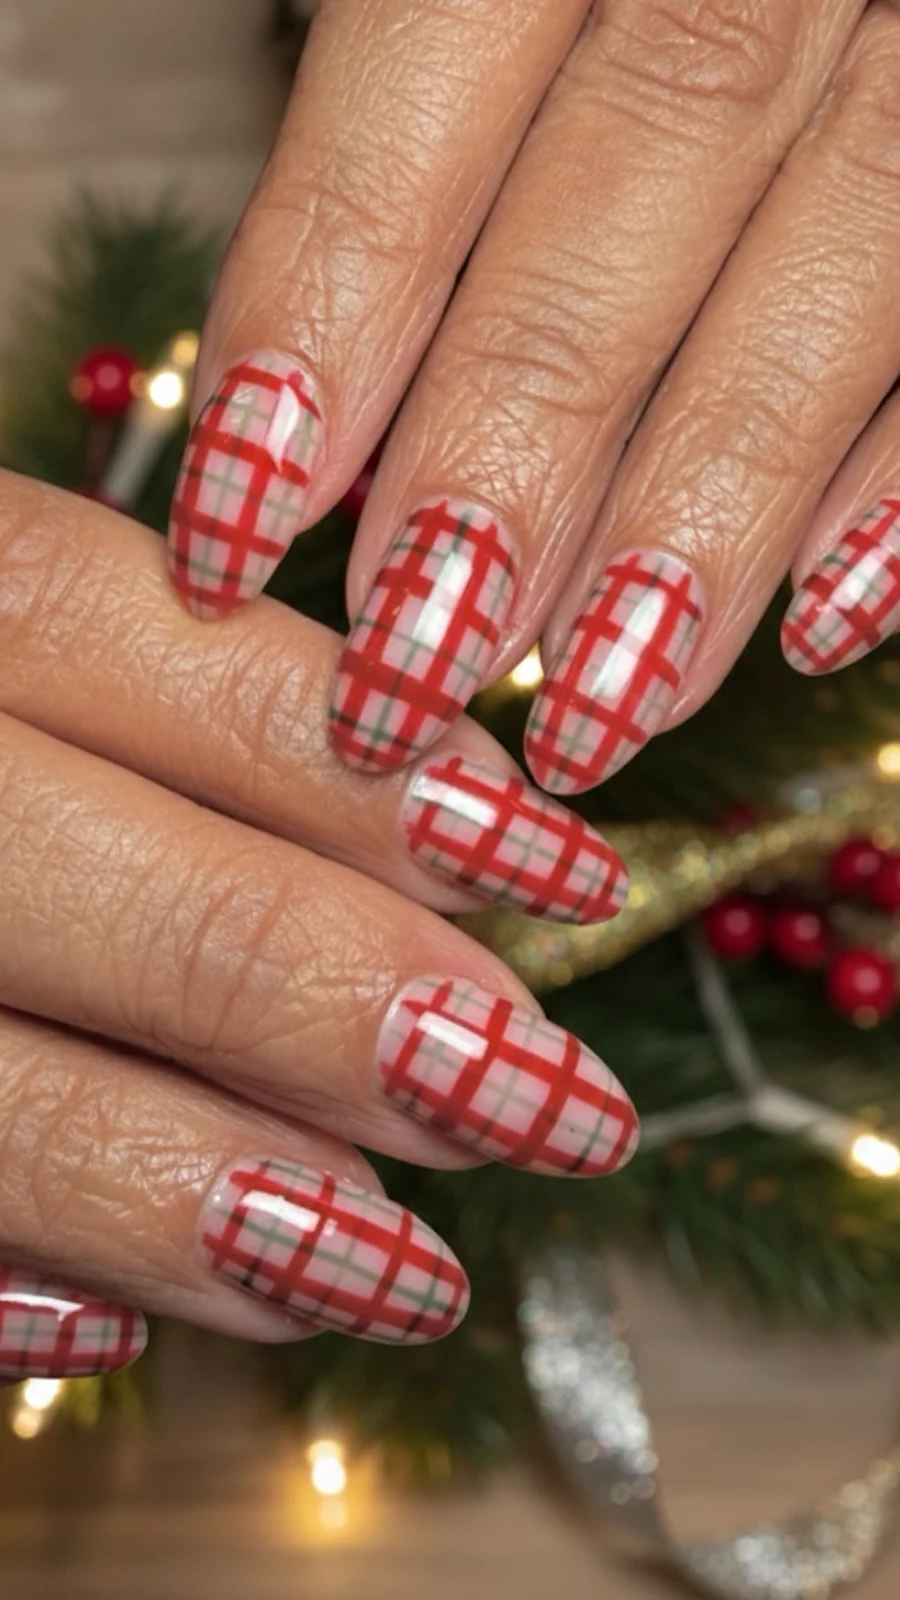
9. Plaid Accent Nails
A classic red and green plaid on two accent nails, with the rest in solid red or green. It is the cosiest pattern on this list — pure holiday sweater energy.
Additional Information: Paint the accent nails white or nude first. Cross thin red and green lines to build the plaid, then add one thin gold or white line for the woven look. Keep the other nails solid so the plaid stands out. Medium nails work best for the pattern.
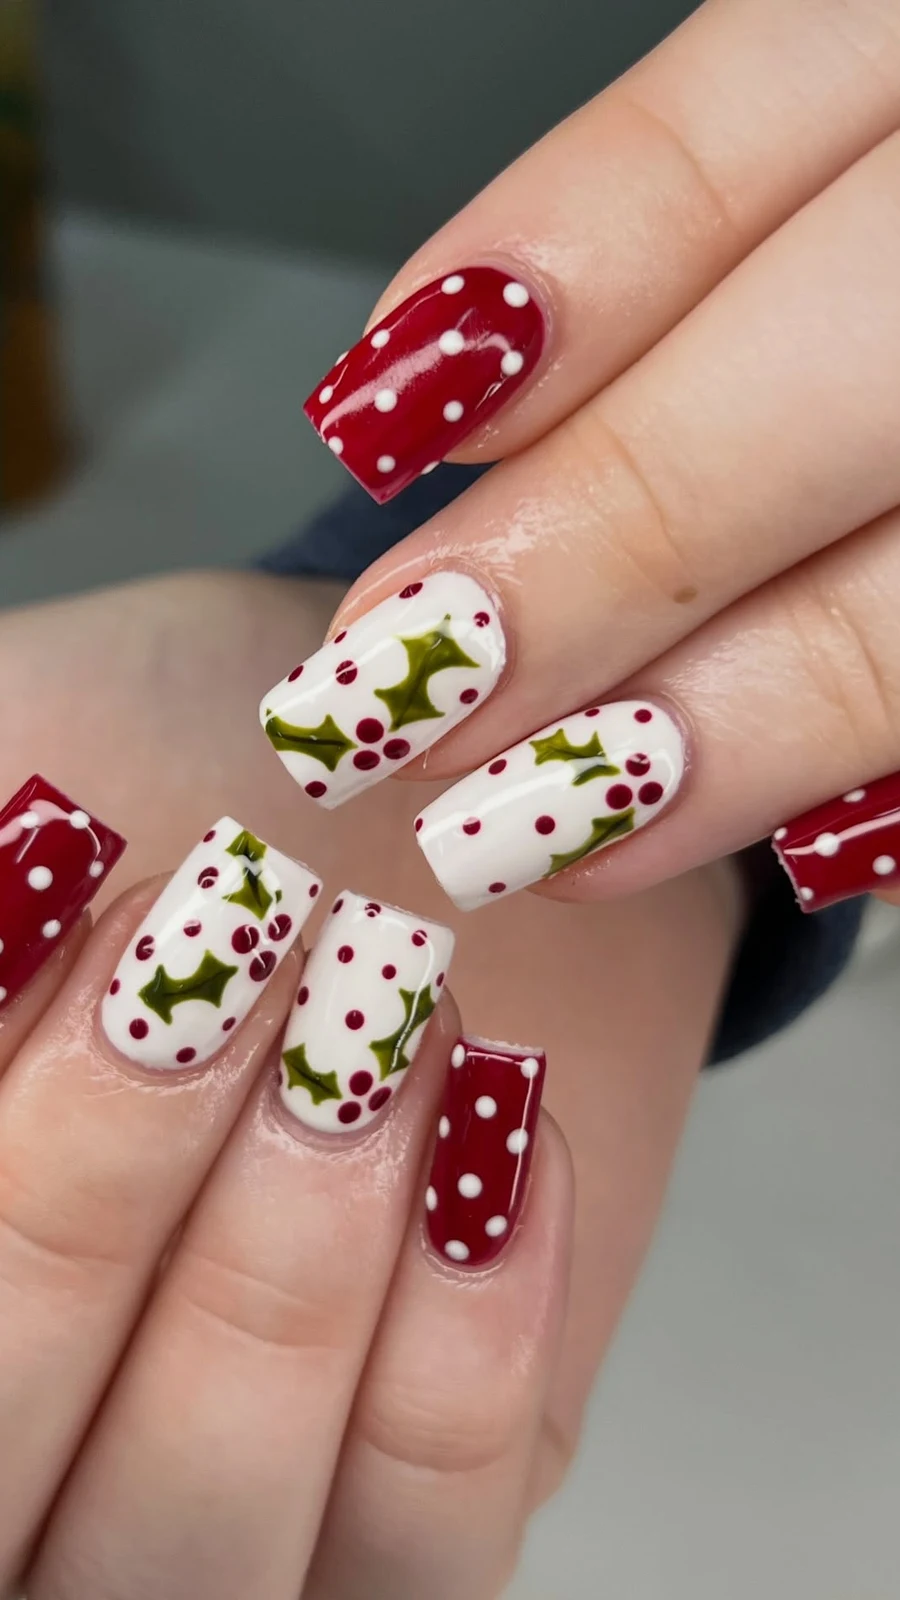
10. Holly Berry Dots
Tiny red dots in clusters of three, with two little green leaves, on a nude or deep green base. It is holly, simplified to dots and leaves — and it is adorable.
Additional Information: Use a dotting tool for the berries — three small red dots per cluster. Paint the leaves with a thin brush in emerald green. Keep the clusters on one or two nails per hand so it stays delicate. Short nails suit this one perfectly.
11. Velvet Matte Red, Glossy Green Tips
Matte red nails with glossy green tips — the same colour pairing, but the finish does the talking. It looks expensive and feels modern.
Additional Information: Paint the nails red and finish with a matte top coat. Then paint just the tips in glossy green, no top coat over them. The contrast between matte and shine is the whole design. Medium almond shapes show the tips best.
Level Three — Party-Ready
These six are the ones people photograph at the party. Glitter, shine, bows, and a little bit of drama.
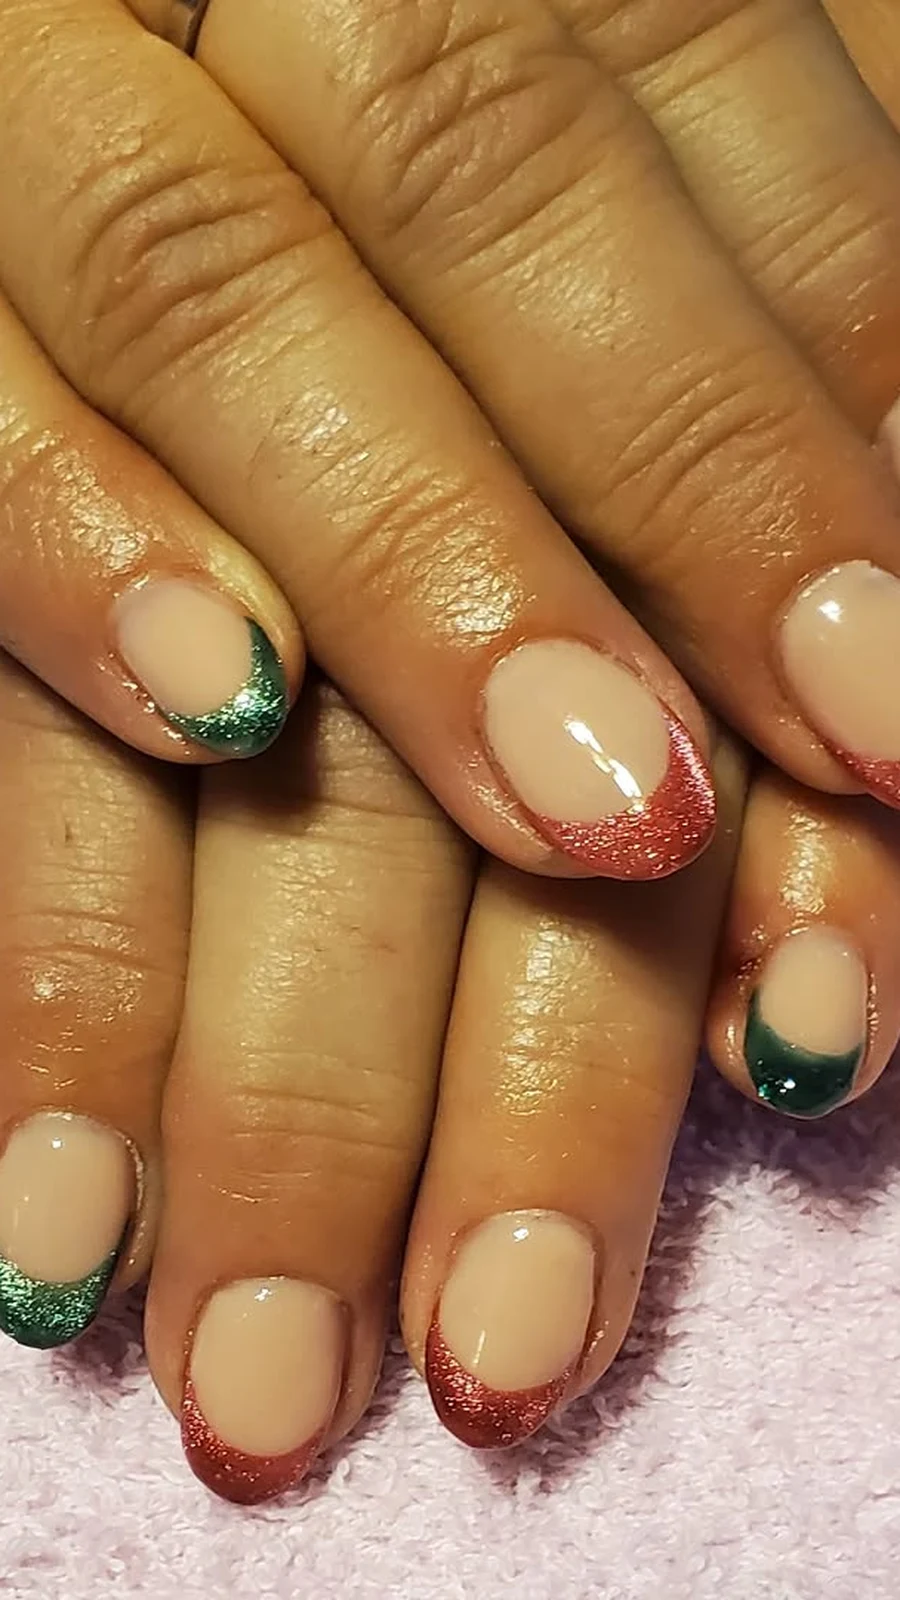
12. Glitter French Tips, Red and Green
A sheer nude base with glitter tips — red on some nails, green on others. It is a French manicure that went to a Christmas party.
Additional Information: Keep the base sheer pink or nude. Paint the tips with red glitter on half the nails and green glitter on the other half. Use two glitter coats for a dense sparkle line. A glossy top coat seals the glitter smooth. Medium almond is the classic shape for this.
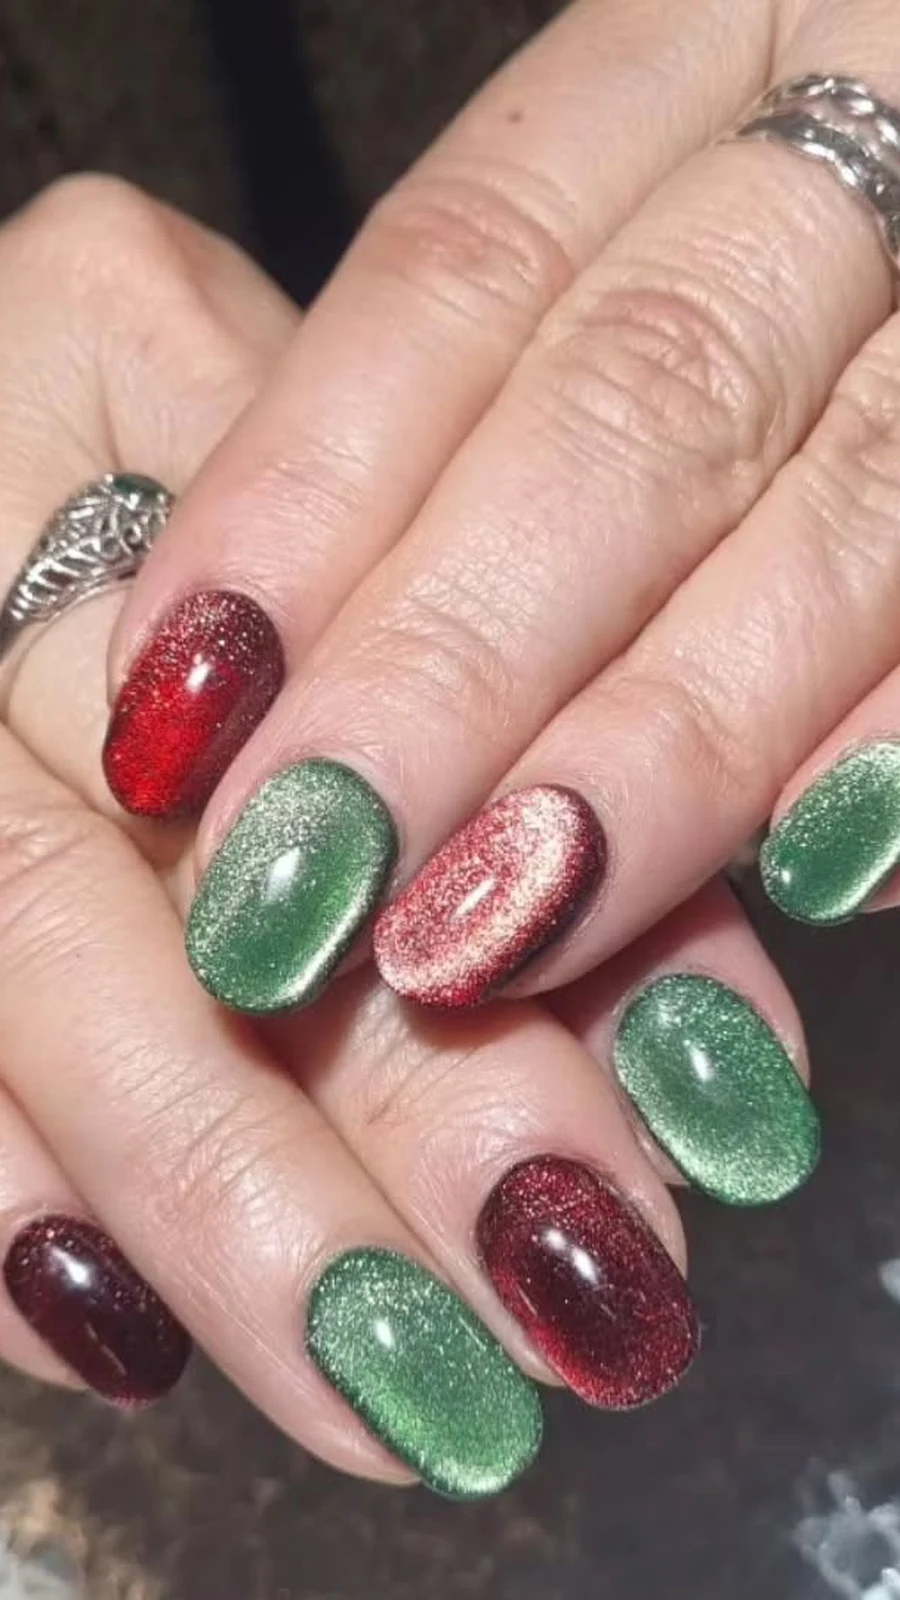
13. Cat-Eye Shimmer Duo
Magnetic cat-eye polish in red and green, the light sliding across each nail as you move your hand. It is the most mesmerising finish on this list.
Additional Information: Use magnetic red polish on half the nails and magnetic green on the rest. Hold the magnet at the same angle on every nail so the shimmer line matches. No top coat tricks needed — the magnet does it. Long coffin or almond shapes show the effect best.
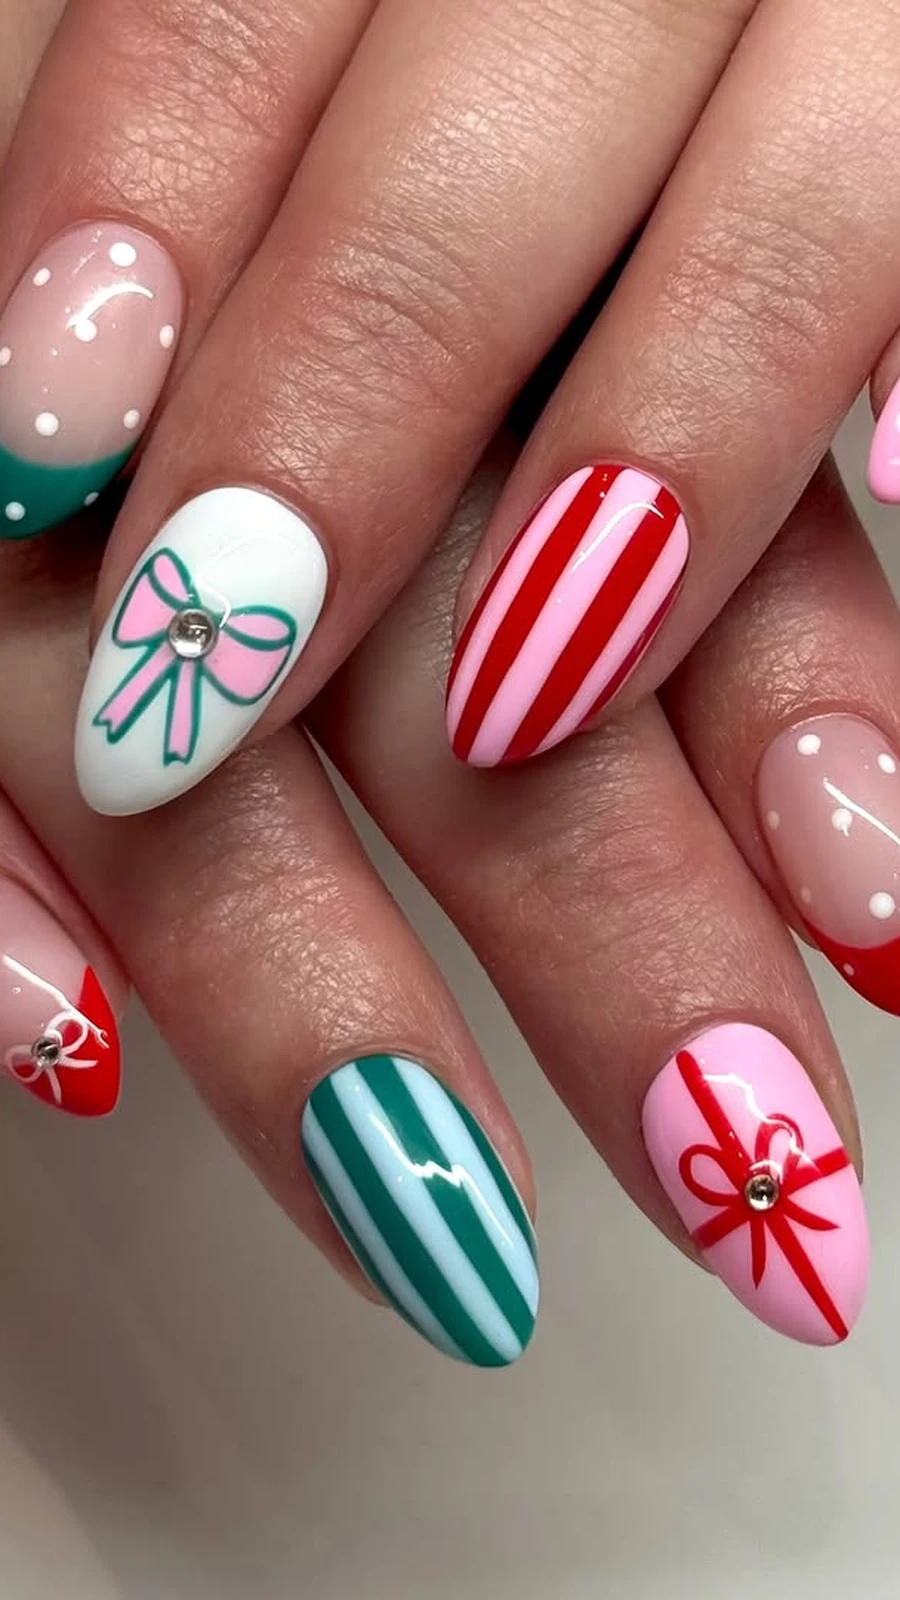
14. Ribbon and Bow Accents
Creamy white nails with delicate red and green ribbon lines and tiny bows. It looks like a wrapped present, and it photographs beautifully.
Additional Information: Start with a milky white base. Paint thin red and green ribbon lines crossing each accent nail, then add a small bow with a thin brush or a tiny charm. Keep the bows on two nails per hand so the set stays elegant. Medium almond suits the ribbons best.
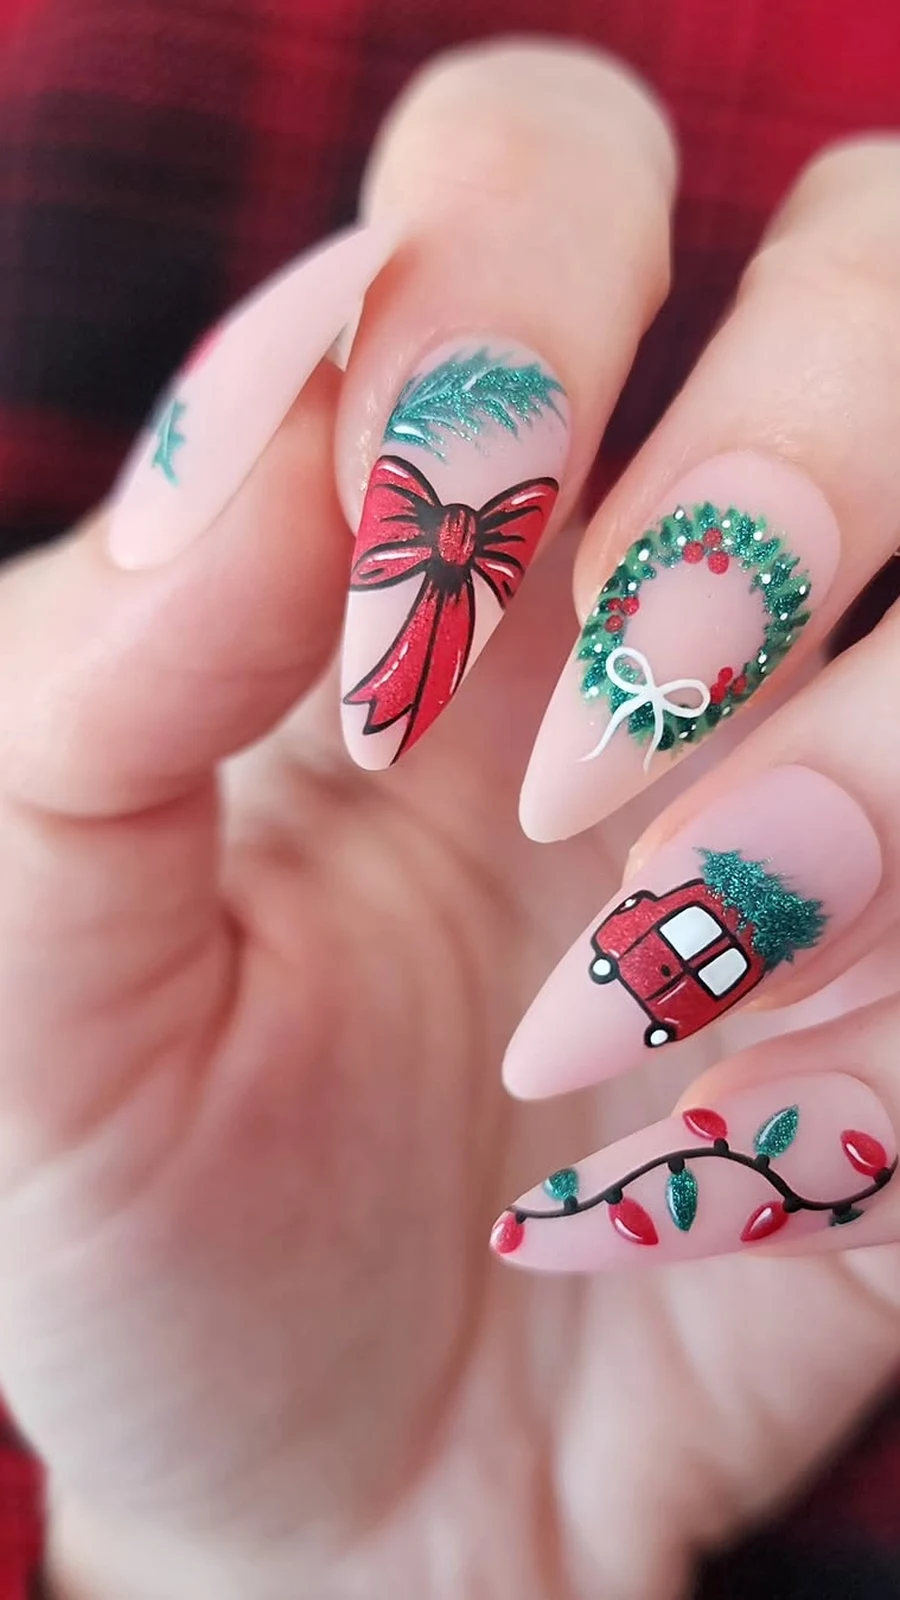
15. Tiny Wreath Nails
A small green wreath on each ring finger, with a red bow at the bottom. The rest of the nails stay deep red. It is the most Christmassy design here, and the wreath is just a circle of dots.
Additional Information: Paint the base deep red. On the accent nails, use a nude base, then dot a circle of green for the wreath and add a tiny red bow. A dotting tool makes the wreath easy — no freehand drawing needed. Short to medium nails work well.
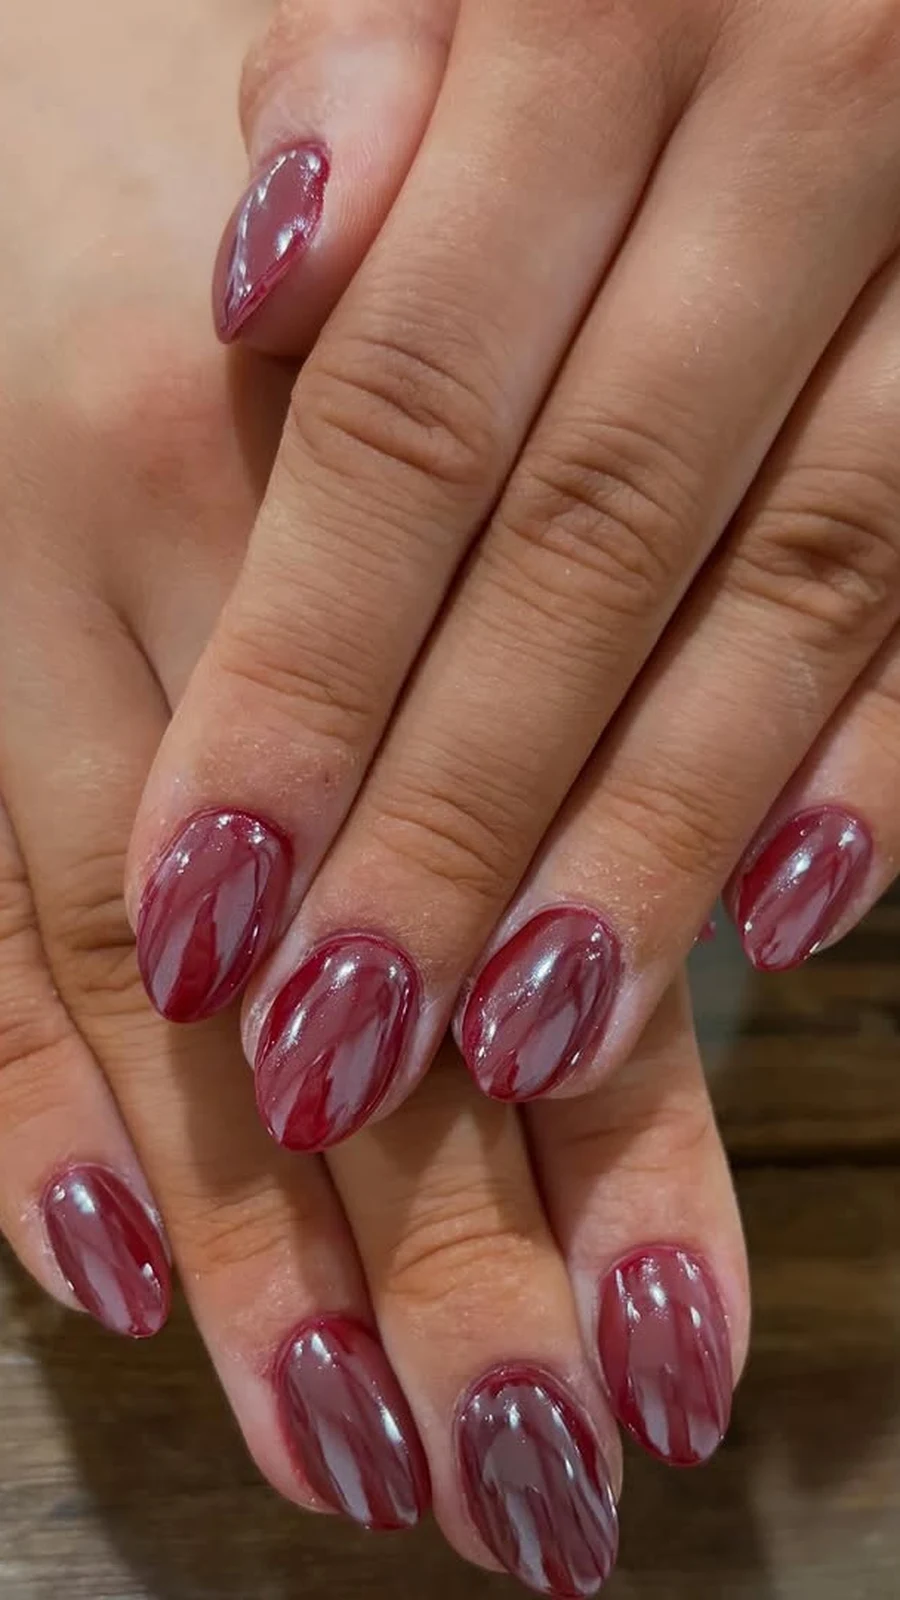
16. Cranberry Chrome
Cranberry red chrome — mirror-shine, rich, and impossible to ignore. It is the one-colour look that still stops people mid-sentence.
Additional Information: This needs a chrome powder over a dark red base, buffed on and sealed with a no-wipe top coat. Ask your salon for it, or use a chrome-effect polish at home. It suits medium to long nails, where the mirror shine has room to show.
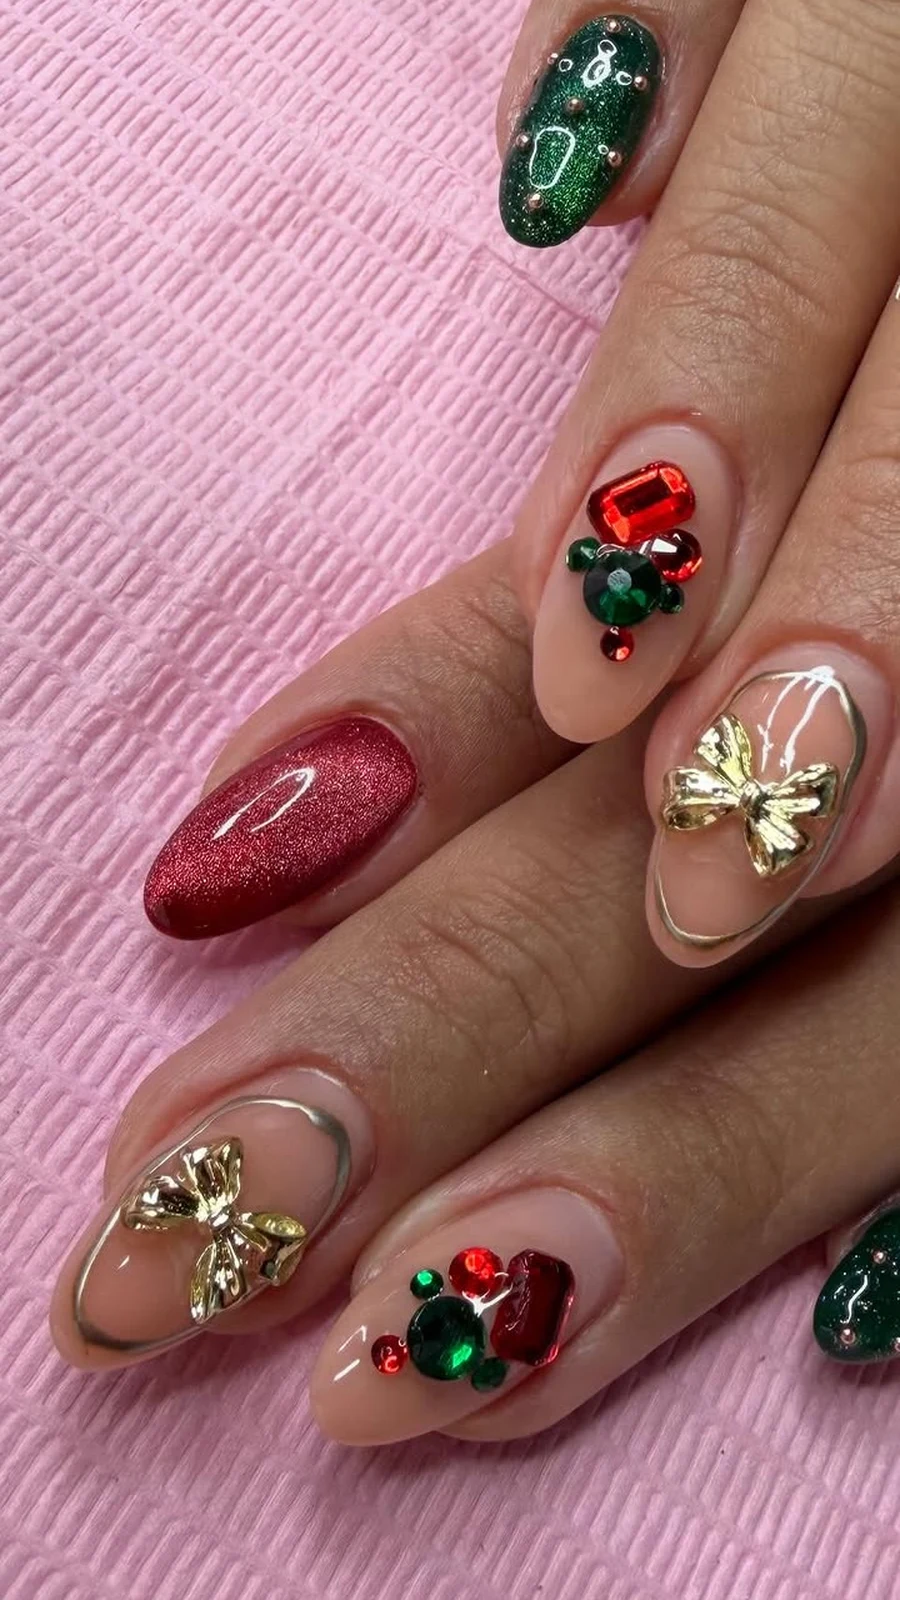
17. Emerald and Ruby Gemstone Nails
Deep emerald and ruby nails with tiny gold studs or crystals at the cuticle, like jewellery for your fingertips. It is the dressiest look on the list.
Additional Information: Alternate emerald green and ruby red. Add one small gold stud or crystal at the base of each nail while the top coat is still wet, so it sets in place. Seal with two coats of top coat. Medium nails give the gems room without crowding.
Level Four — Go All Out
The last five are for the people who want the full festive show. If you are going to commit, commit properly.
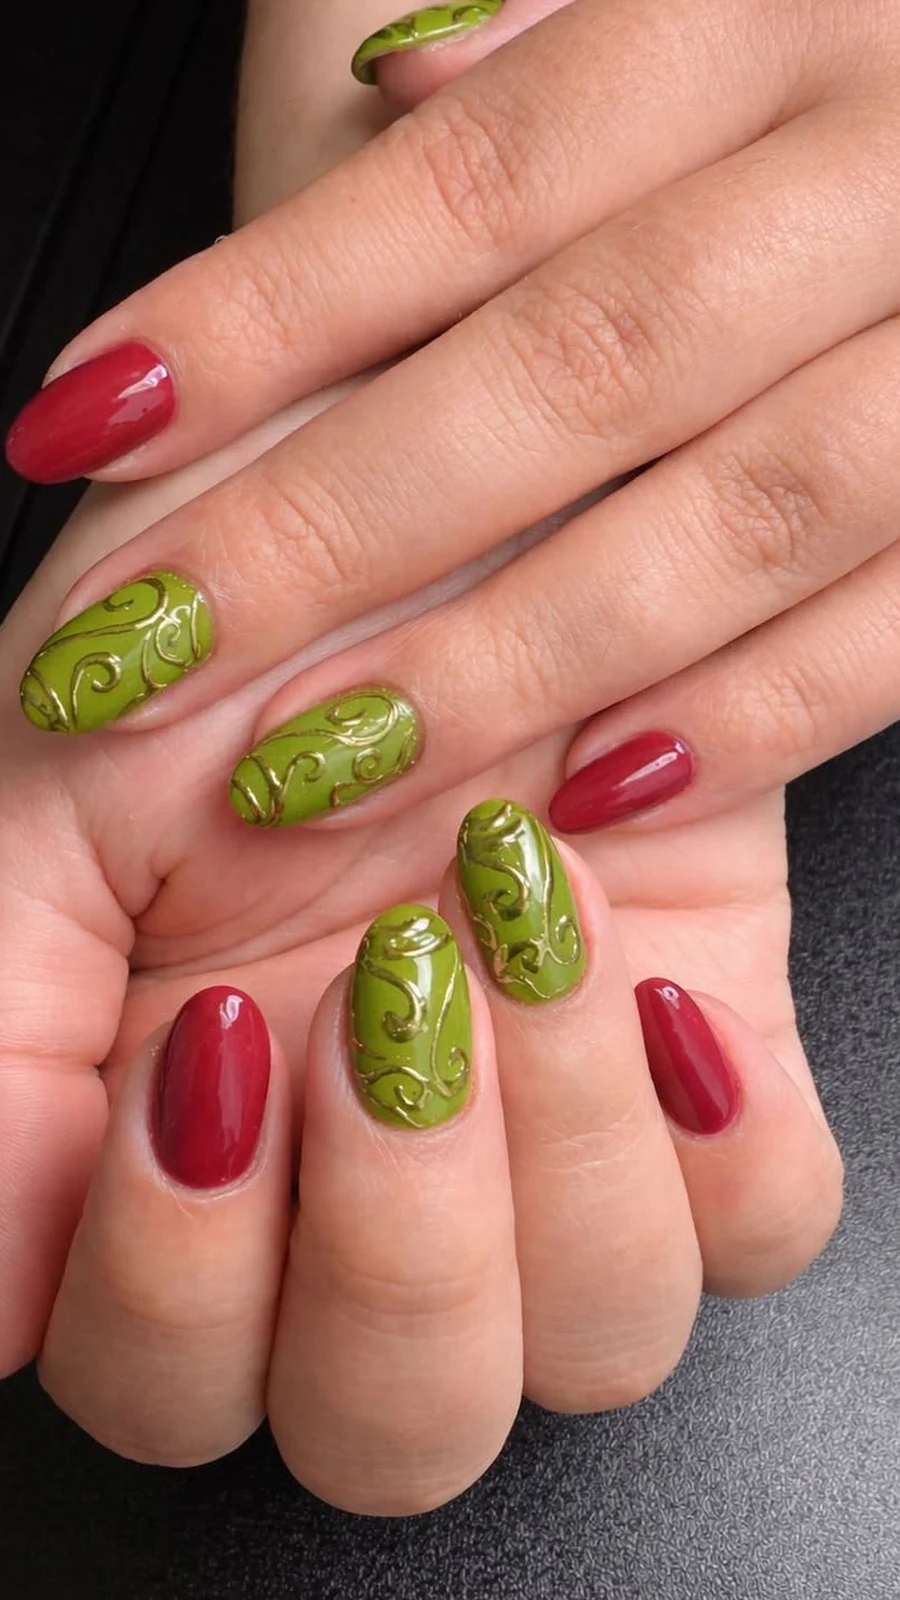
18. Ornate Gold Scrollwork
Deep red and forest green nails with raised gold scrollwork curling across them. It is the most intricate design here — and the most impressive.
Additional Information: Paint the base red and green in alternating nails. Add the gold scrollwork with a thin brush or a stamping plate, then seal with two coats of top coat. This one is best left to a nail artist unless your hand is very steady. Long almond shapes suit the scrolls best.
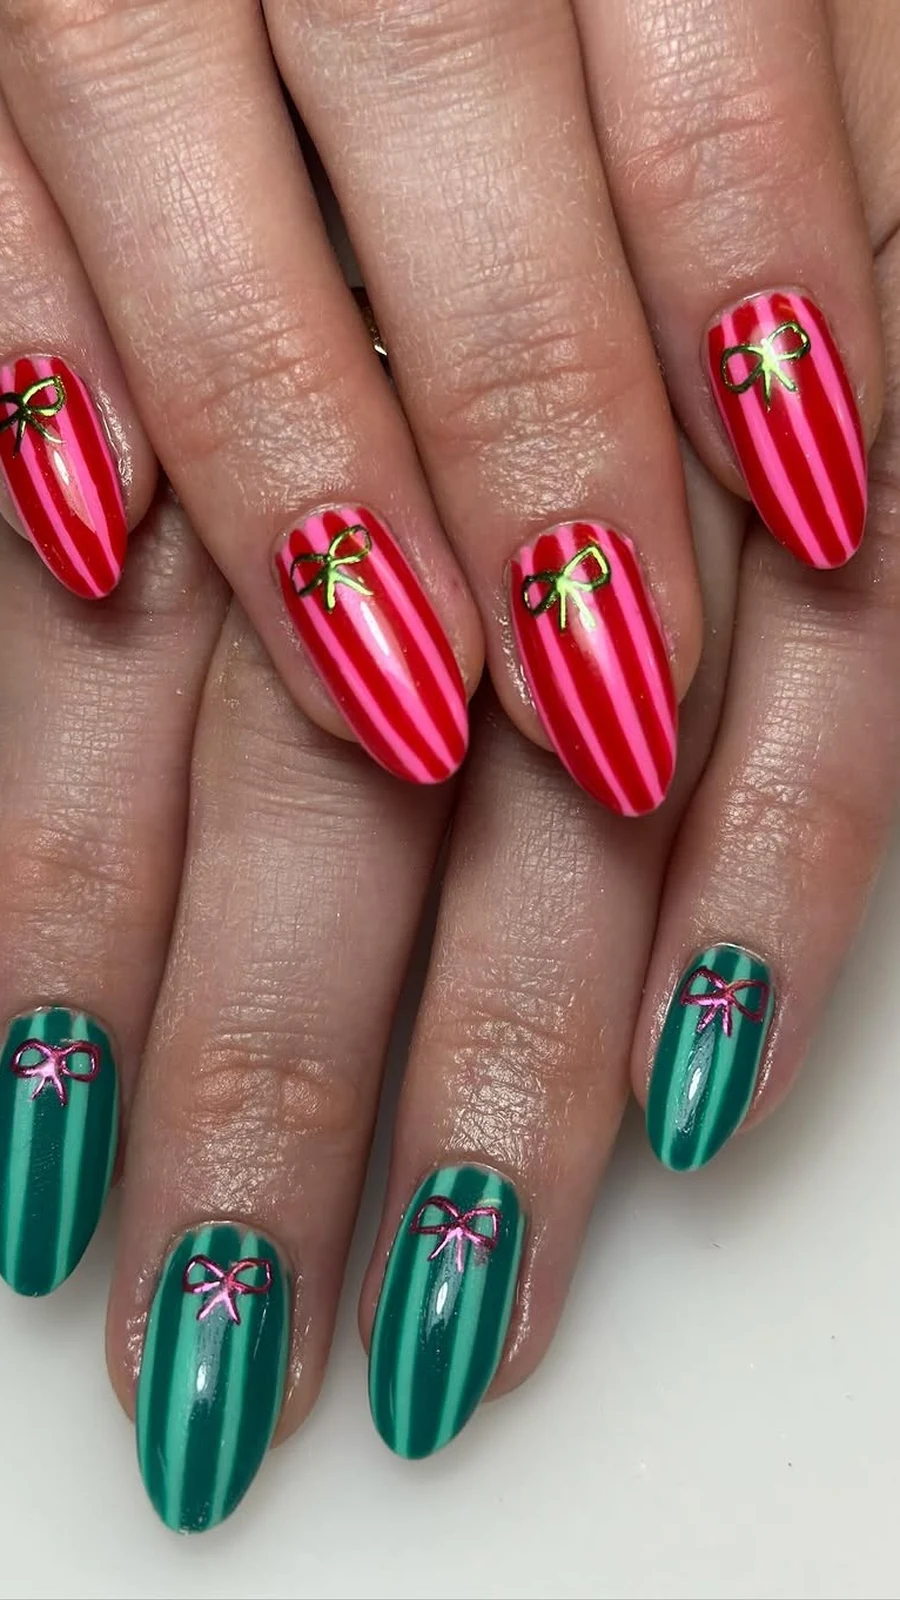
19. Candy Stripe and Bow Full Set
Every nail striped in red, green, and white, with tiny bows on two of them. It is loud, cheerful, and completely unapologetic about it.
Additional Information: Stripe each nail with a thin brush, keeping the red and green lines even and the white base clean. Add the bows last, on the ring fingers. This takes time, so book a longer appointment. Medium to long nails give the stripes room to breathe.
20. Polka-Dot Party Set
Red and green polka dots scattered over white and nude nails, with one full glitter nail per hand. It is playful, graphic, and very hard to get wrong.
Additional Information: Use a dotting tool in two sizes for the dots — big and small mixed together looks best. Keep the base white or nude so the dots pop. One glitter nail per hand ties the set together. Short nails suit the dots perfectly.
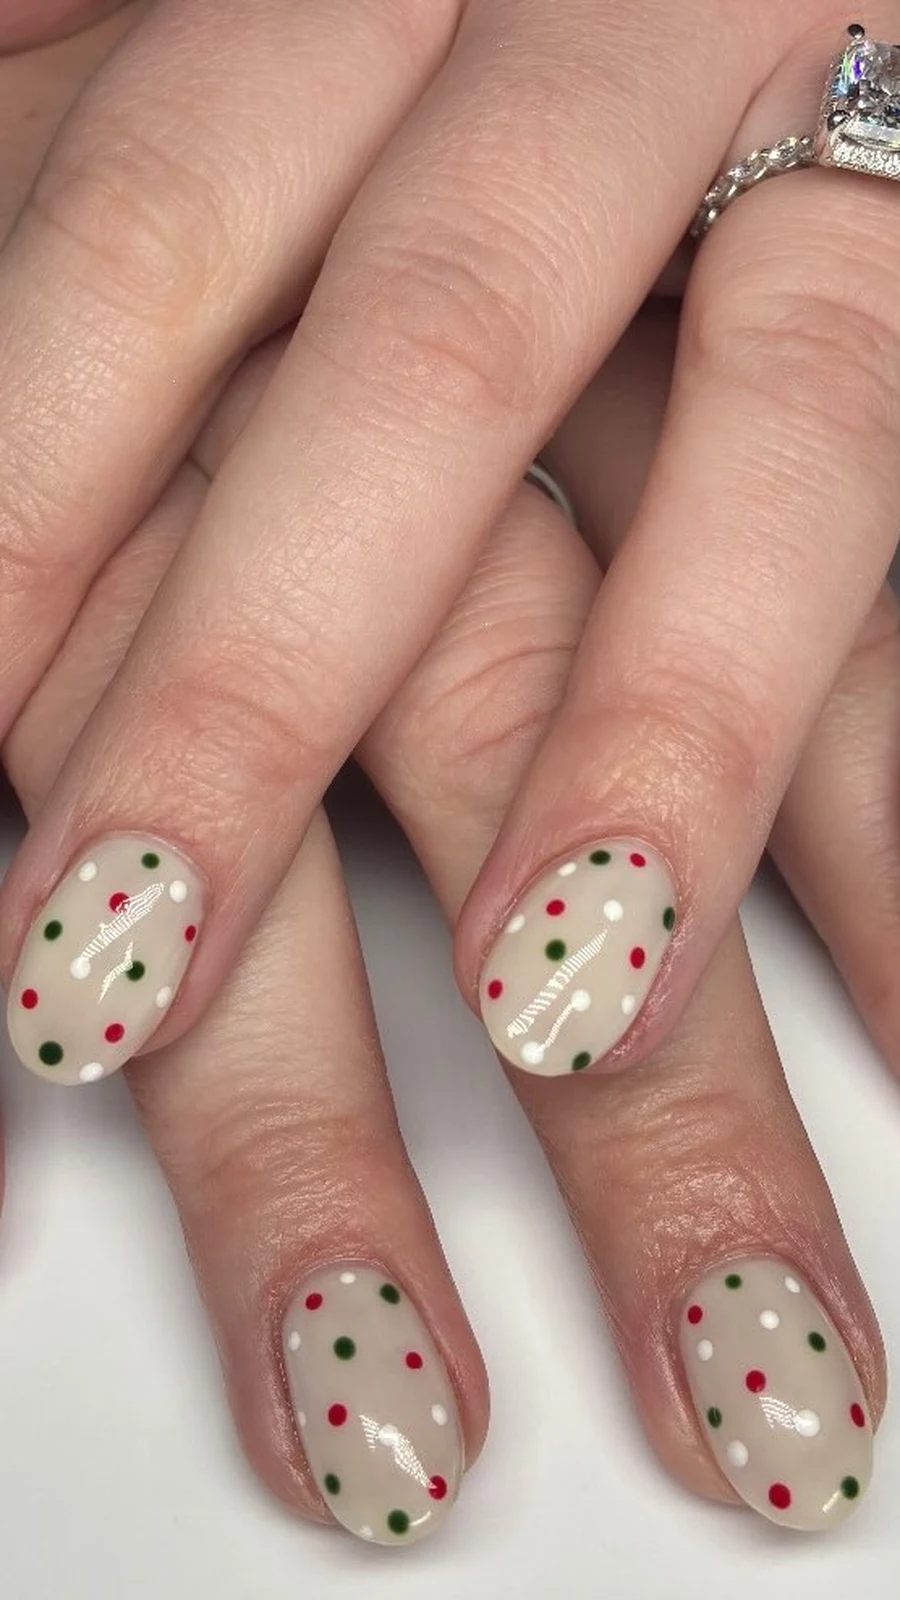
21. Floral Red and Green With Gold
Red and green florals painted over a nude base, with gold accents woven through. It is the softest design at the top of the ladder — pretty, not loud.
Additional Information: Paint small red flowers and green leaves with a thin brush on a nude base, then add tiny gold dots in the centres. Keep the flowers small so they fit the nail. Two accent nails with florals and the rest solid is the easiest version. Medium almond shapes suit it best.
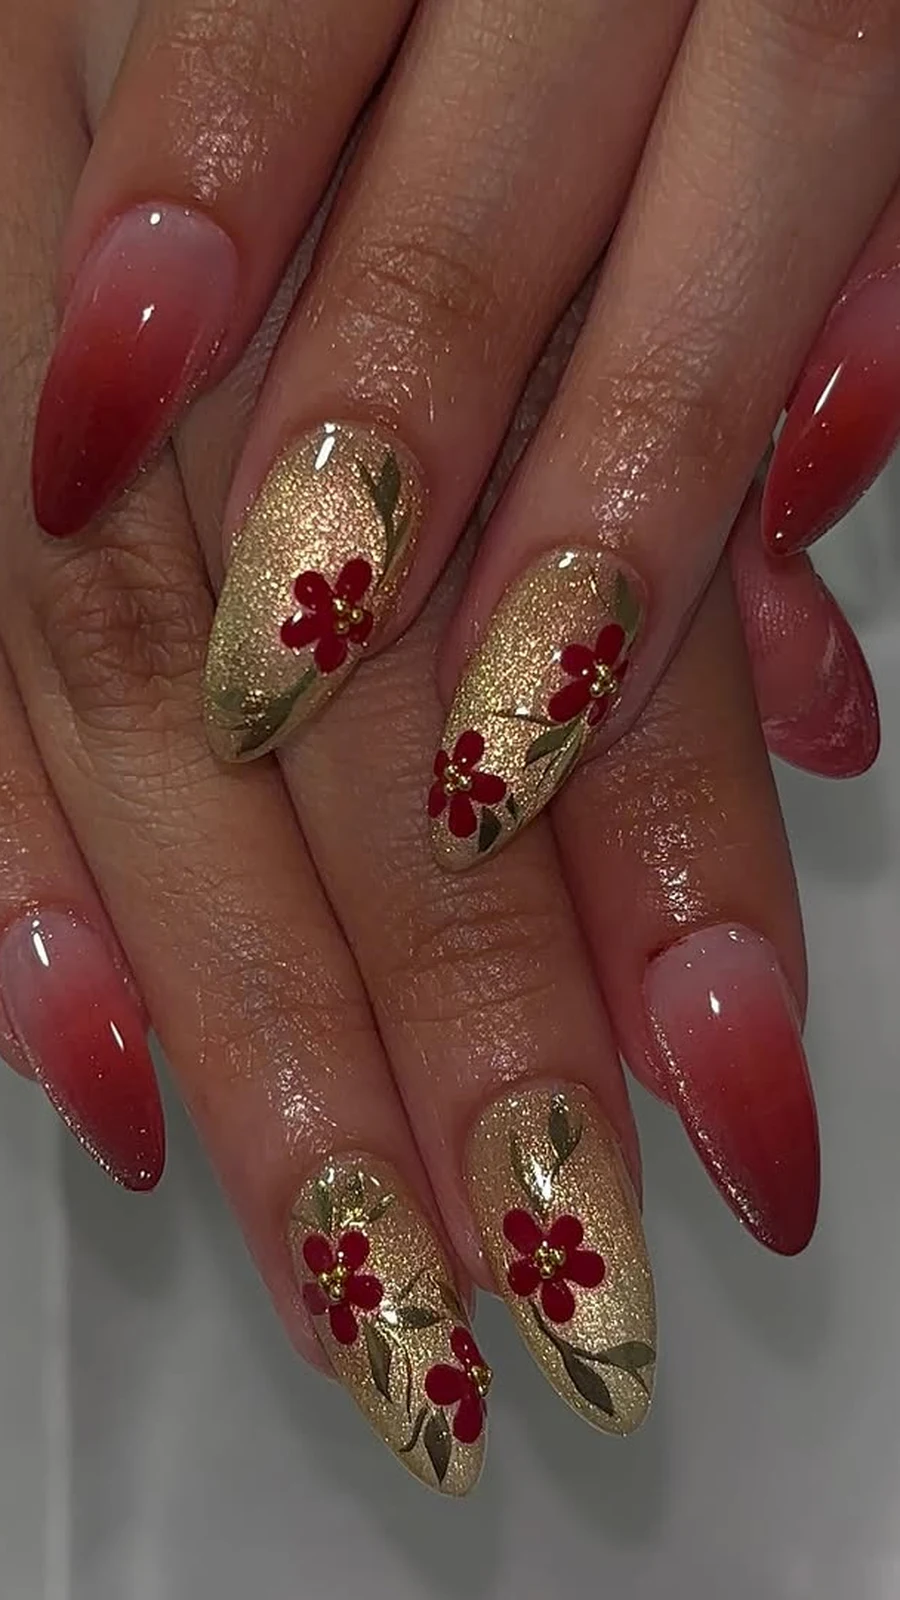
22. The Full Christmas Tree Set
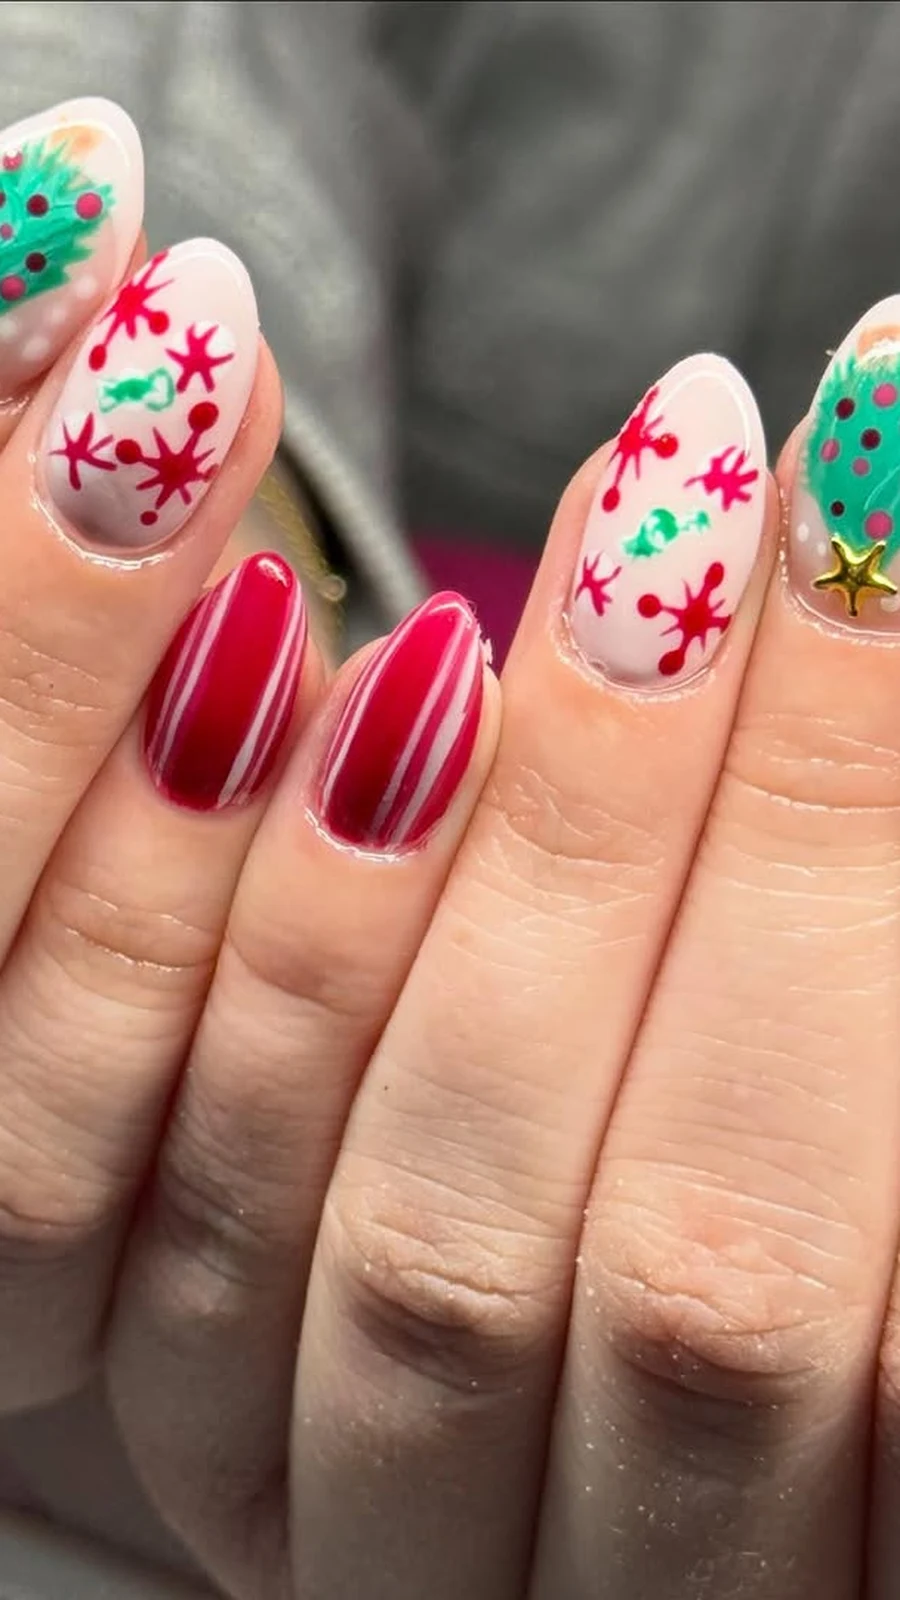
The grand finale. Green nails with tiny gold star toppers, red accent nails, and one nail painted as a miniature Christmas tree. It is the whole holiday on your hands.
Additional Information: Paint most nails deep green and two in red. On one accent nail, paint a small green triangle tree with gold dots as baubles and a star on top. It takes a steady hand, so this is a salon favourite. Long nails give the tree room to shine.
Which Level Is Yours?
If you are new to nail art, start at Level One and stop there — one glitter nail is a perfectly good holiday manicure. If you have a steady hand and a free evening, Level Two will keep you busy. And if you are heading to a party and want people to ask where you got your nails done, climb to Level Three or Four and enjoy it.
The colours never change. Only the sparkle does.
Frequently Asked Questions
Do red and green nails only work for Christmas?
No. Red and green works any time the two colours feel right together — the pairing is classic, not just festive. Skip the wreaths and trees outside December, and the solid and glitter versions work all year round.
Which red and green shades look best together?
A true cherry red with a deep forest green is the safest pairing. If you want something softer, try a muted cranberry with a sage green. Avoid bright lime green with bright red — the two brights fight each other.
How do I make glitter polish last longer?
Always use a glitter polish over a matching solid base, and seal it with two coats of top coat. Glitter is the first thing to chip, so wrap the top coat over the free edge of the nail too.
Can I do these designs on short nails?
Yes — most of them. The dot, stripe, and single-accent designs actually look better on short nails. Save the wreaths, trees, and scrollwork for medium or long nails, where the art has room.
How long will a red and green manicure last?
With a good base coat and top coat, about 10 to 14 days for regular polish and two to three weeks for gel. Dark colours show chips more, so keep a bottle of the red handy for quick touch-ups.
Conclusion
Red and green will never go out of style, because the pairing does the hard work for you. Pick your level on the ladder, choose the design that makes you smile, and let the sparkle do the rest. Save this list, screenshot your favourite, and take it to your next appointment — the holidays are short, and good nails should last longer than the party.

Leave a Reply