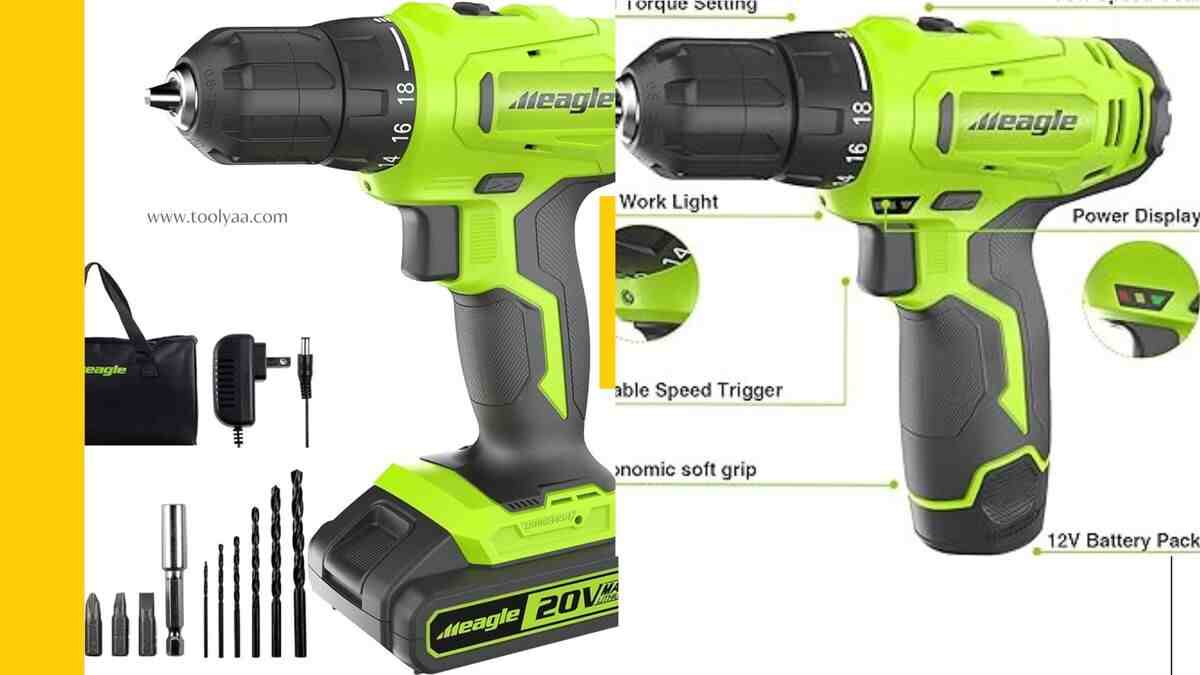
A meagle cordless drill is a versatile tool, loved by professionals and DIY enthusiasts alike for its reliability. However, even the most dependable tools can run into issues from time to time. If you find that your meagle cordless drill has suddenly stopped working, don’t fret.
In this comprehensive guide, we’ll walk you through some common troubleshooting steps to help you identify and resolve the problem of meagle cordless drill not working, so you can get back to your projects with confidence.
Meagle Drill Not Working (7 Fixes)
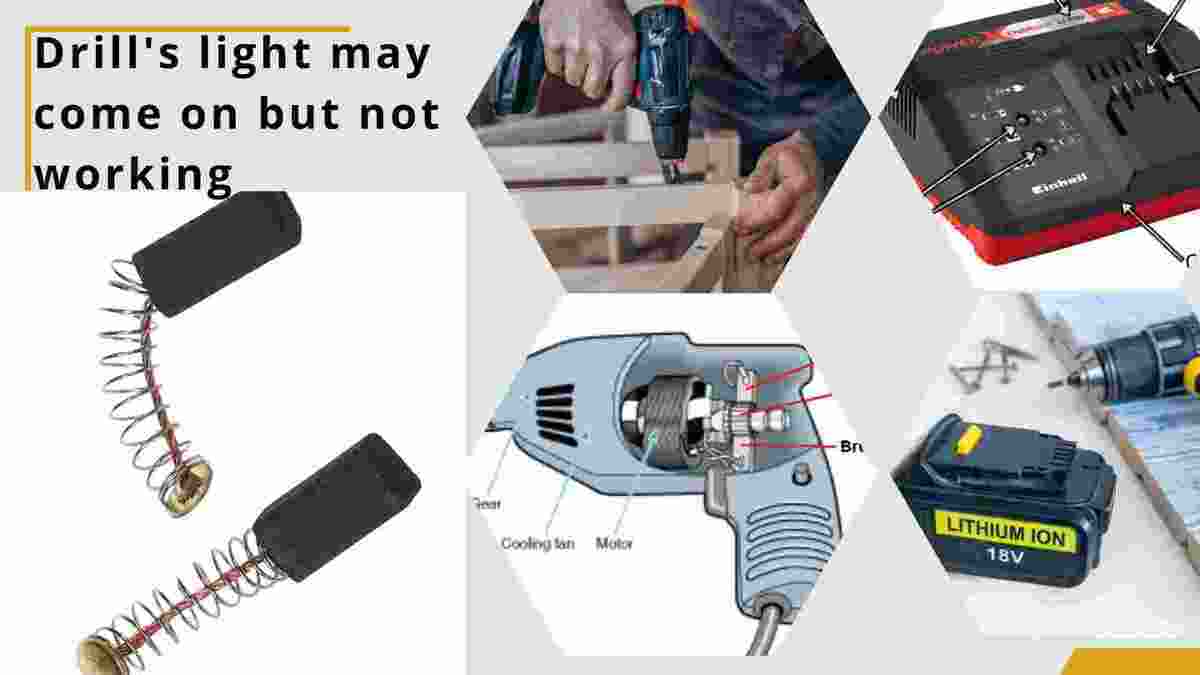
1. Check the Battery and Charger:
Ensure that the battery is fully charged and securely inserted into the drill. If the battery is aged or damaged, it may no longer hold a charge and require replacement.
Verify that the charger is functioning correctly. Make sure it’s plugged in properly and that the charging indicators are working as intended. A malfunctioning charger can prevent the battery from charging effectively.
2. Inspect the Brushes:
Over time, the brushes in a cordless drill can wear out, leading to decreased power or complete failure. Carefully examine the brushes for signs of wear or damage.
If they appear worn down, it’s time to replace them with compatible replacements designed for your meagle drill.
3. Examine the Armature:
The armature is a critical component of the drill’s motor. If it’s damaged or shows signs of wear, your drill may not operate as expected.
Look for any signs of damage, such as burning or discoloration. If you detect issues with the armature, it’s essential to have it replaced by a professional technician.
4. Check the Switch:
Operate the switch and listen for the distinctive click. If the switch fails to engage or disengage properly, it may require replacement. A faulty switch can hinder the drill from turning on or off correctly.
5. Inspect the Gearbox:
The gearbox plays a crucial role in power transmission. Damage or wear in this component can lead to drill malfunctions.
Check for any signs of damage or wear in the gearbox. If you encounter issues, it’s crucial to replace the gearbox to restore proper functionality.
6. Clean and Lubricate Moving Parts:
Disassemble the drill carefully (following manufacturer guidelines) and clean any dirt or debris from moving parts, such as the chuck and gears. Apply appropriate lubricants to ensure smooth operation.
This simple maintenance step can resolve issues related to friction or jamming, restoring your drill’s functionality.
7. Contact Customer Support:
If you’ve diligently followed the troubleshooting steps and your meagle cordless drill is still unresponsive, consider reaching out to the manufacturer’s customer support.
They possess in-depth knowledge of their products and may offer additional guidance or a solution to your problem.
Last Thing To Do:
Early Issue: If you just got a new meagle cordless drill and it’s not working right, check the manual for help. If the problem keeps happening and you can get a refund, return it within the given time. If it’s too late for a refund but the drill is still under warranty, use the warranty if it applies.
Lifespan: Meagle cordless drill usually last 7 months, based on how much you use them each week. If you’ve used it a lot and it’s past its best time, think about getting a new drill for better results.
However if the above mentioned fixes won’t solve your problem then look for fixes provided in common cordless drill problems.
Conclusion:
Your Meagle cordless drill is a valuable tool, and encountering issues with it can be frustrating. However, by systematically addressing potential causes and following these troubleshooting steps, you can often identify and resolve the issue.
Regular maintenance, responsible usage, and using genuine meagle replacement parts are essential to ensure the longevity and reliability of your drill. With the right approach and a bit of patience, you can trust that your meagle cordless drill will continue to serve you well for countless projects to come.